Accessibility on the web means building sites and apps that everyone can navigate and interact with. The best way to ensure we are building accessible experiences is to combine automated testing with manual quality assurance and user testing.
We talked about manually testing certain aspects of our pages in my previous article Manual accessibility testing: keyboard and screen reader navigation.
In this article we’ll take a look at some of the most popular and actively maintained tools for automated accessibility testing, and go through some of their features.
If you want to go beyond these tools, there’s a myriad other options listed at Selecting Web Accessibility Evaluation Tools.
Lighthouse - Google
Lighthouse is a tool developed by Google to help you audit certain aspects of your pages. It comes integrated into Chrome DevTools, under the Audits tab:
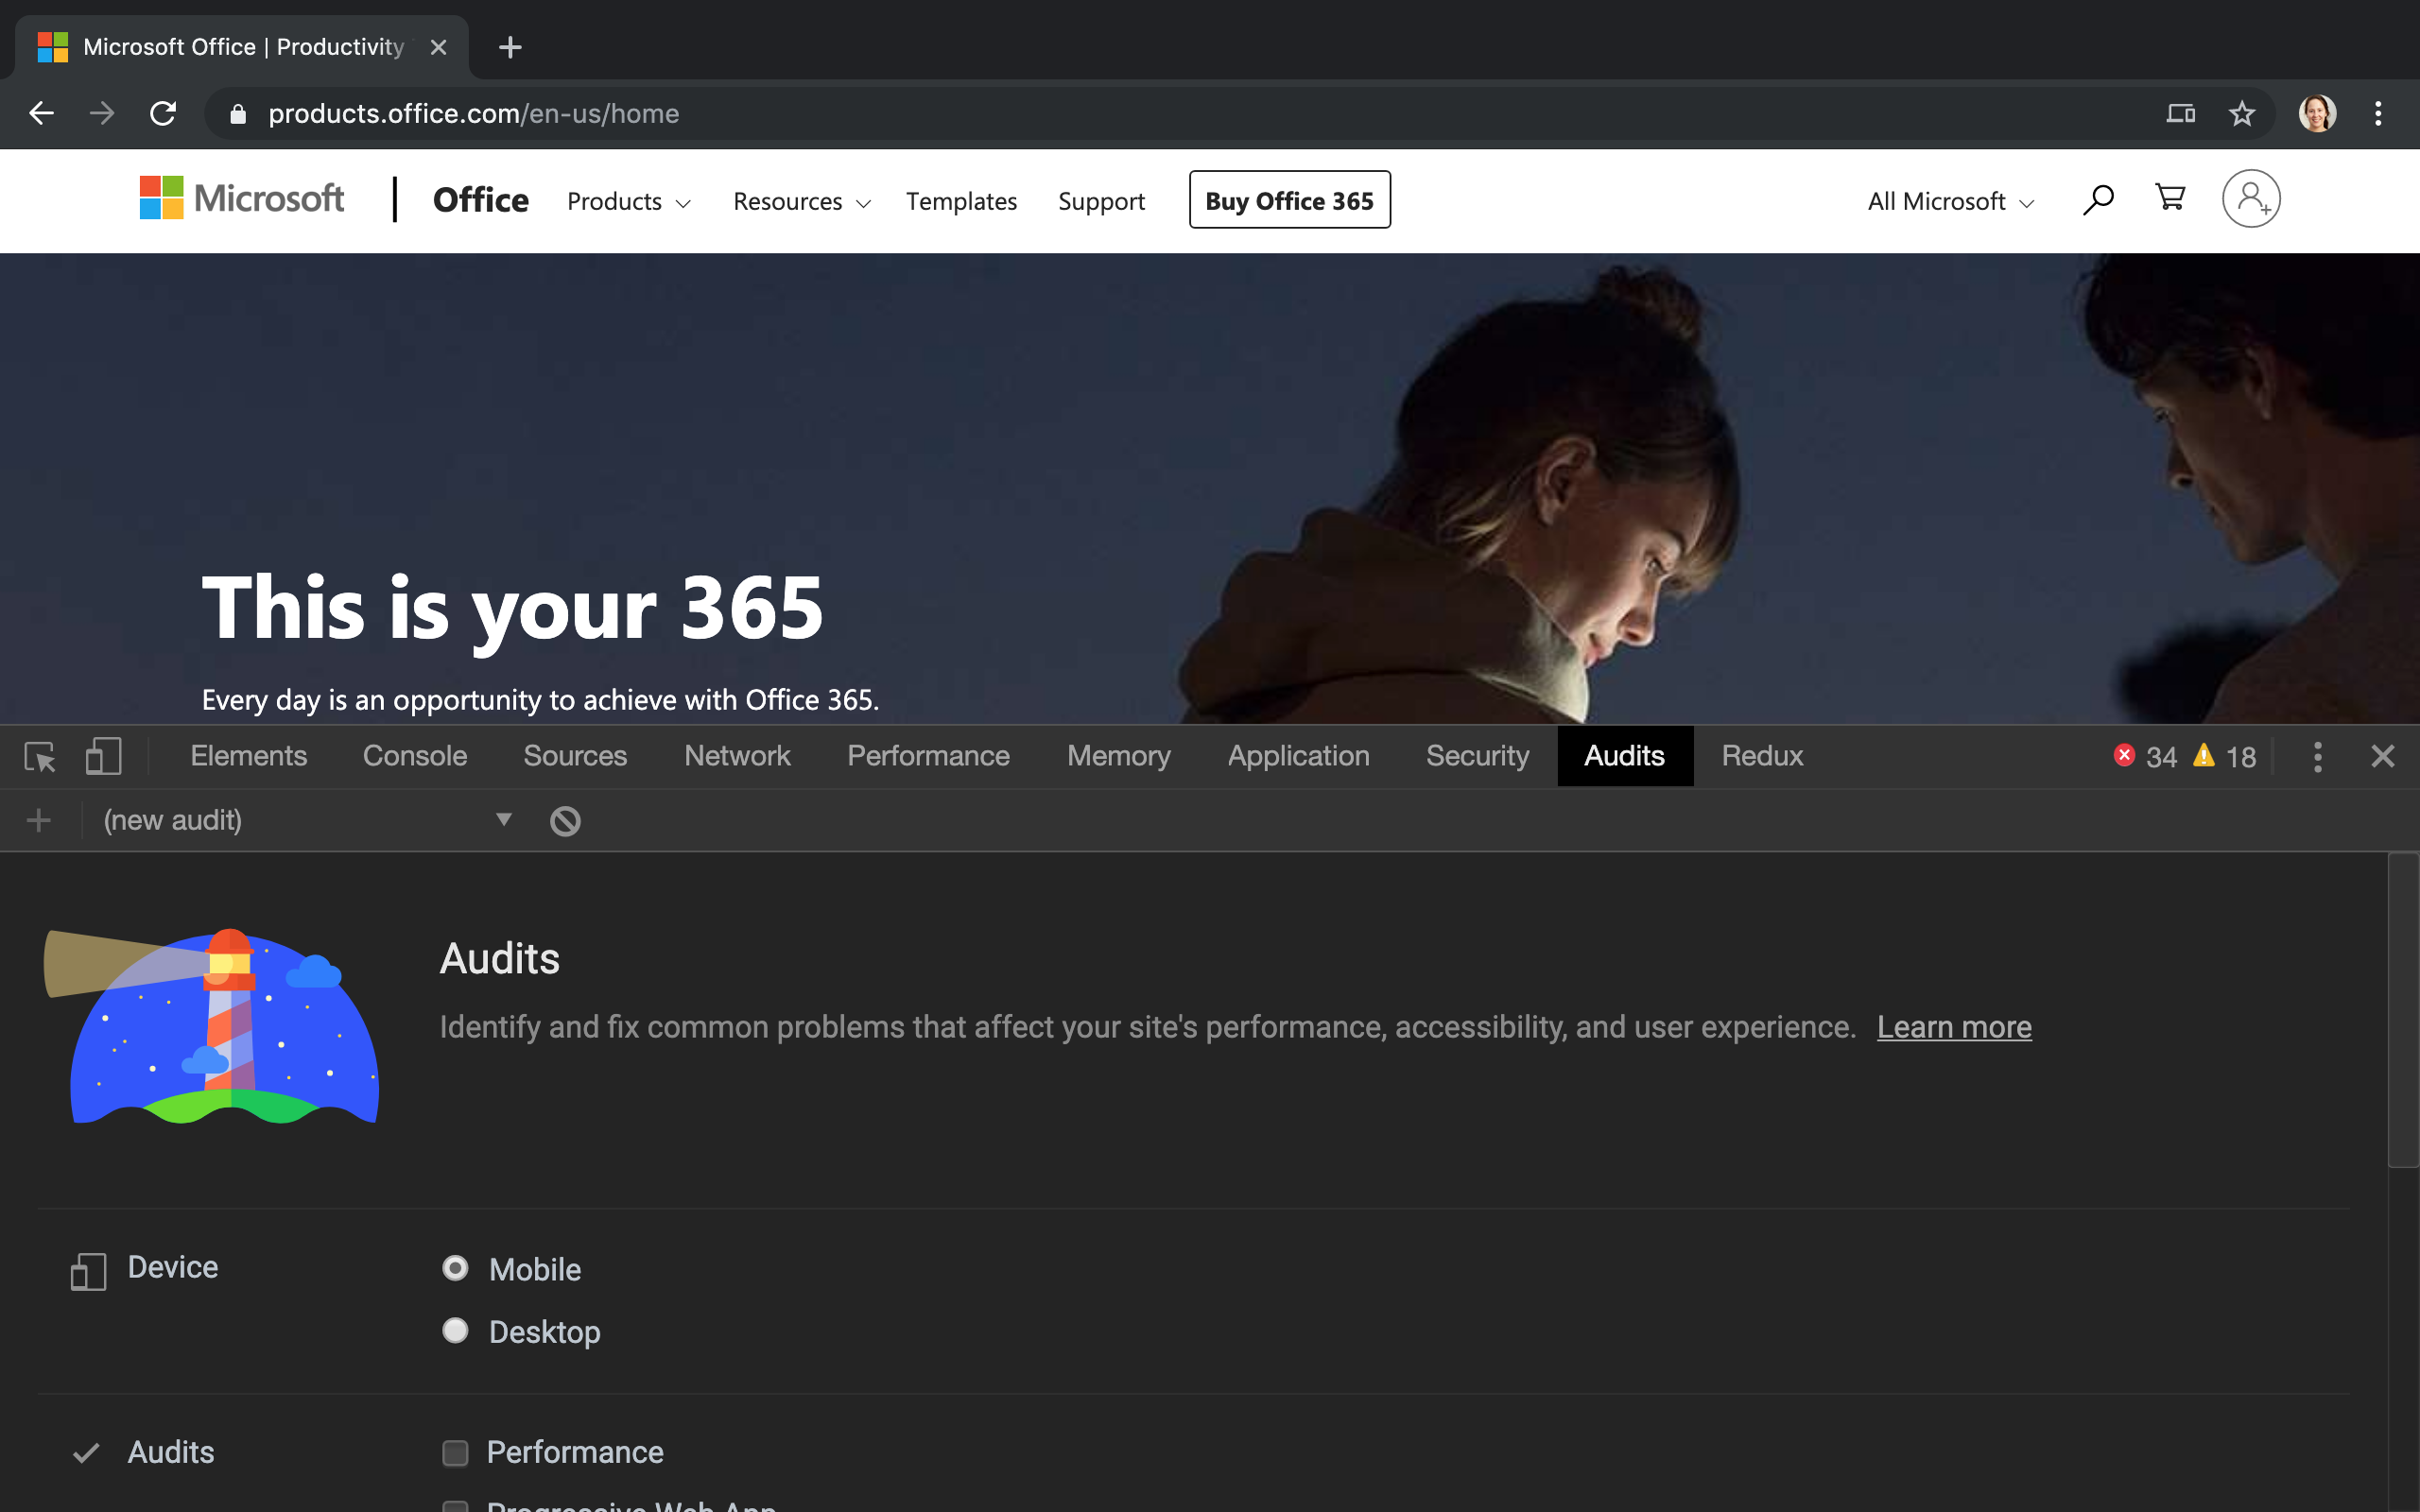
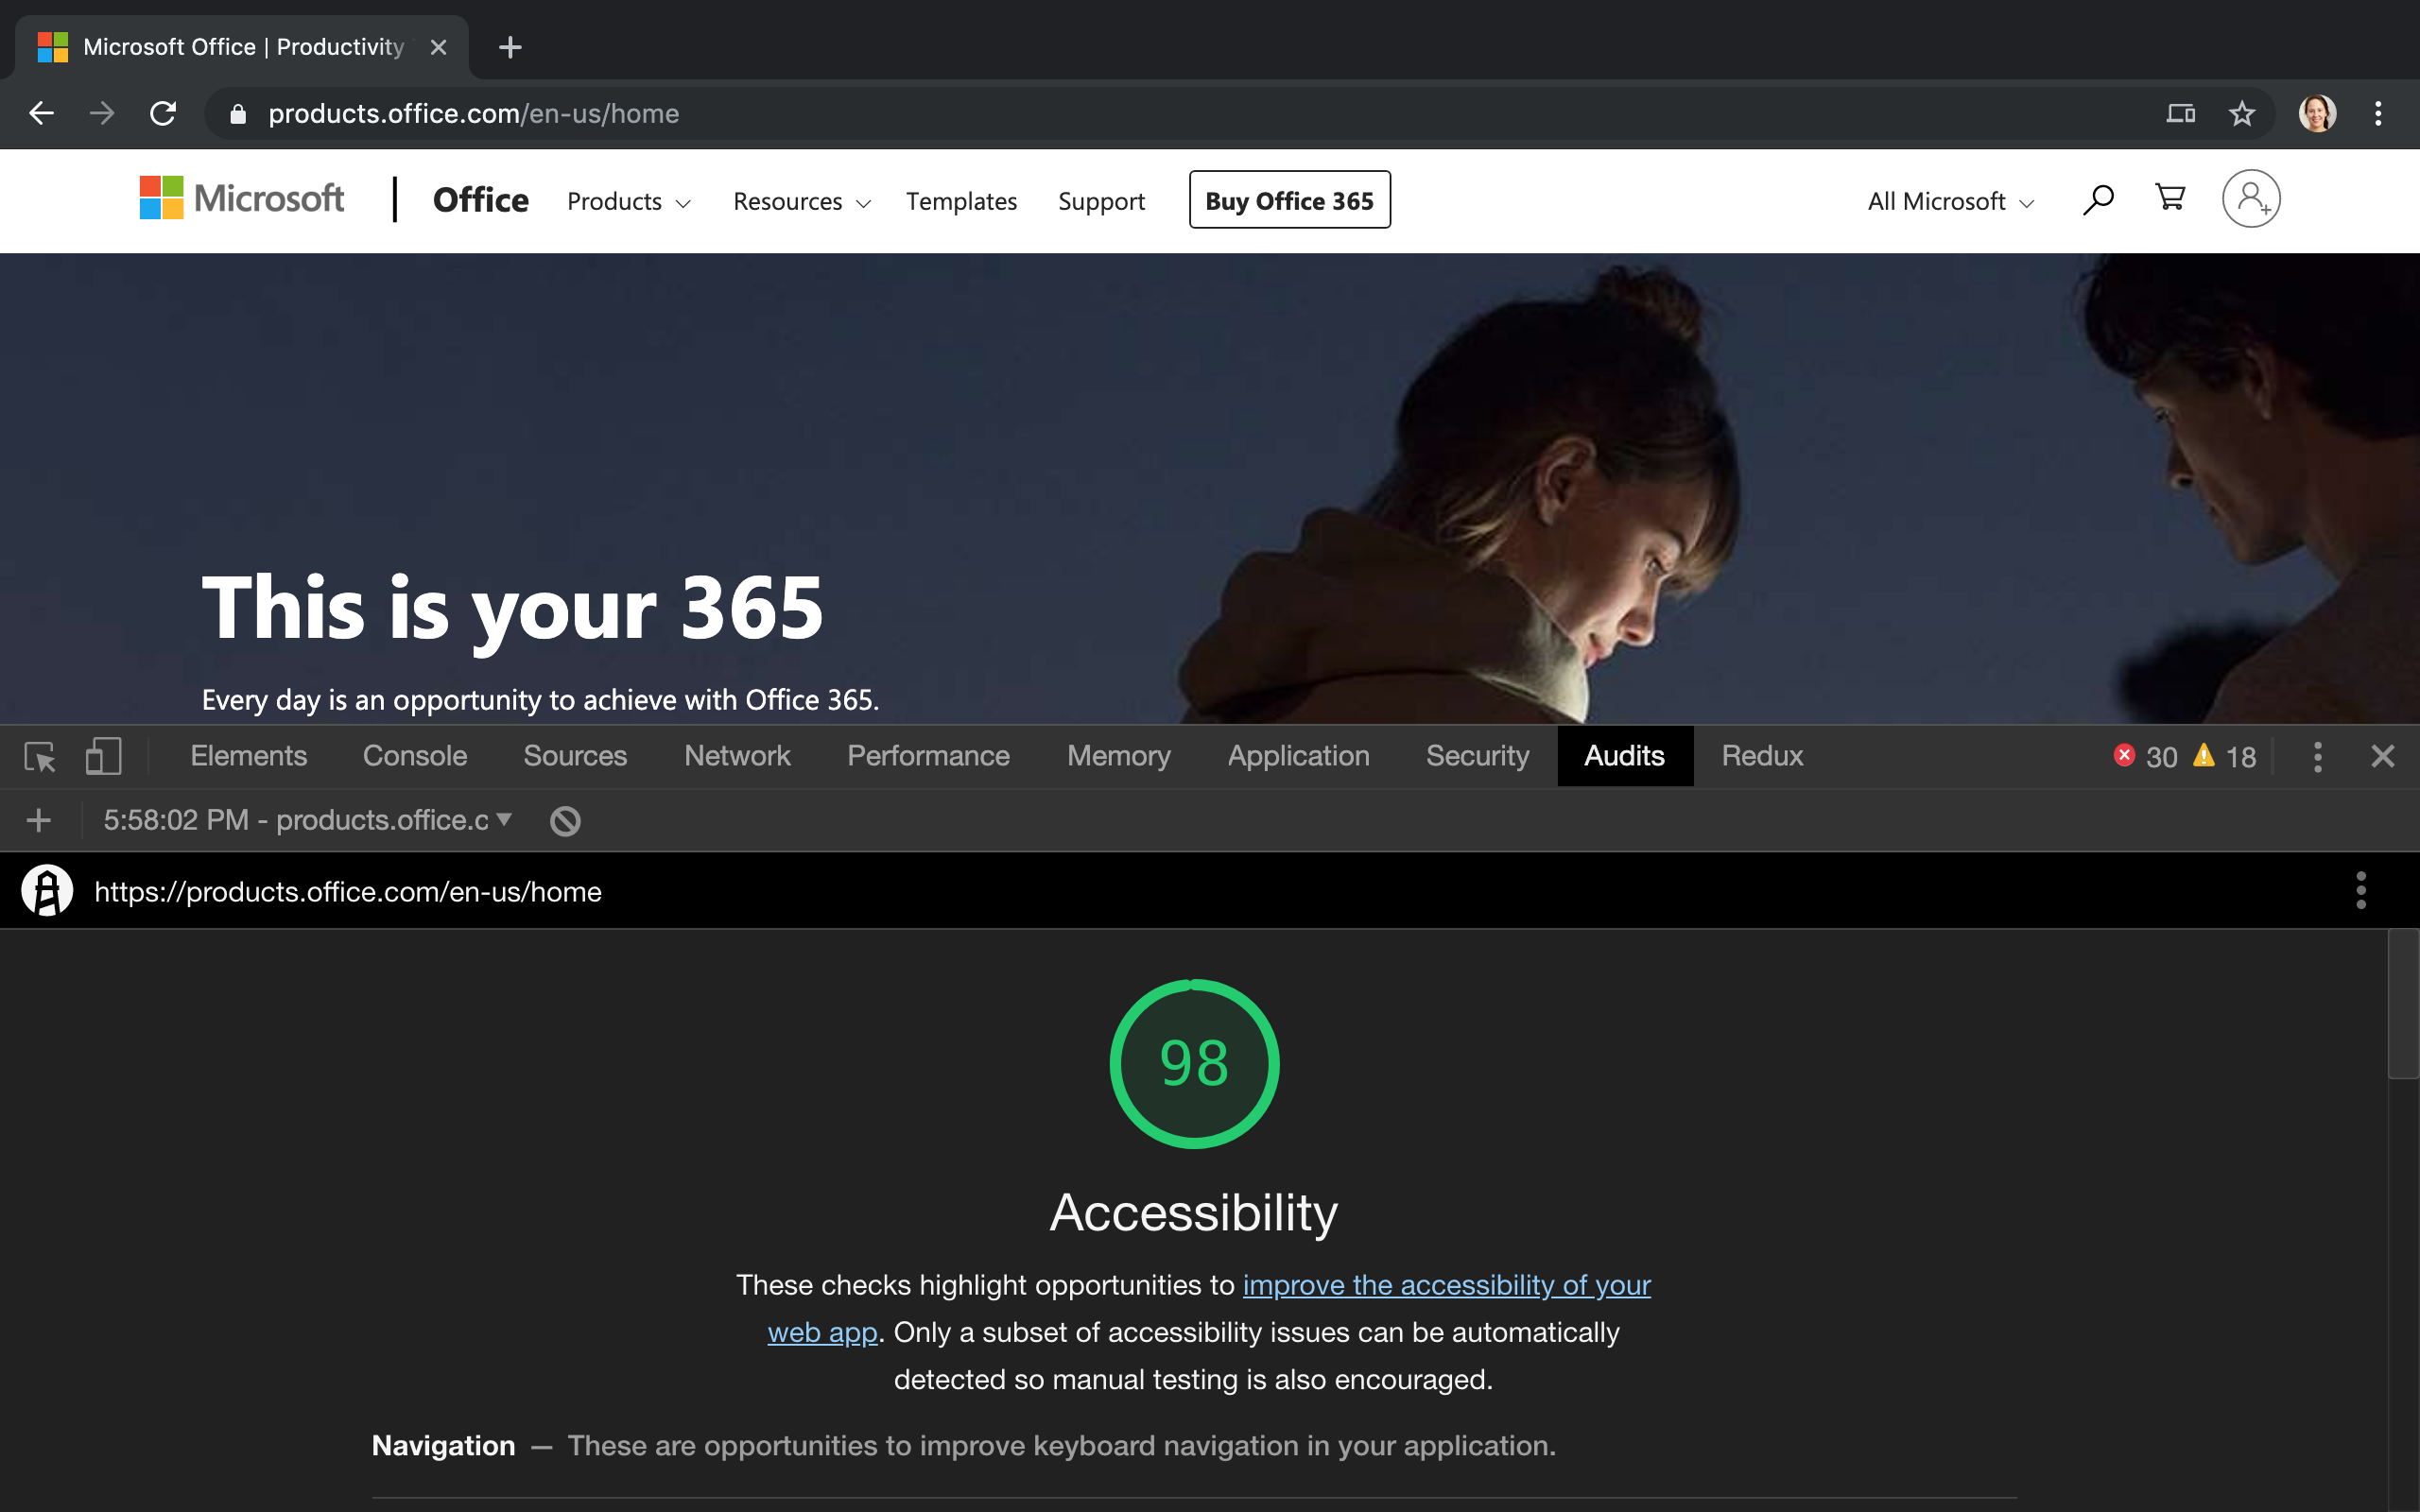
After running Lighthouse, you’ll get a report on how well your page did. The accessibility audits in particular check for things like controls having the necessary names and labels, content having sufficient contrast ratio, identifiers being unique, etc.
You can also run Lighthouse from the terminal. You’ll need to install the npm module, and run it against a URL:
npm install -g lighthouse
lighthouse https://products.office.com
By default it will write the report to disk with a name like <domain>_<date>.report.html, which you can view in any browser.
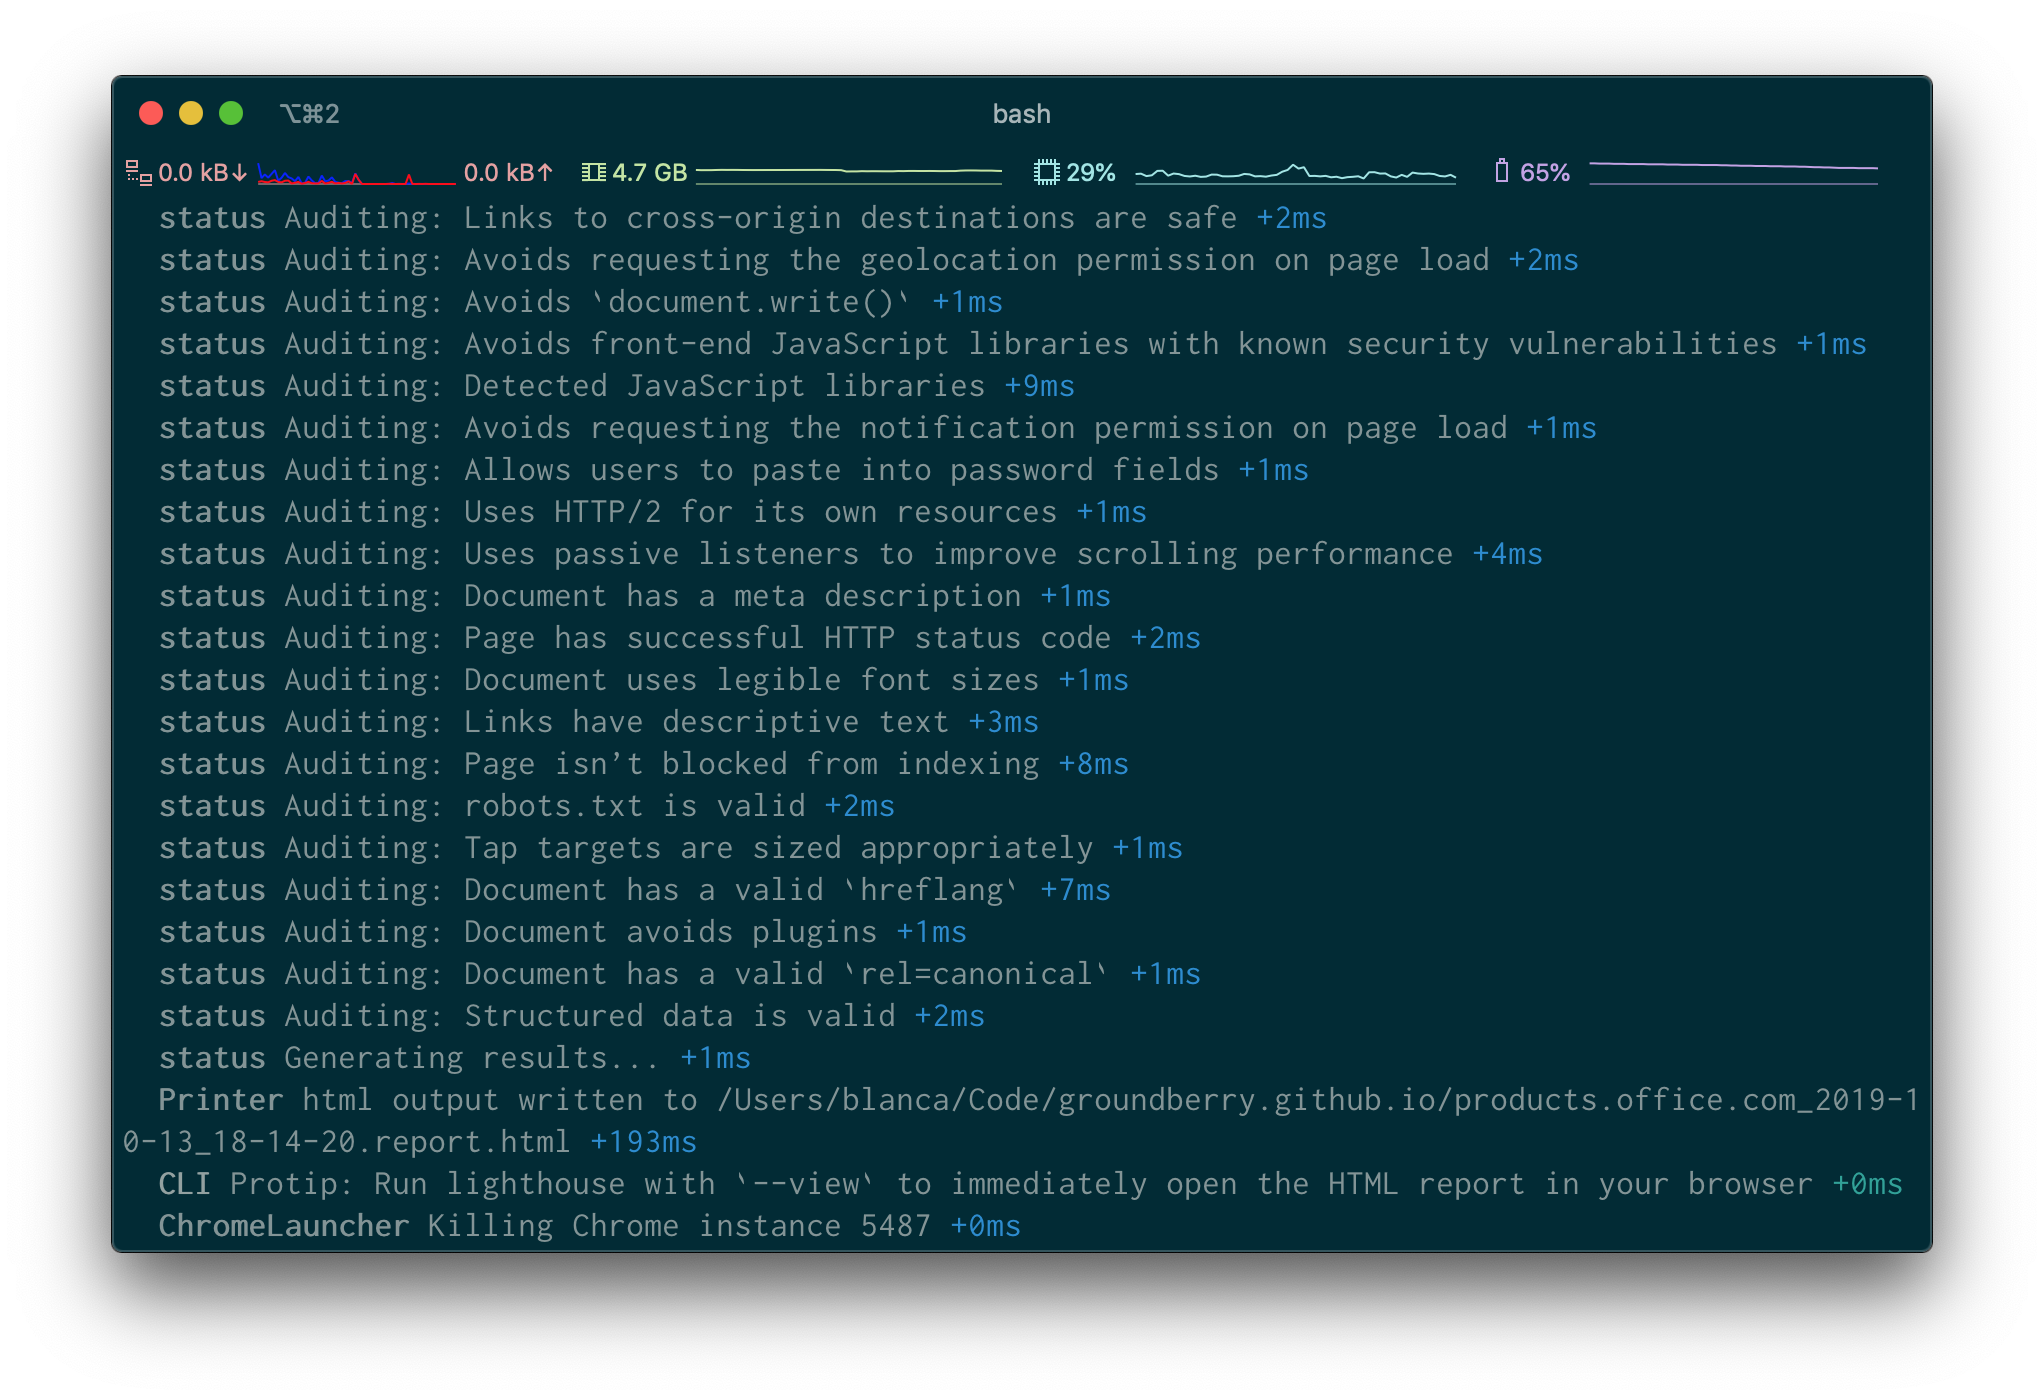
Lighthouse runs pretty fast, which makes it a good candidate to integrate into your normal development flow, or make it part of your CI/CD pipeline.
Also, make sure to take a look at the output of lighthouse --help, because there are a ton of options you can tweak.
webhint - JS Foundation
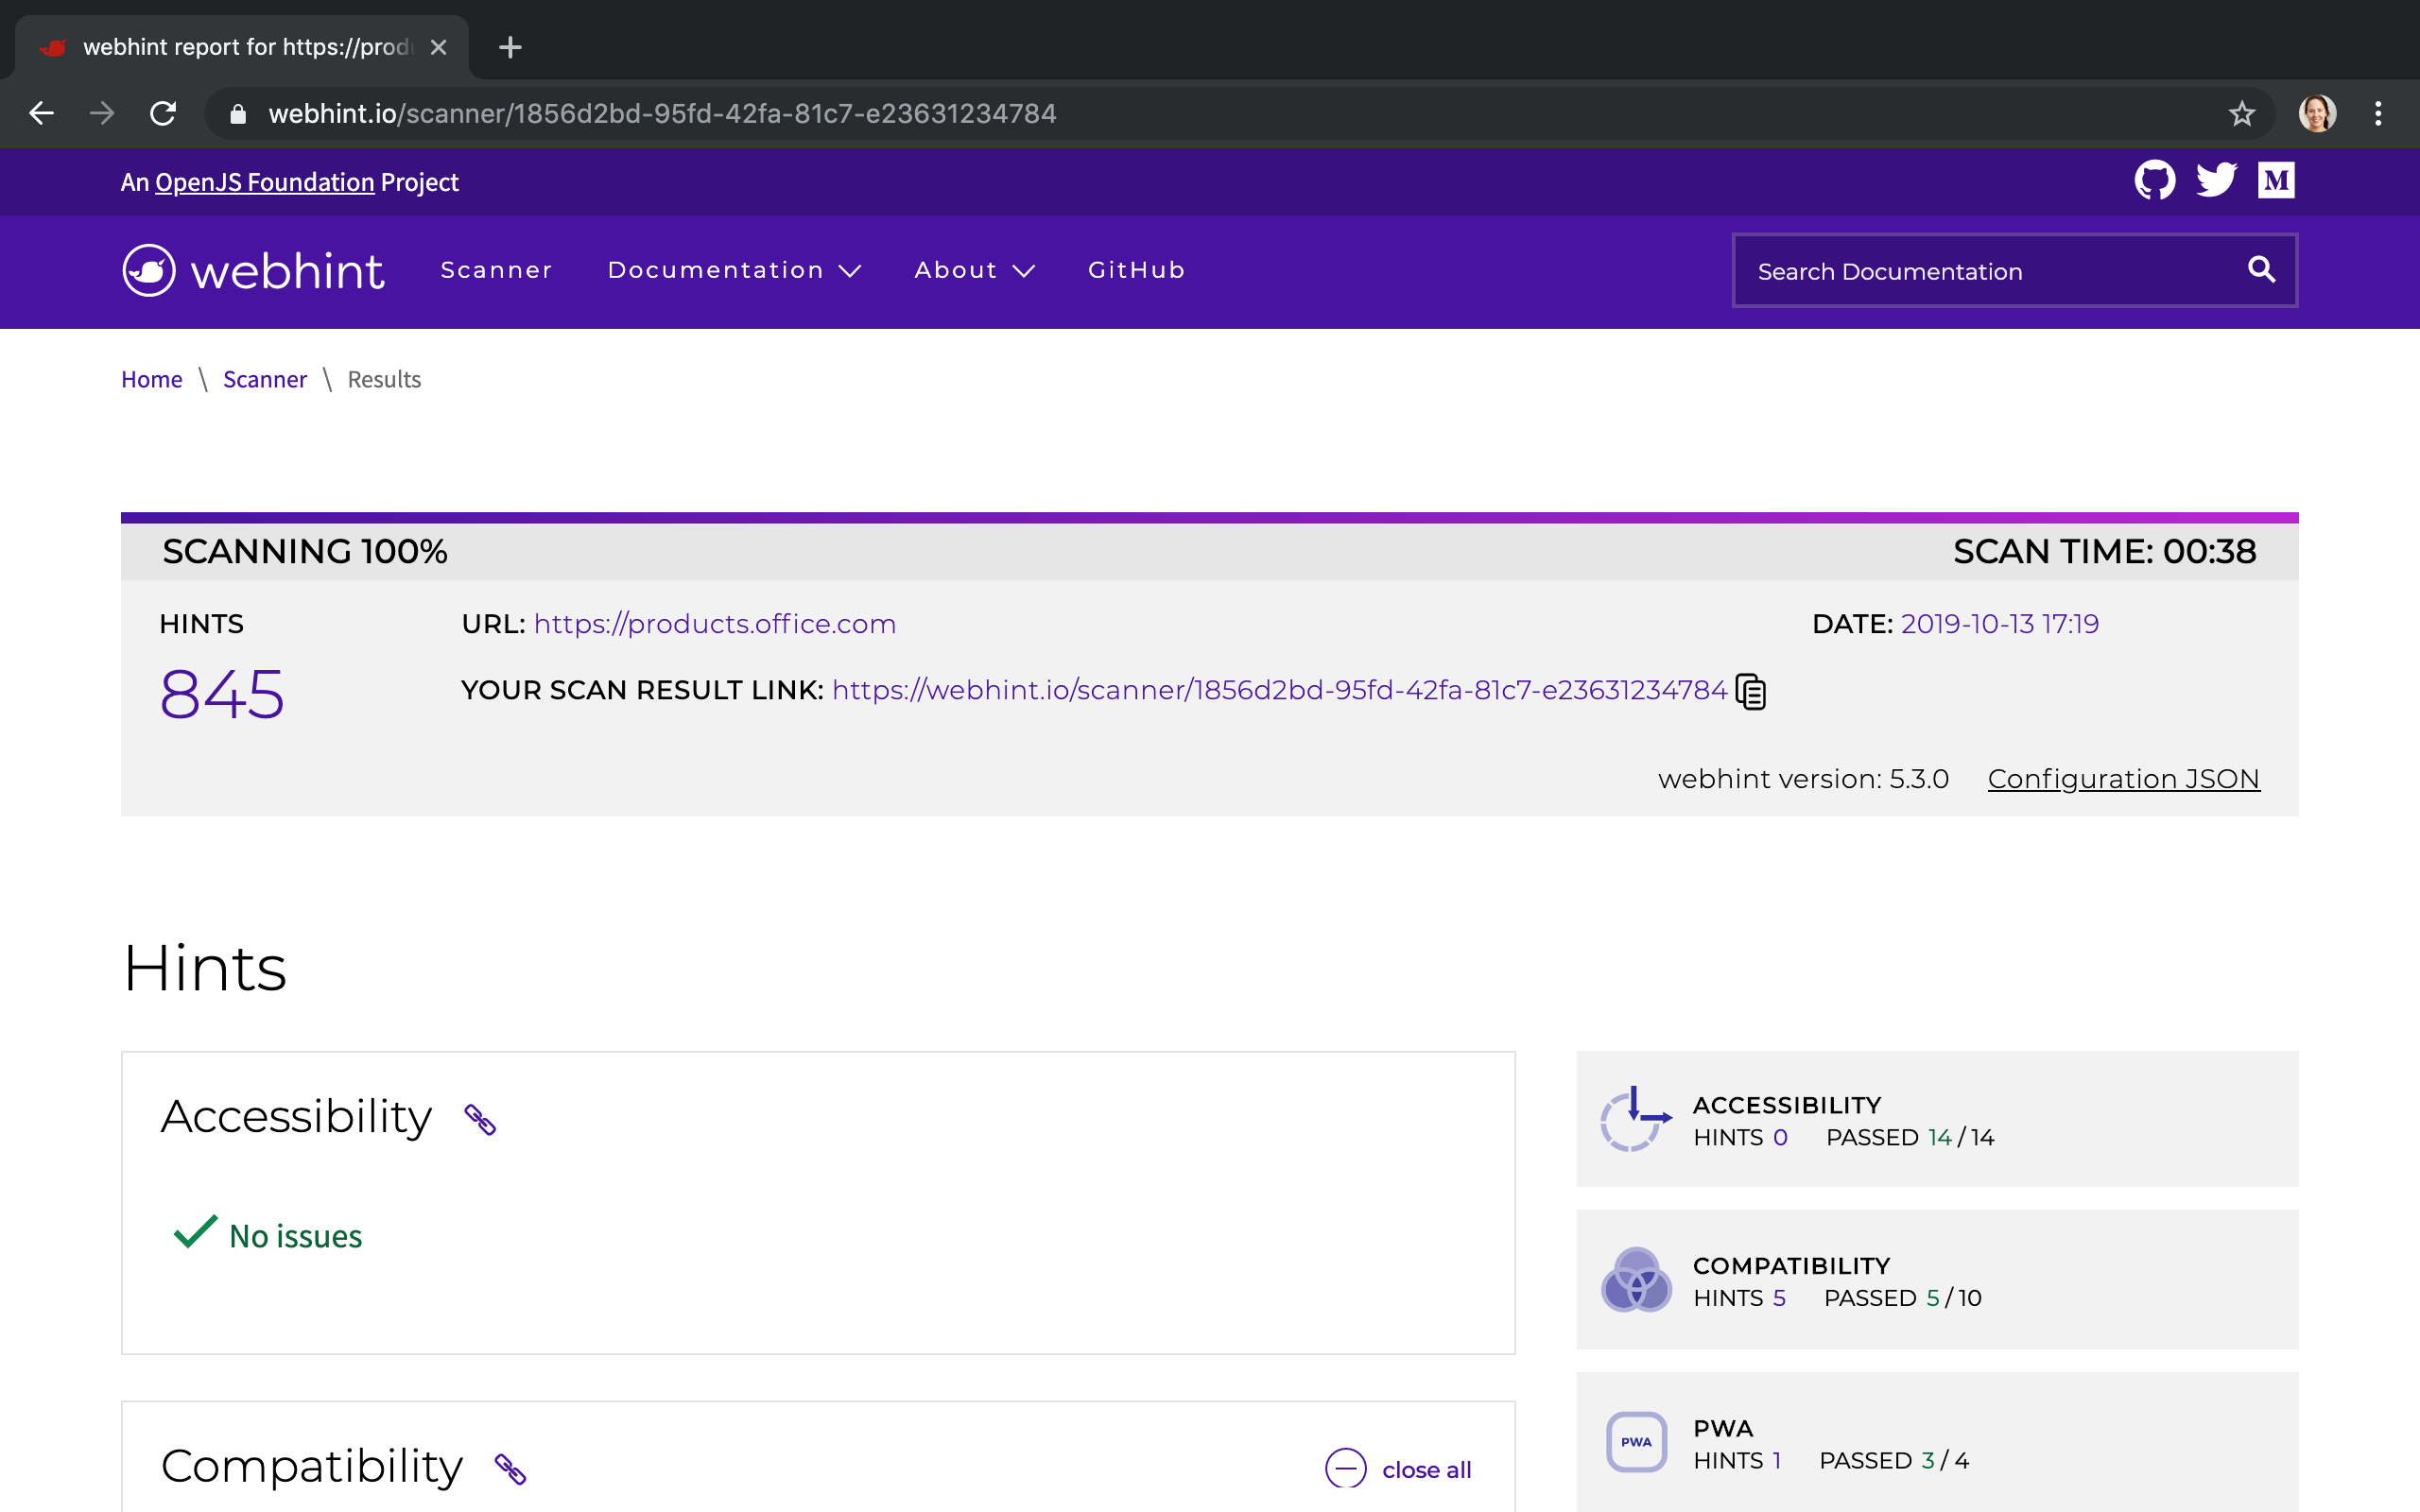
webhint is a tool very similar in nature to Lighthouse. It was originally developed by the Microsoft Edge team, and then donated to the JS Foundation.
You can run it online at that same URL:
You can also run it from the terminal, by doing:
npm install -g hint
hint https://products.office.com
The tool will look for a .hintrc file with your configuration. You can read all the details in the webhint user guide, but we can create a .hintrc with these contents for now:
{
  "extends": ["web-recommended"]
}
webhint will run the corresponding audits, and write its report to disk under hint-report/<url>/index.html, which you can open in any browser.
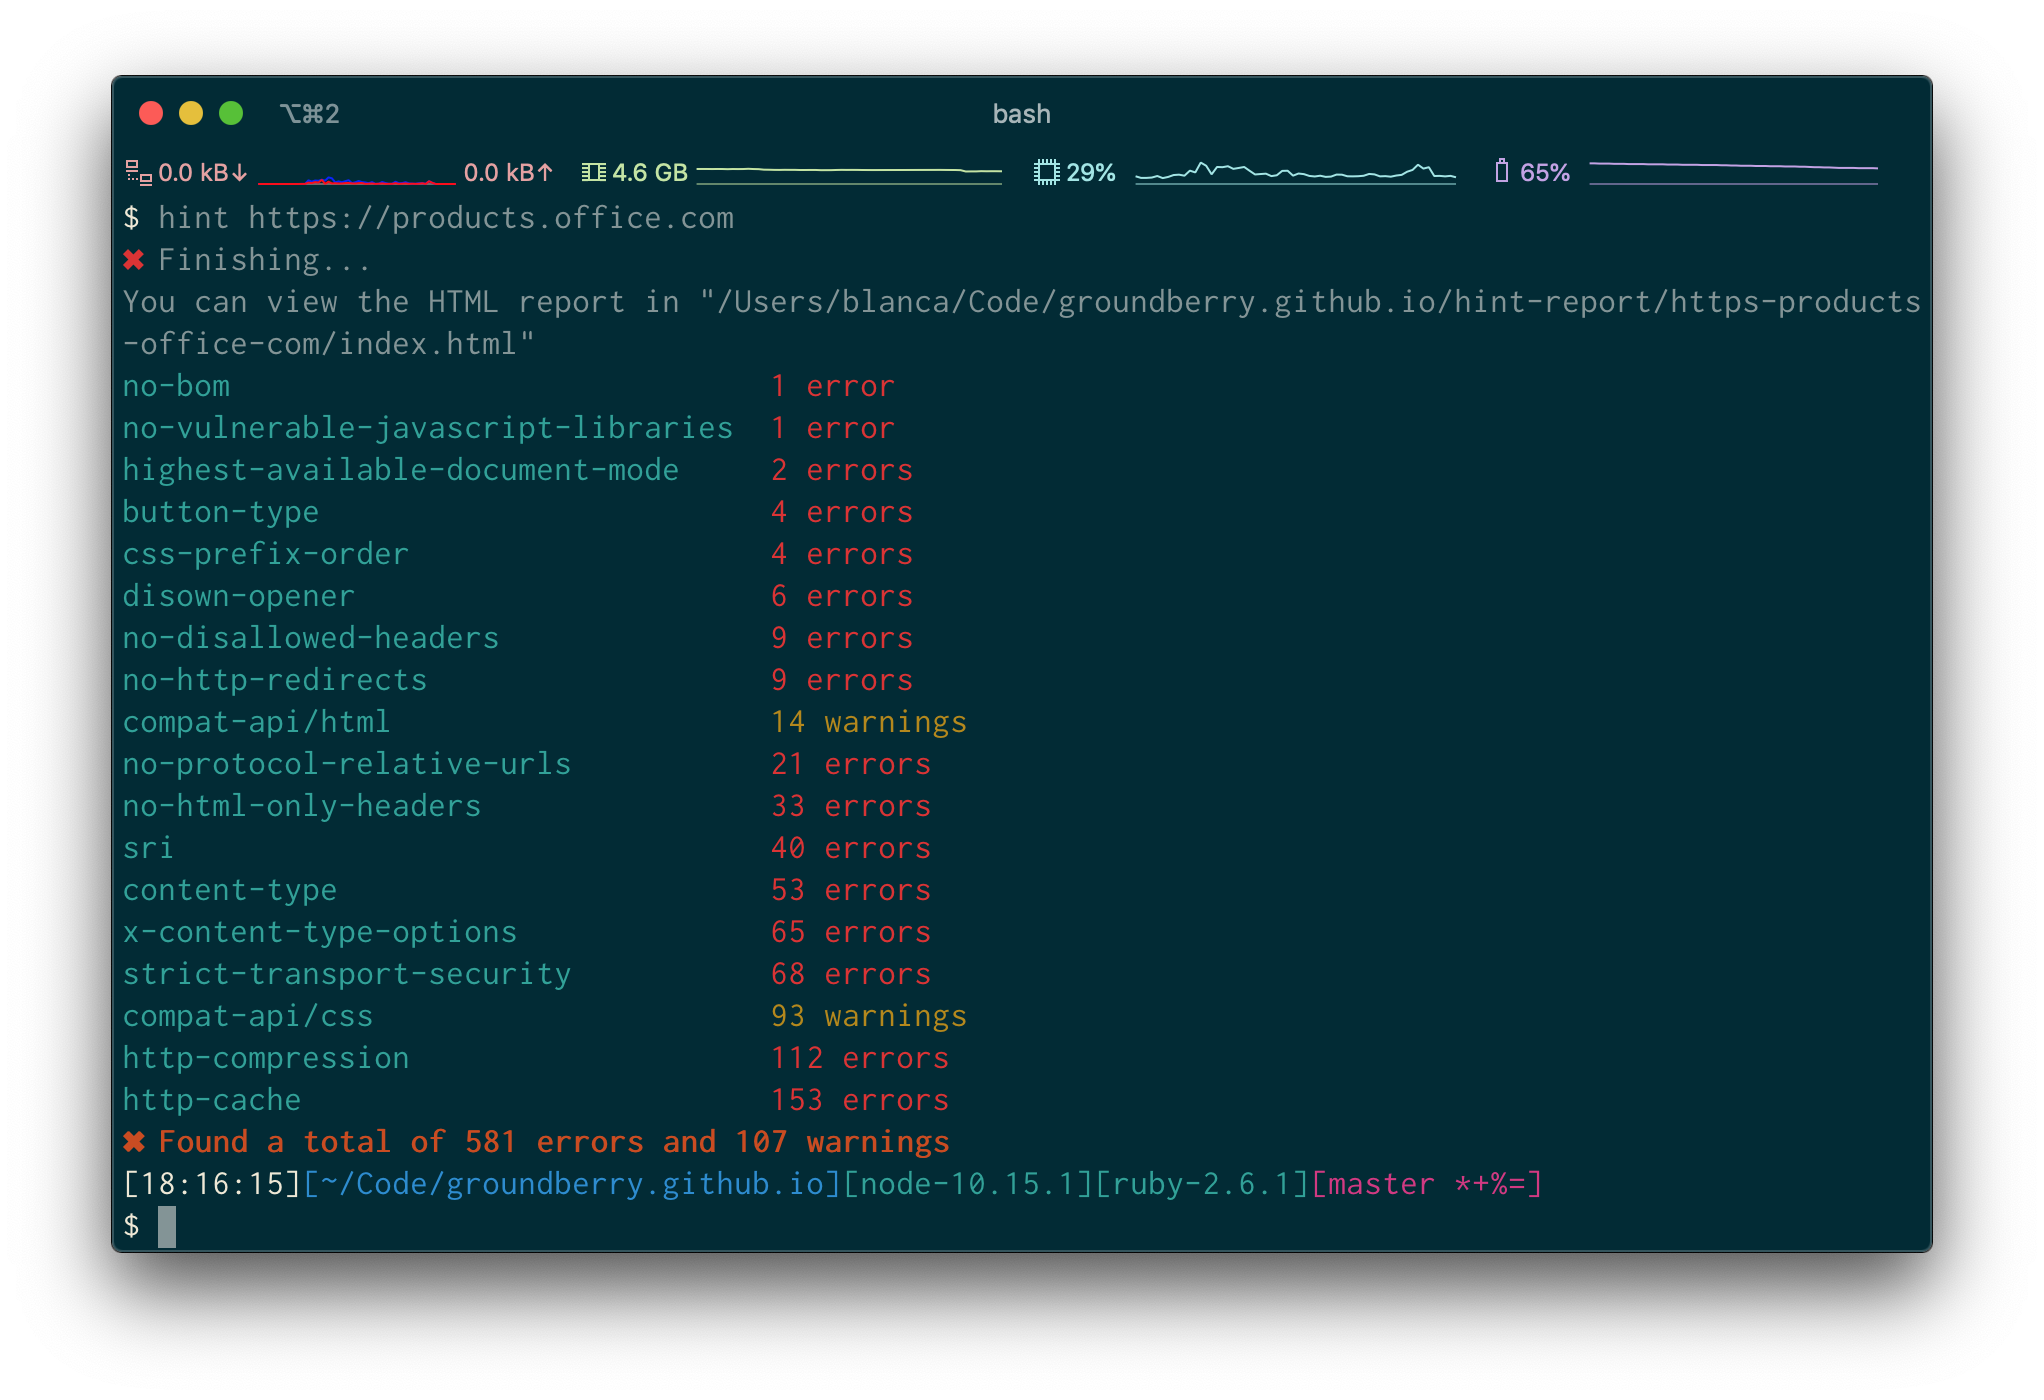
I’ve found that, on complex pages, the accessibility tests that webhint tries to run will often time out, so you won’t get any results. Your mileage may vary.
Accessibility Insights for Web - Microsoft
Accessibility Insights for Web is an extension for Chrome and Edgium recently released by Microsoft.
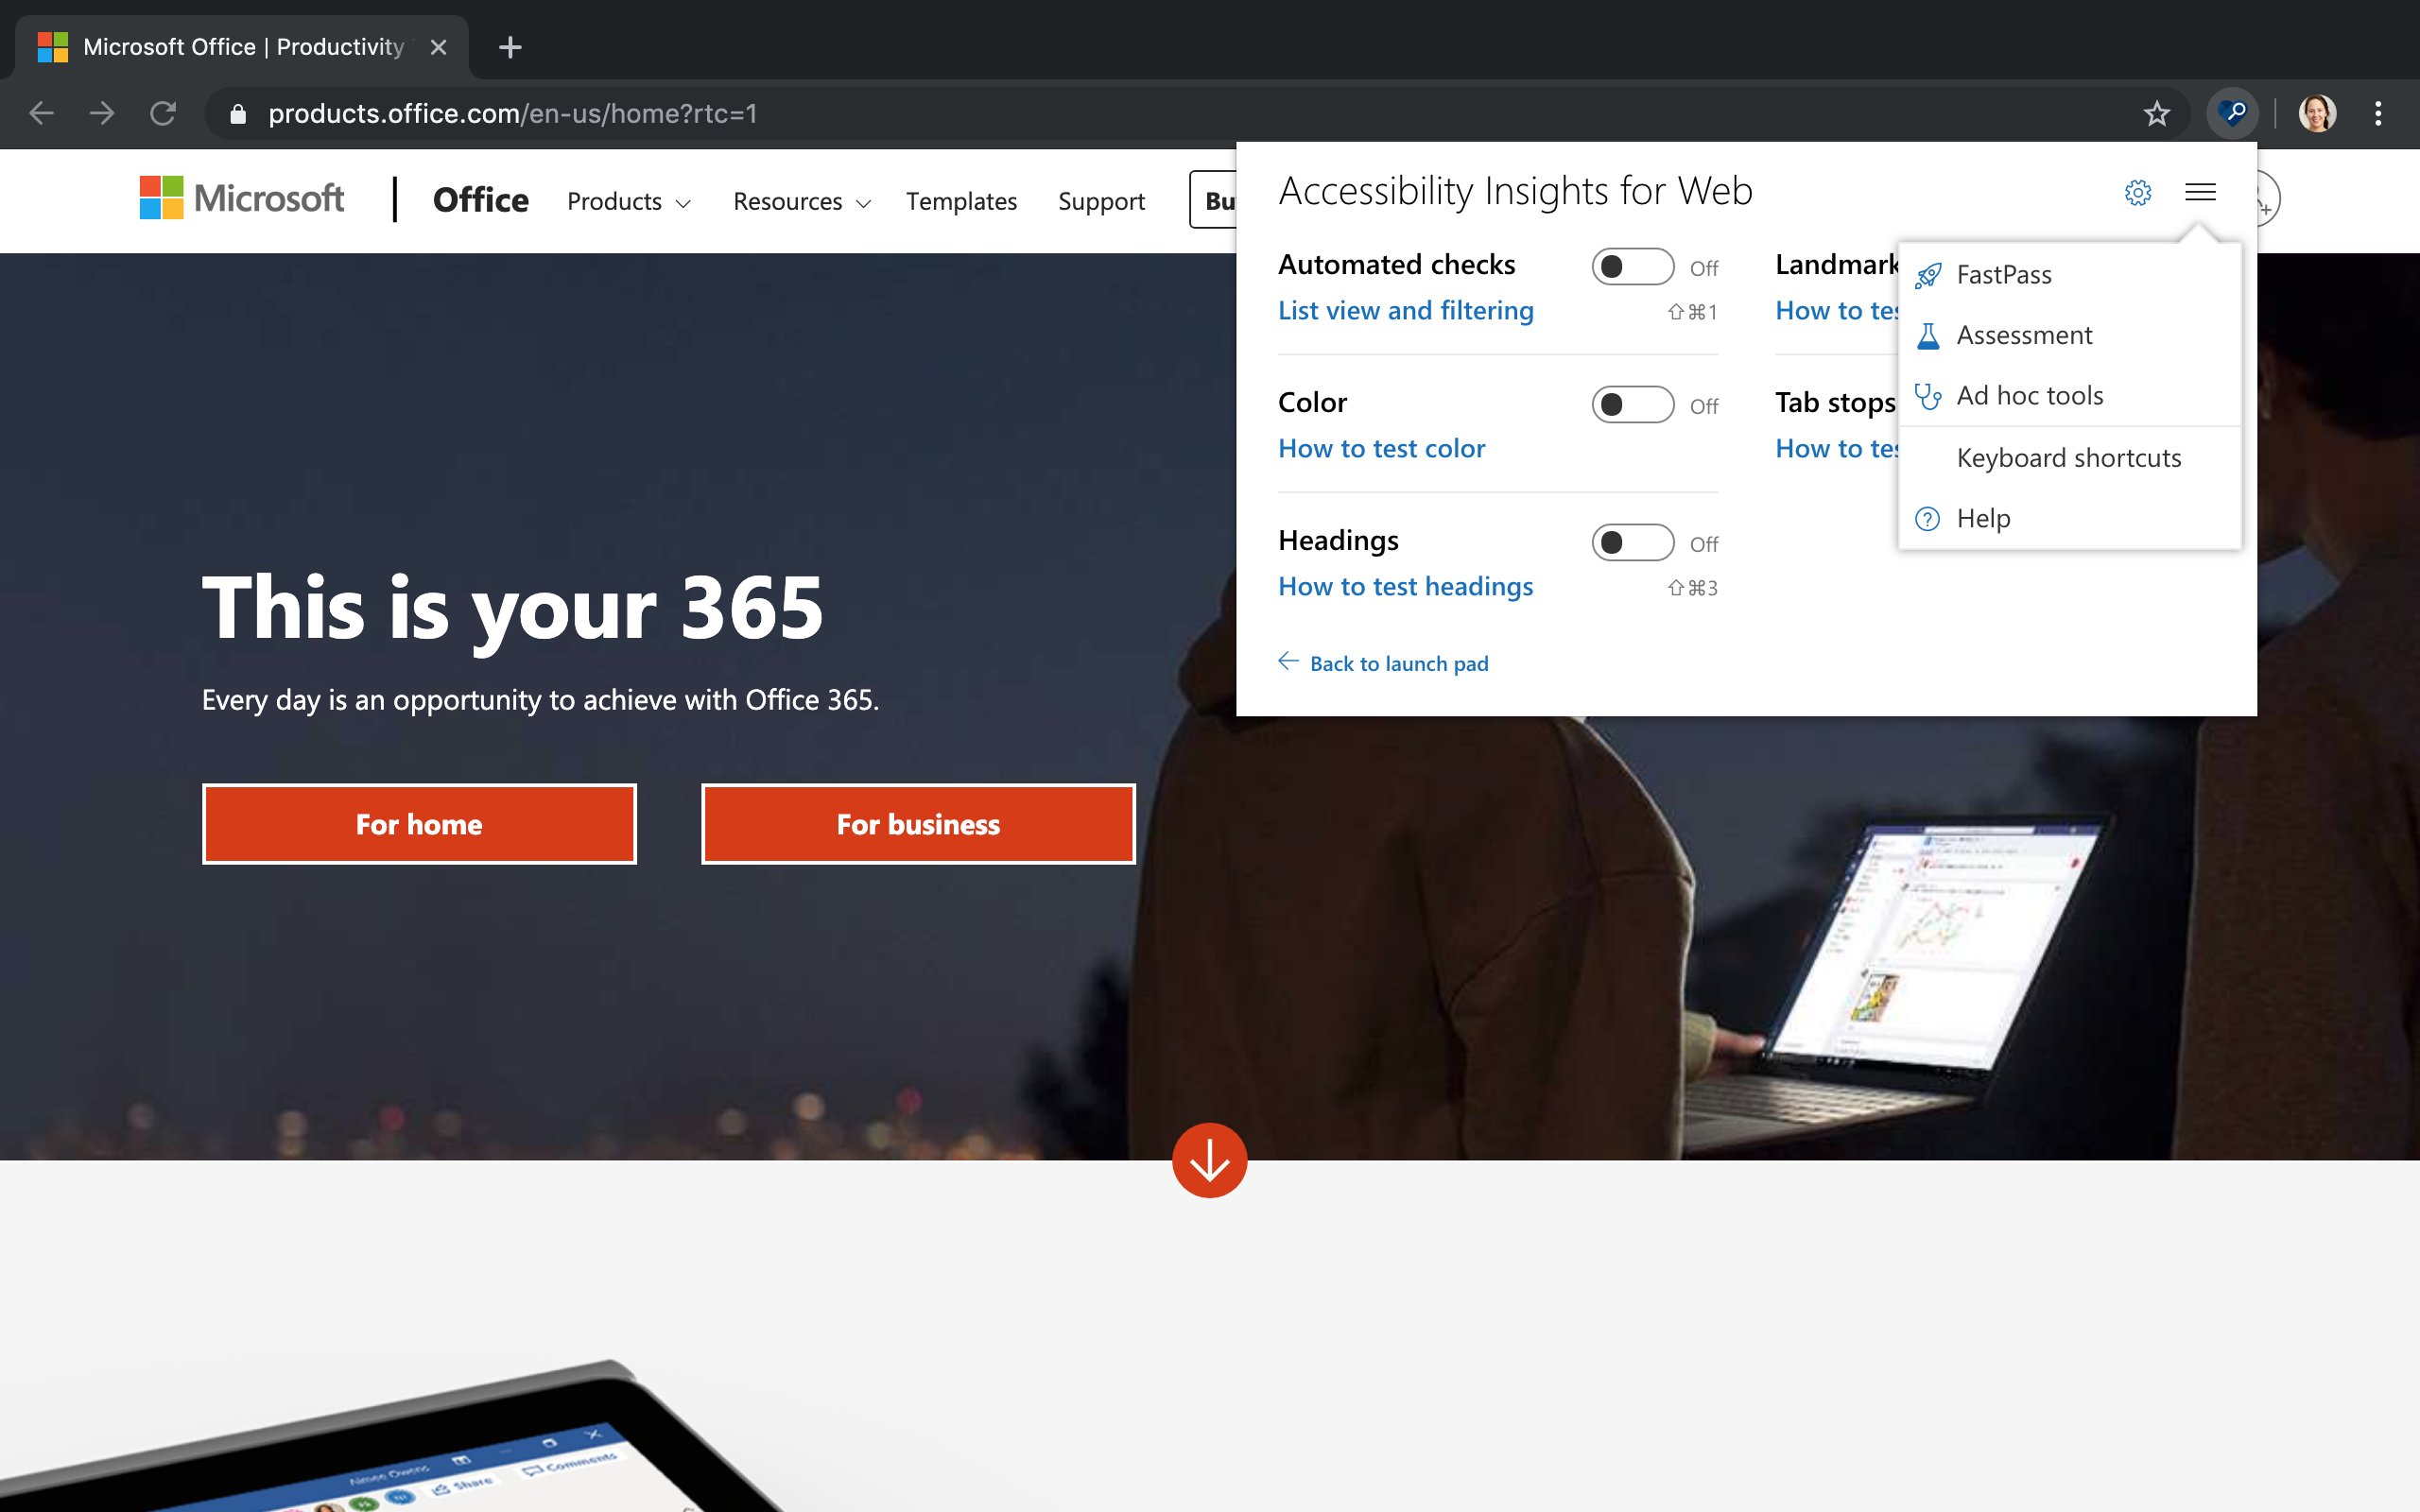
It has three modes:
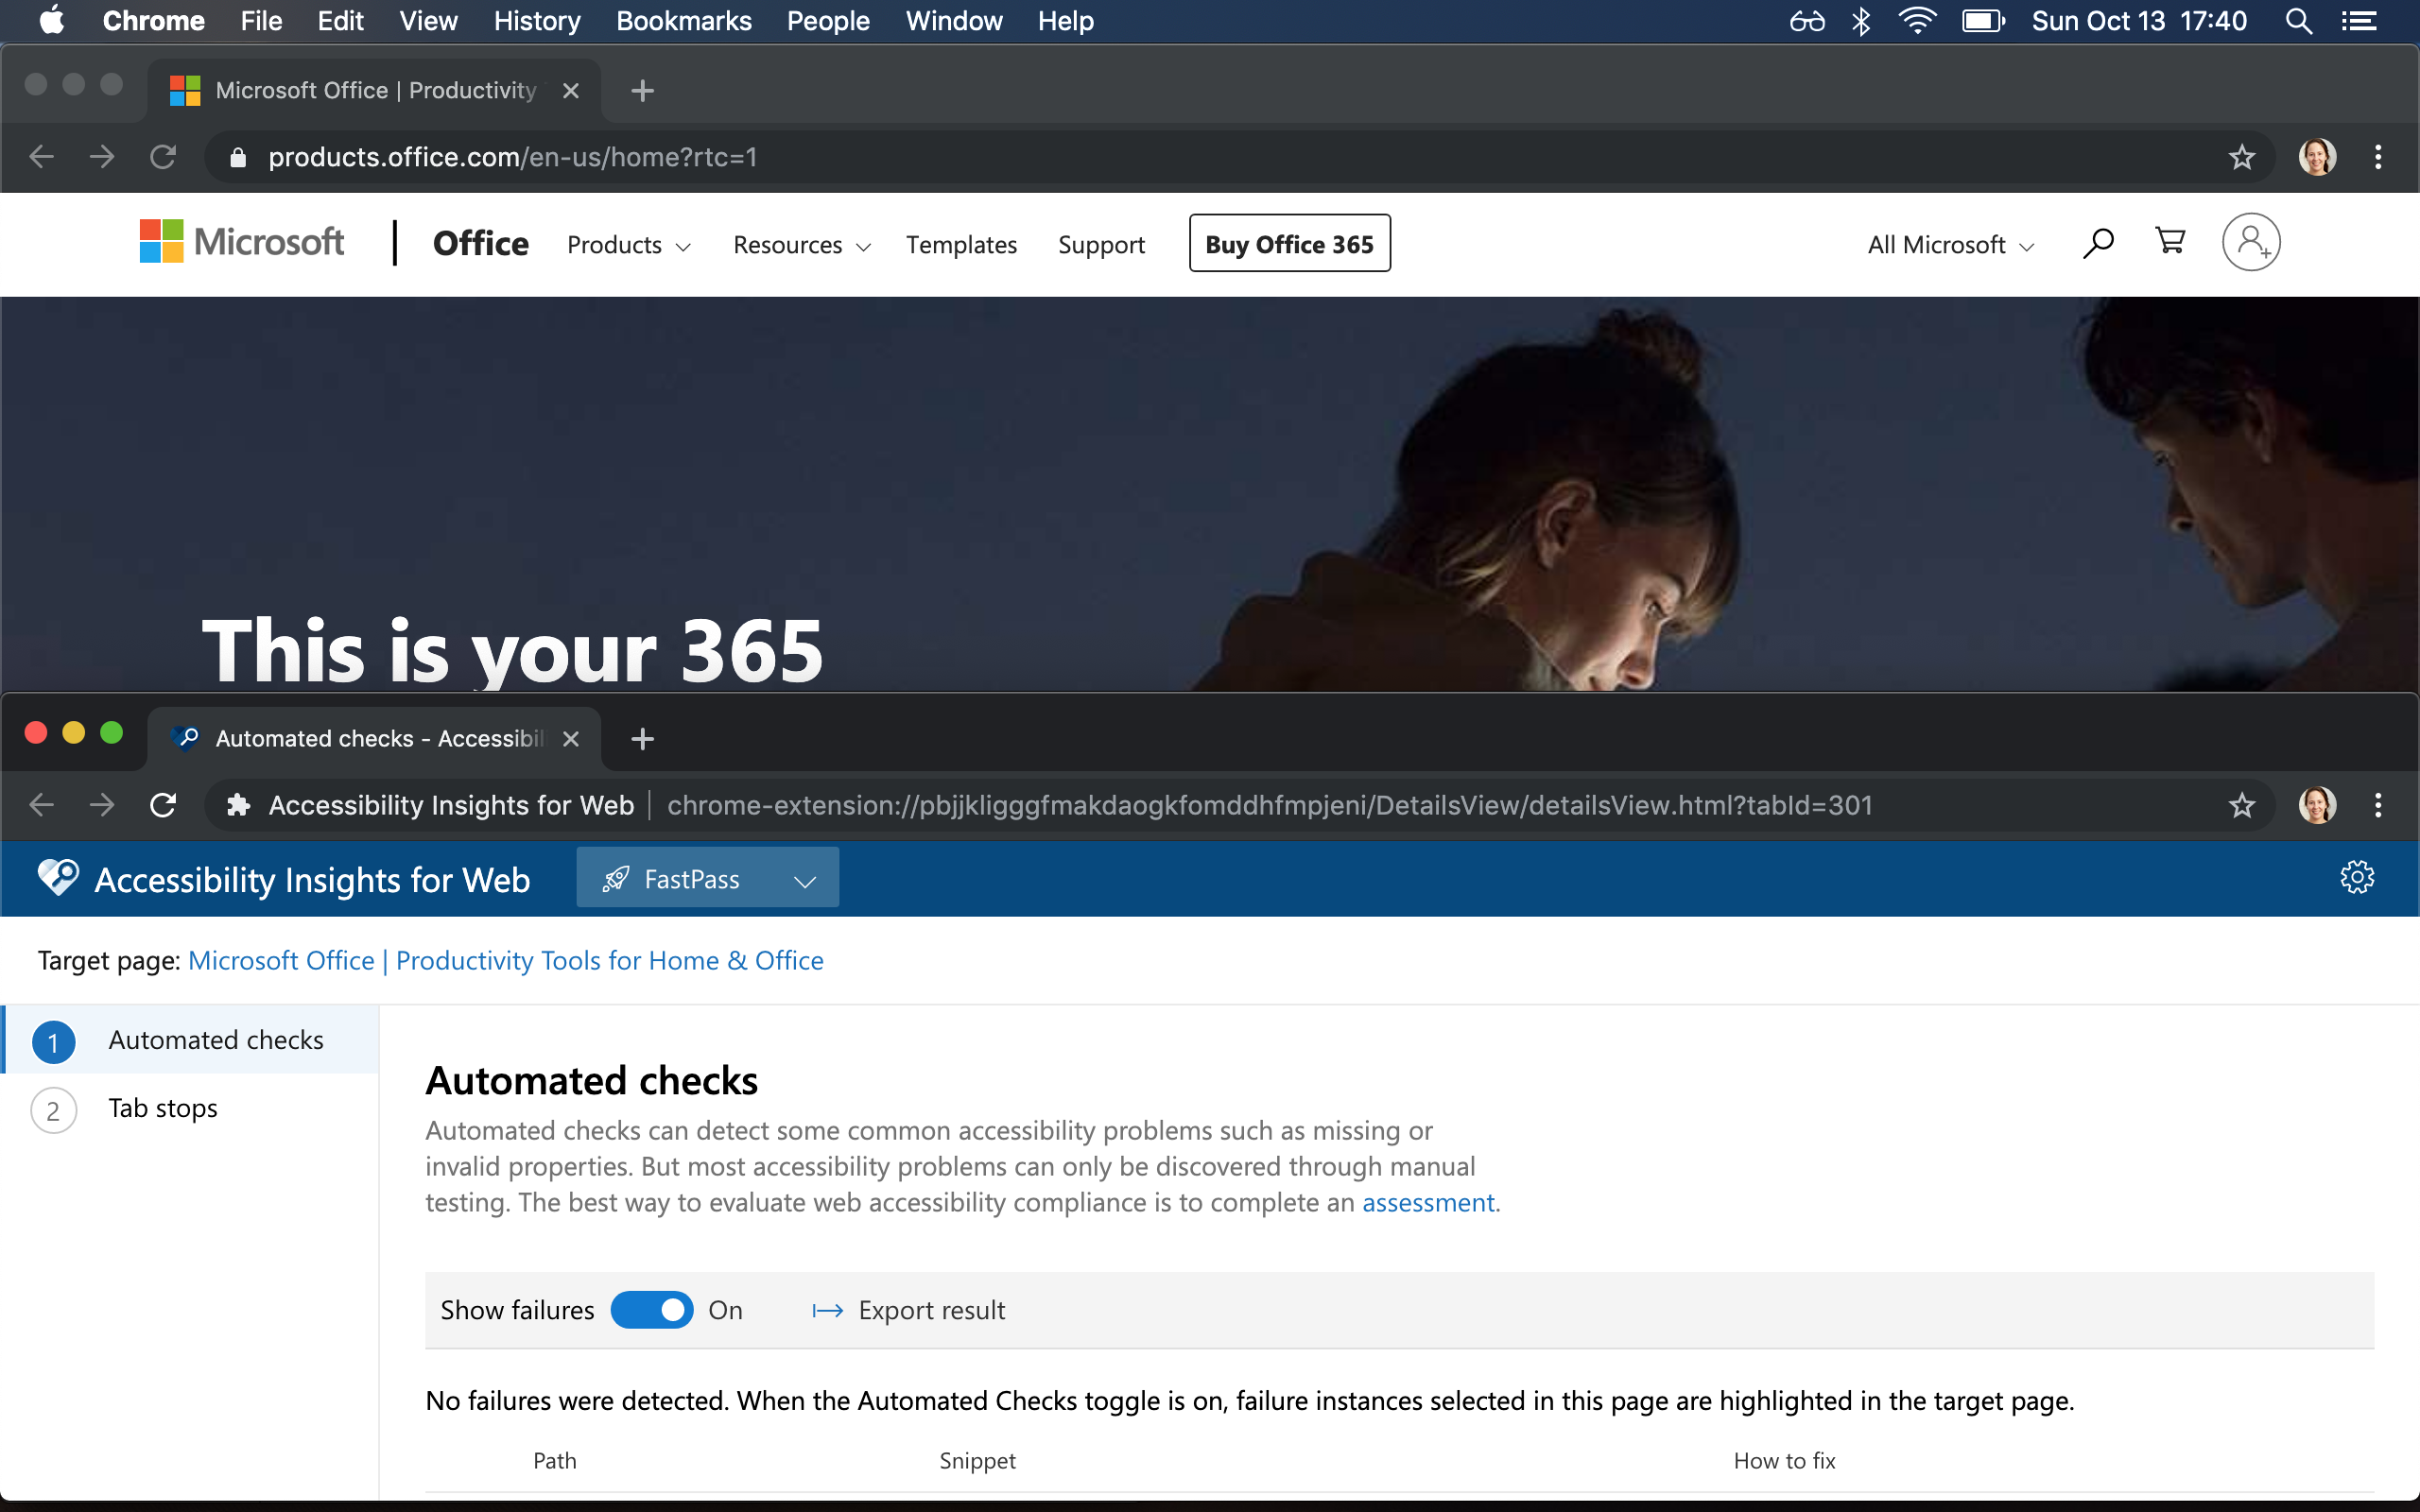
- FastPass which runs some automated tests to check for common accessibility issues.
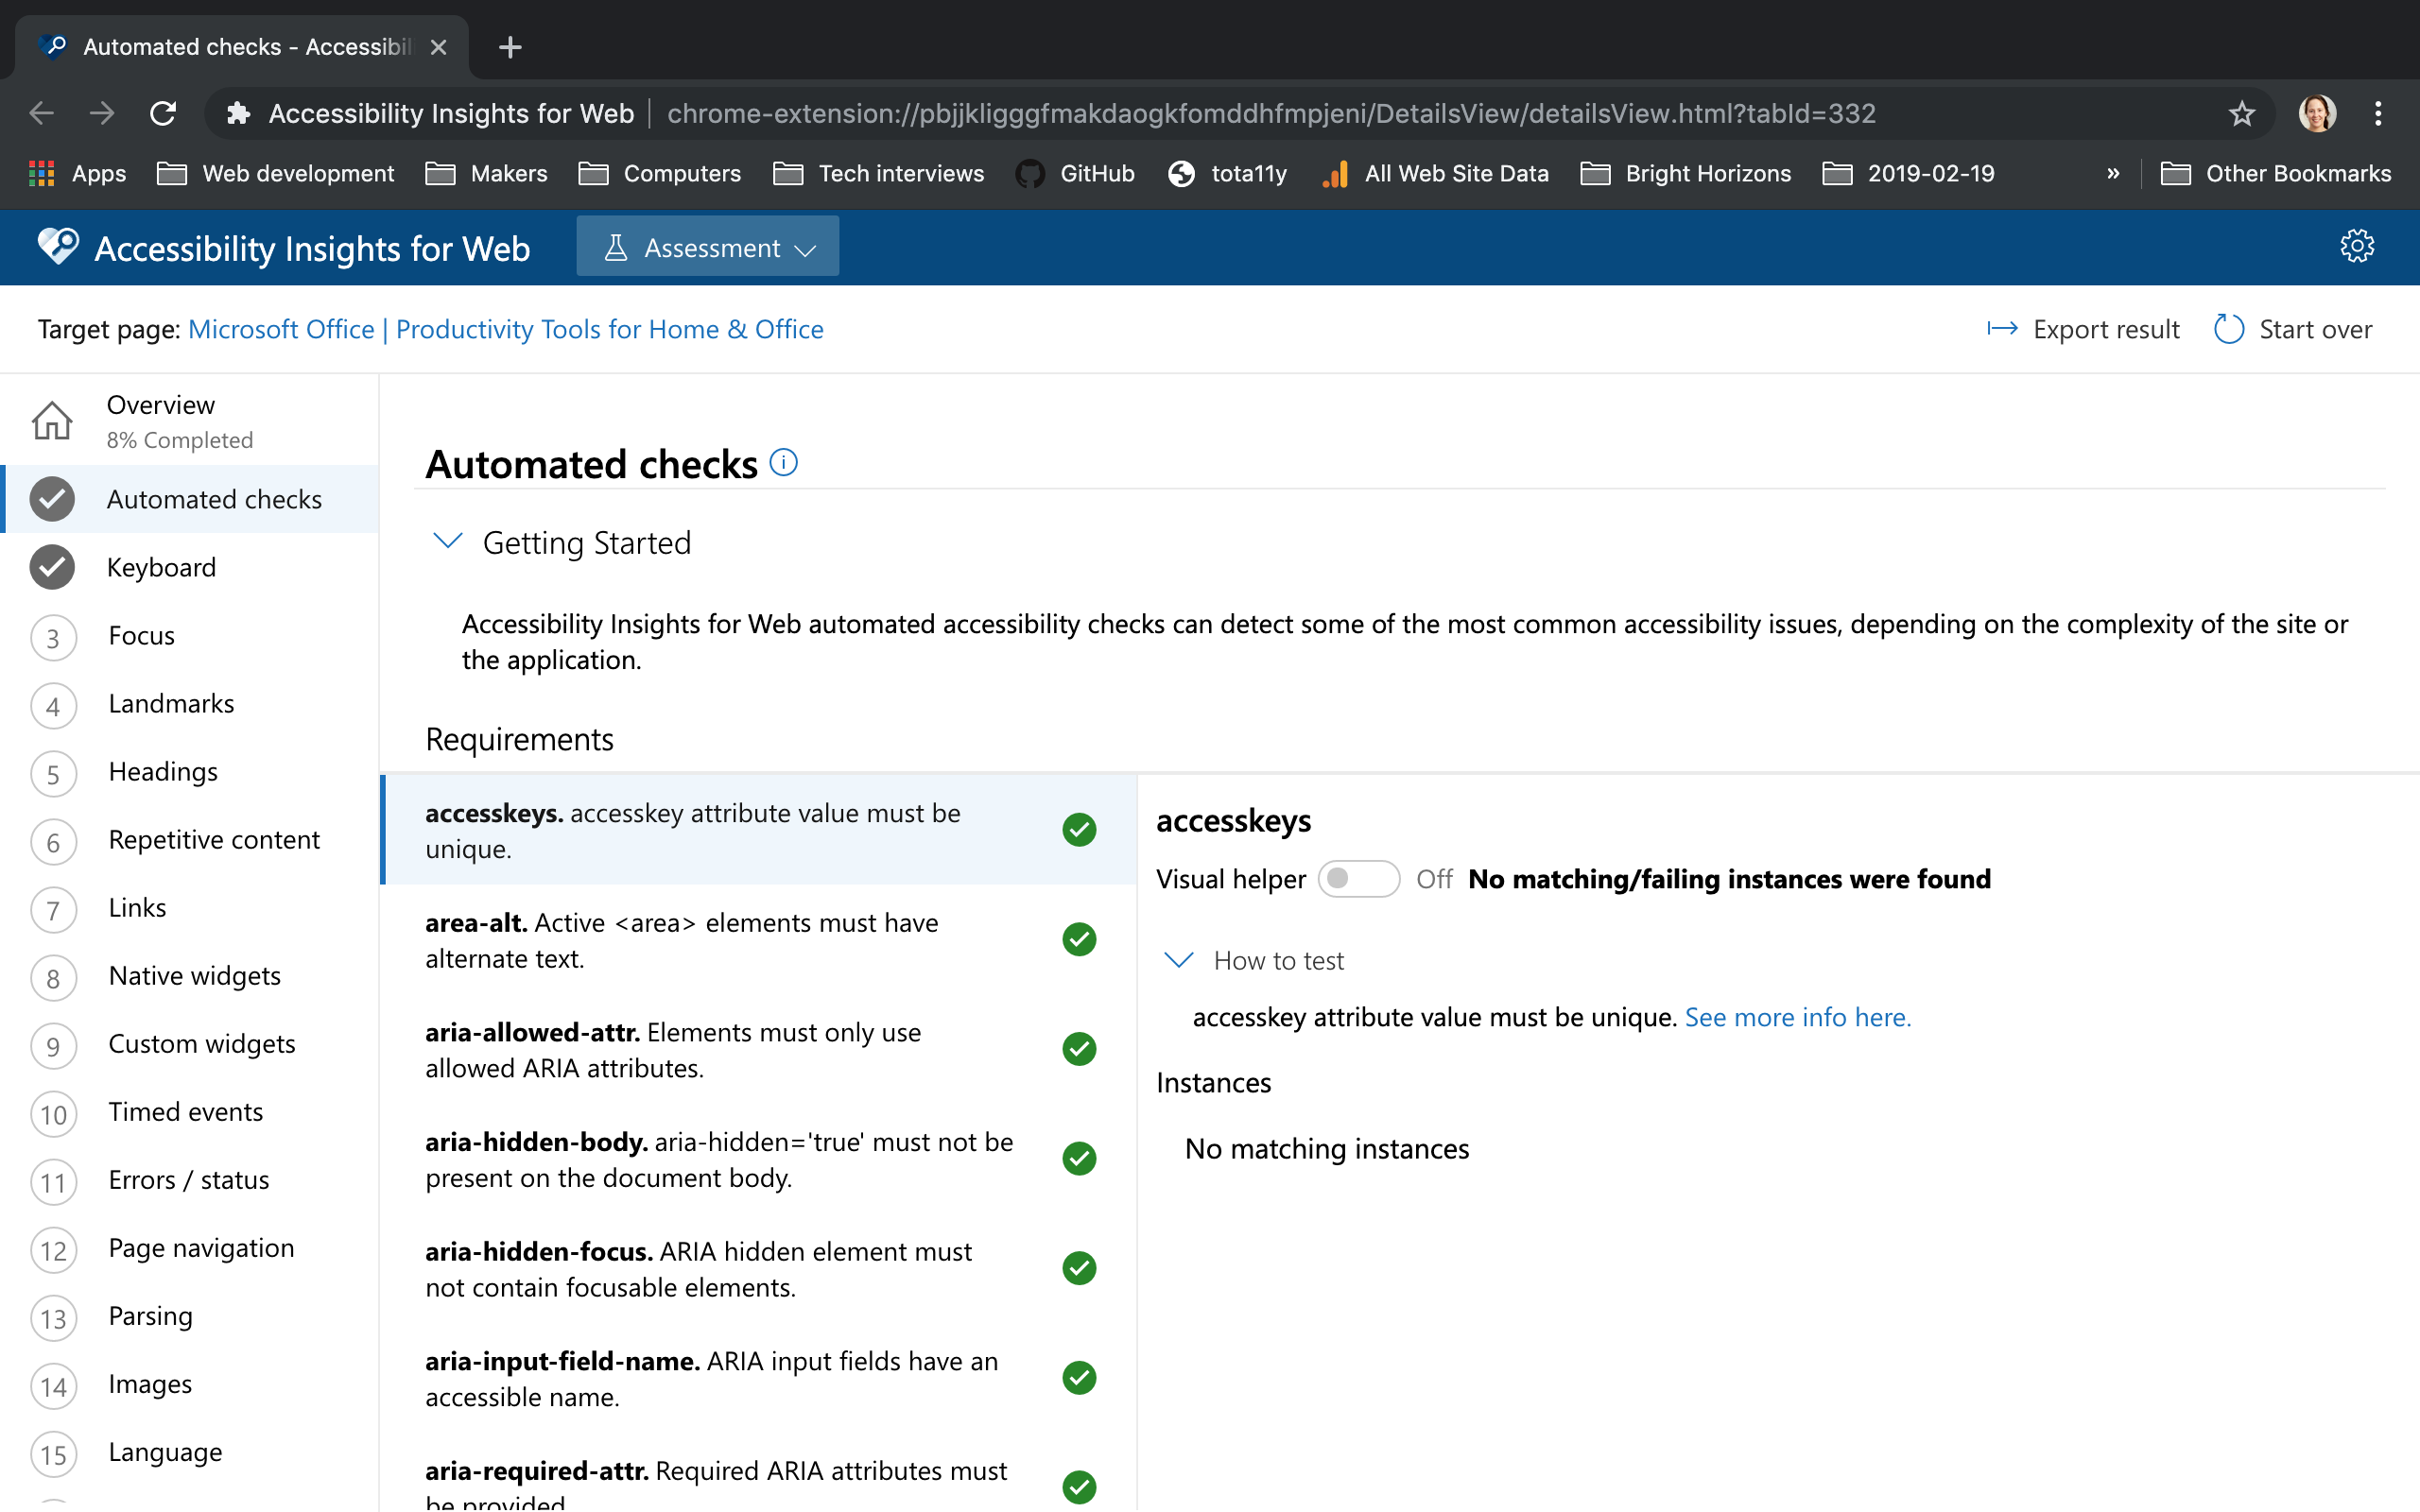
- Assessment which, on top of the automated tests, provides step-by-step instructions on how to manually check for issues that can’t be verified automatically.
- Ad hoc tools which gives you a few more tools to check different aspects of your pages, like color contrast, headings, landmarks, or tab stops.
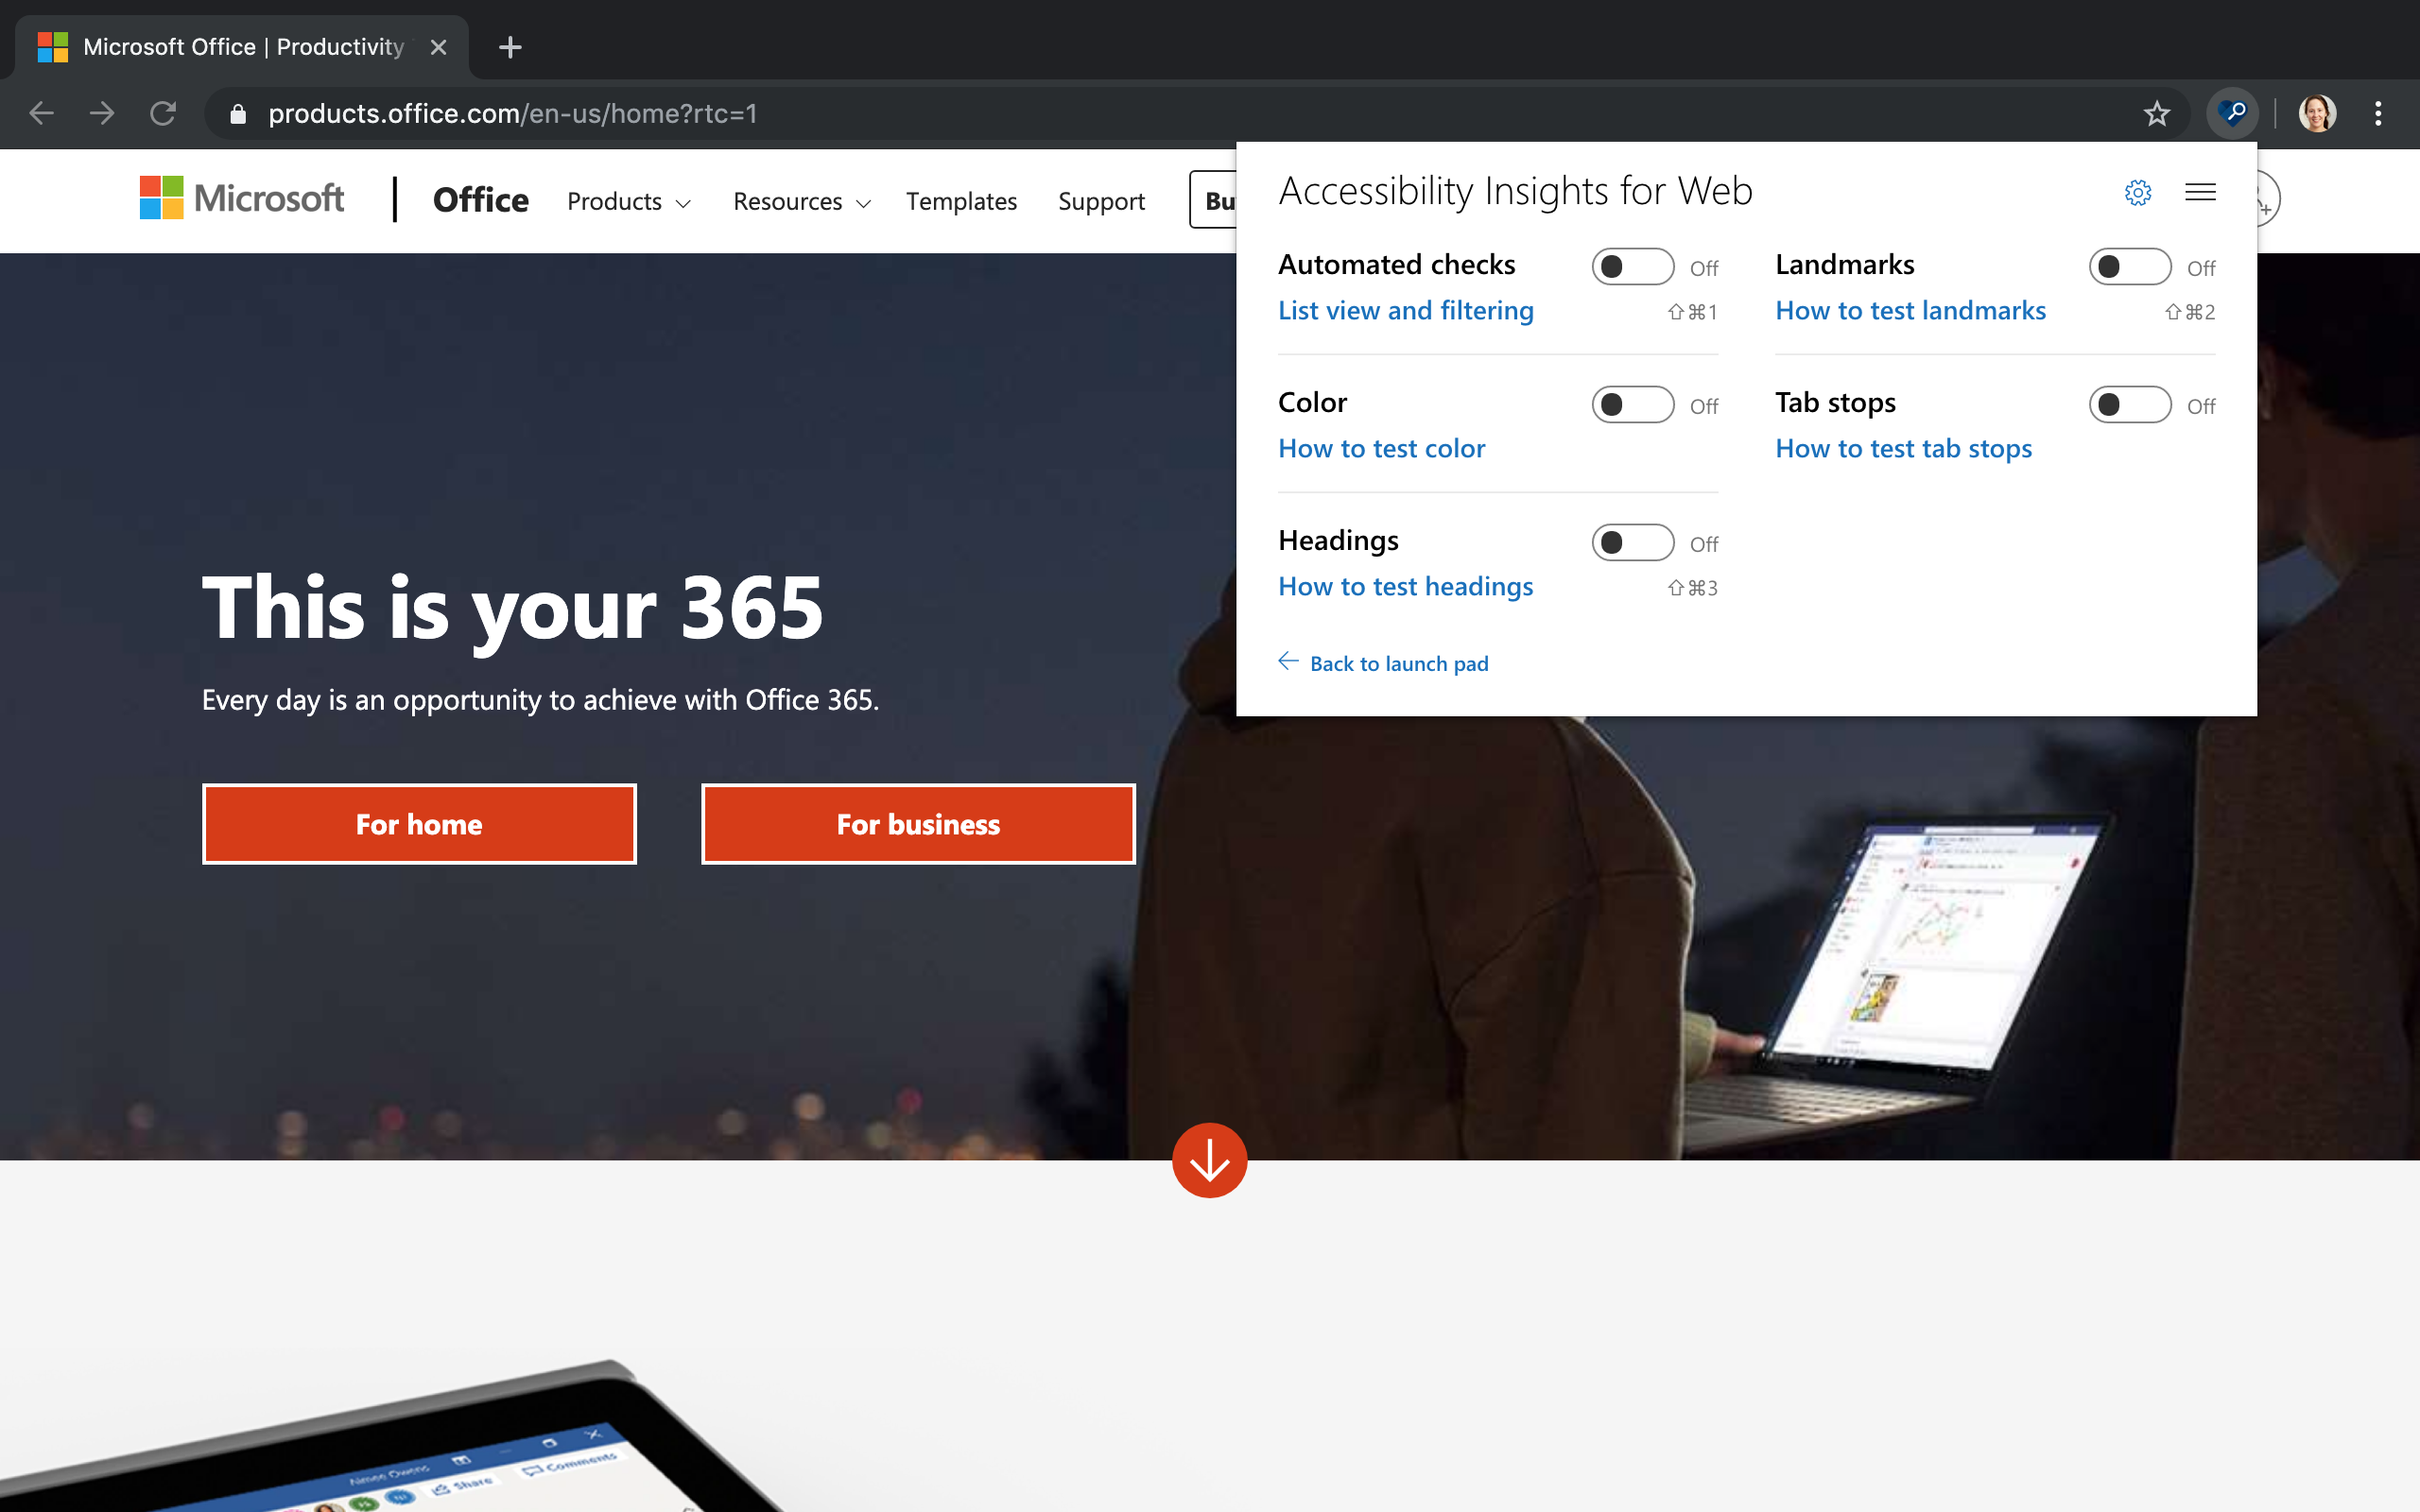
It’s unfortunate that the tool is only available as a browser extension, because its results are really good, and I’d love to be able to integrate it into the CI/CD pipeline of my projects. 😓
Tota11y - Khan Academy
Tota11y is a bookmarklet developed by Khan Academy. You can drag it to your list of bookmarks, navigate to the page you want to evaluate, and click on the bookmark. It will add a small button on the bottom left corner of your page, which you can then click to run different accessibility audits:
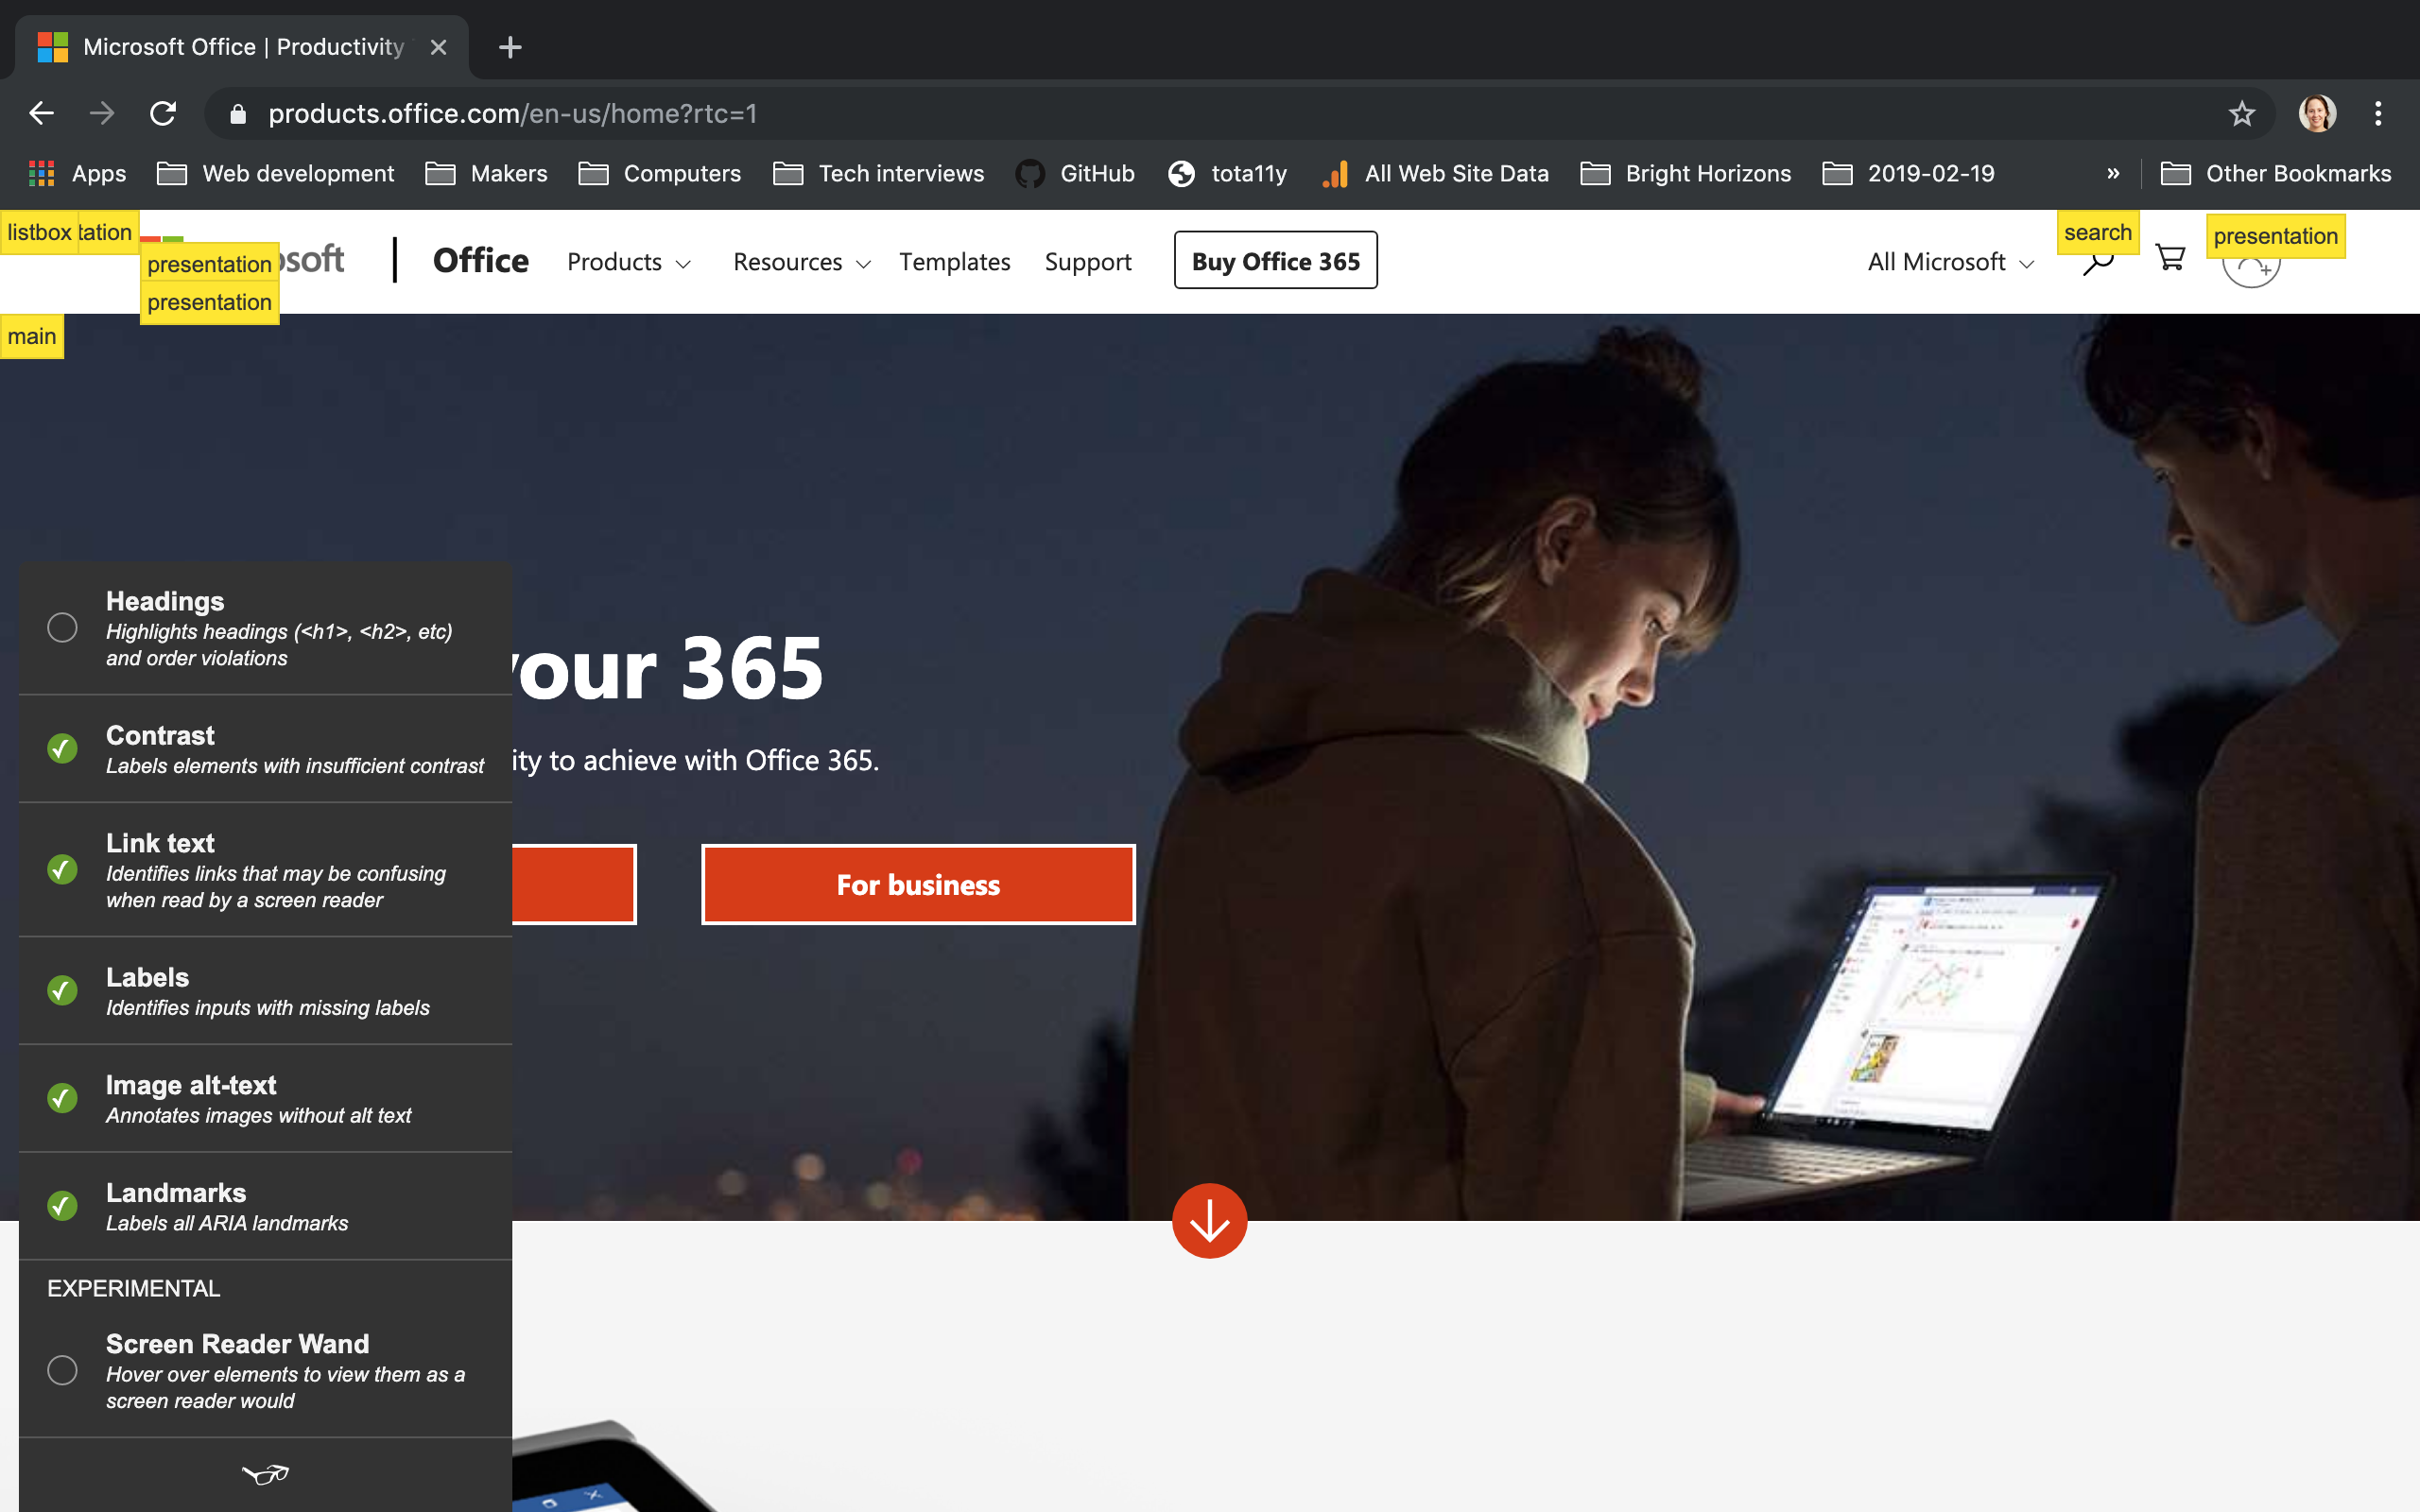
It will check things like heading hierarchy, sufficient contrast, control labeling, image alt text, etc.
It’s really easy to run on any page, and gives clear and actionable results. The downside is that you can’t run it from the terminal, so you can’t fully automate its execution.
axe - Deque
Finally, there’s axe, an accessibility testing engine developed by Deque Systems, a major accessibility vendor.
Interestingly, most of the tools we were discussing above (Lighthouse, webhint, Accessibility Insights for Web) use axe under the hood. You can consume it directly in your projects as an npm package:
npm install --save-dev axe-core
You can then integrate it into your test suite however you want. For example, if you have a React app, and you’re using Jest for testing, you could create a unit test that verifies whether your component meets your accessibility requirements:
import axe from "axe-core";
import React from "react";
import ReactDOM from "react-dom";

import Link from "./Link";

const axeConfig = {
  // Any custom config would go here.
};

const axeRun = component =>
  new Promise((resolve, reject) => {
    // Mount the component on the DOM...
    const wrapper = document.createElement("div");
    document.body.appendChild(wrapper);
    ReactDOM.render(component, wrapper);
    // ... and run axe.
    axe.run(wrapper, axeConfig, (err, result) => {
      if (err) {
        reject(err);
      } else {
        resolve(result);
      }
    });
  });

describe("Link", () => {
  it("meets a11y", async () => {
    const { violations } = await axeRun(
      <Link href="https://products.office.com">Microsoft Office</Link>
    );

    expect(violations).toHaveLength(0);
  });
});
If your component has accessibility issues, you’ll see the test fail like this:
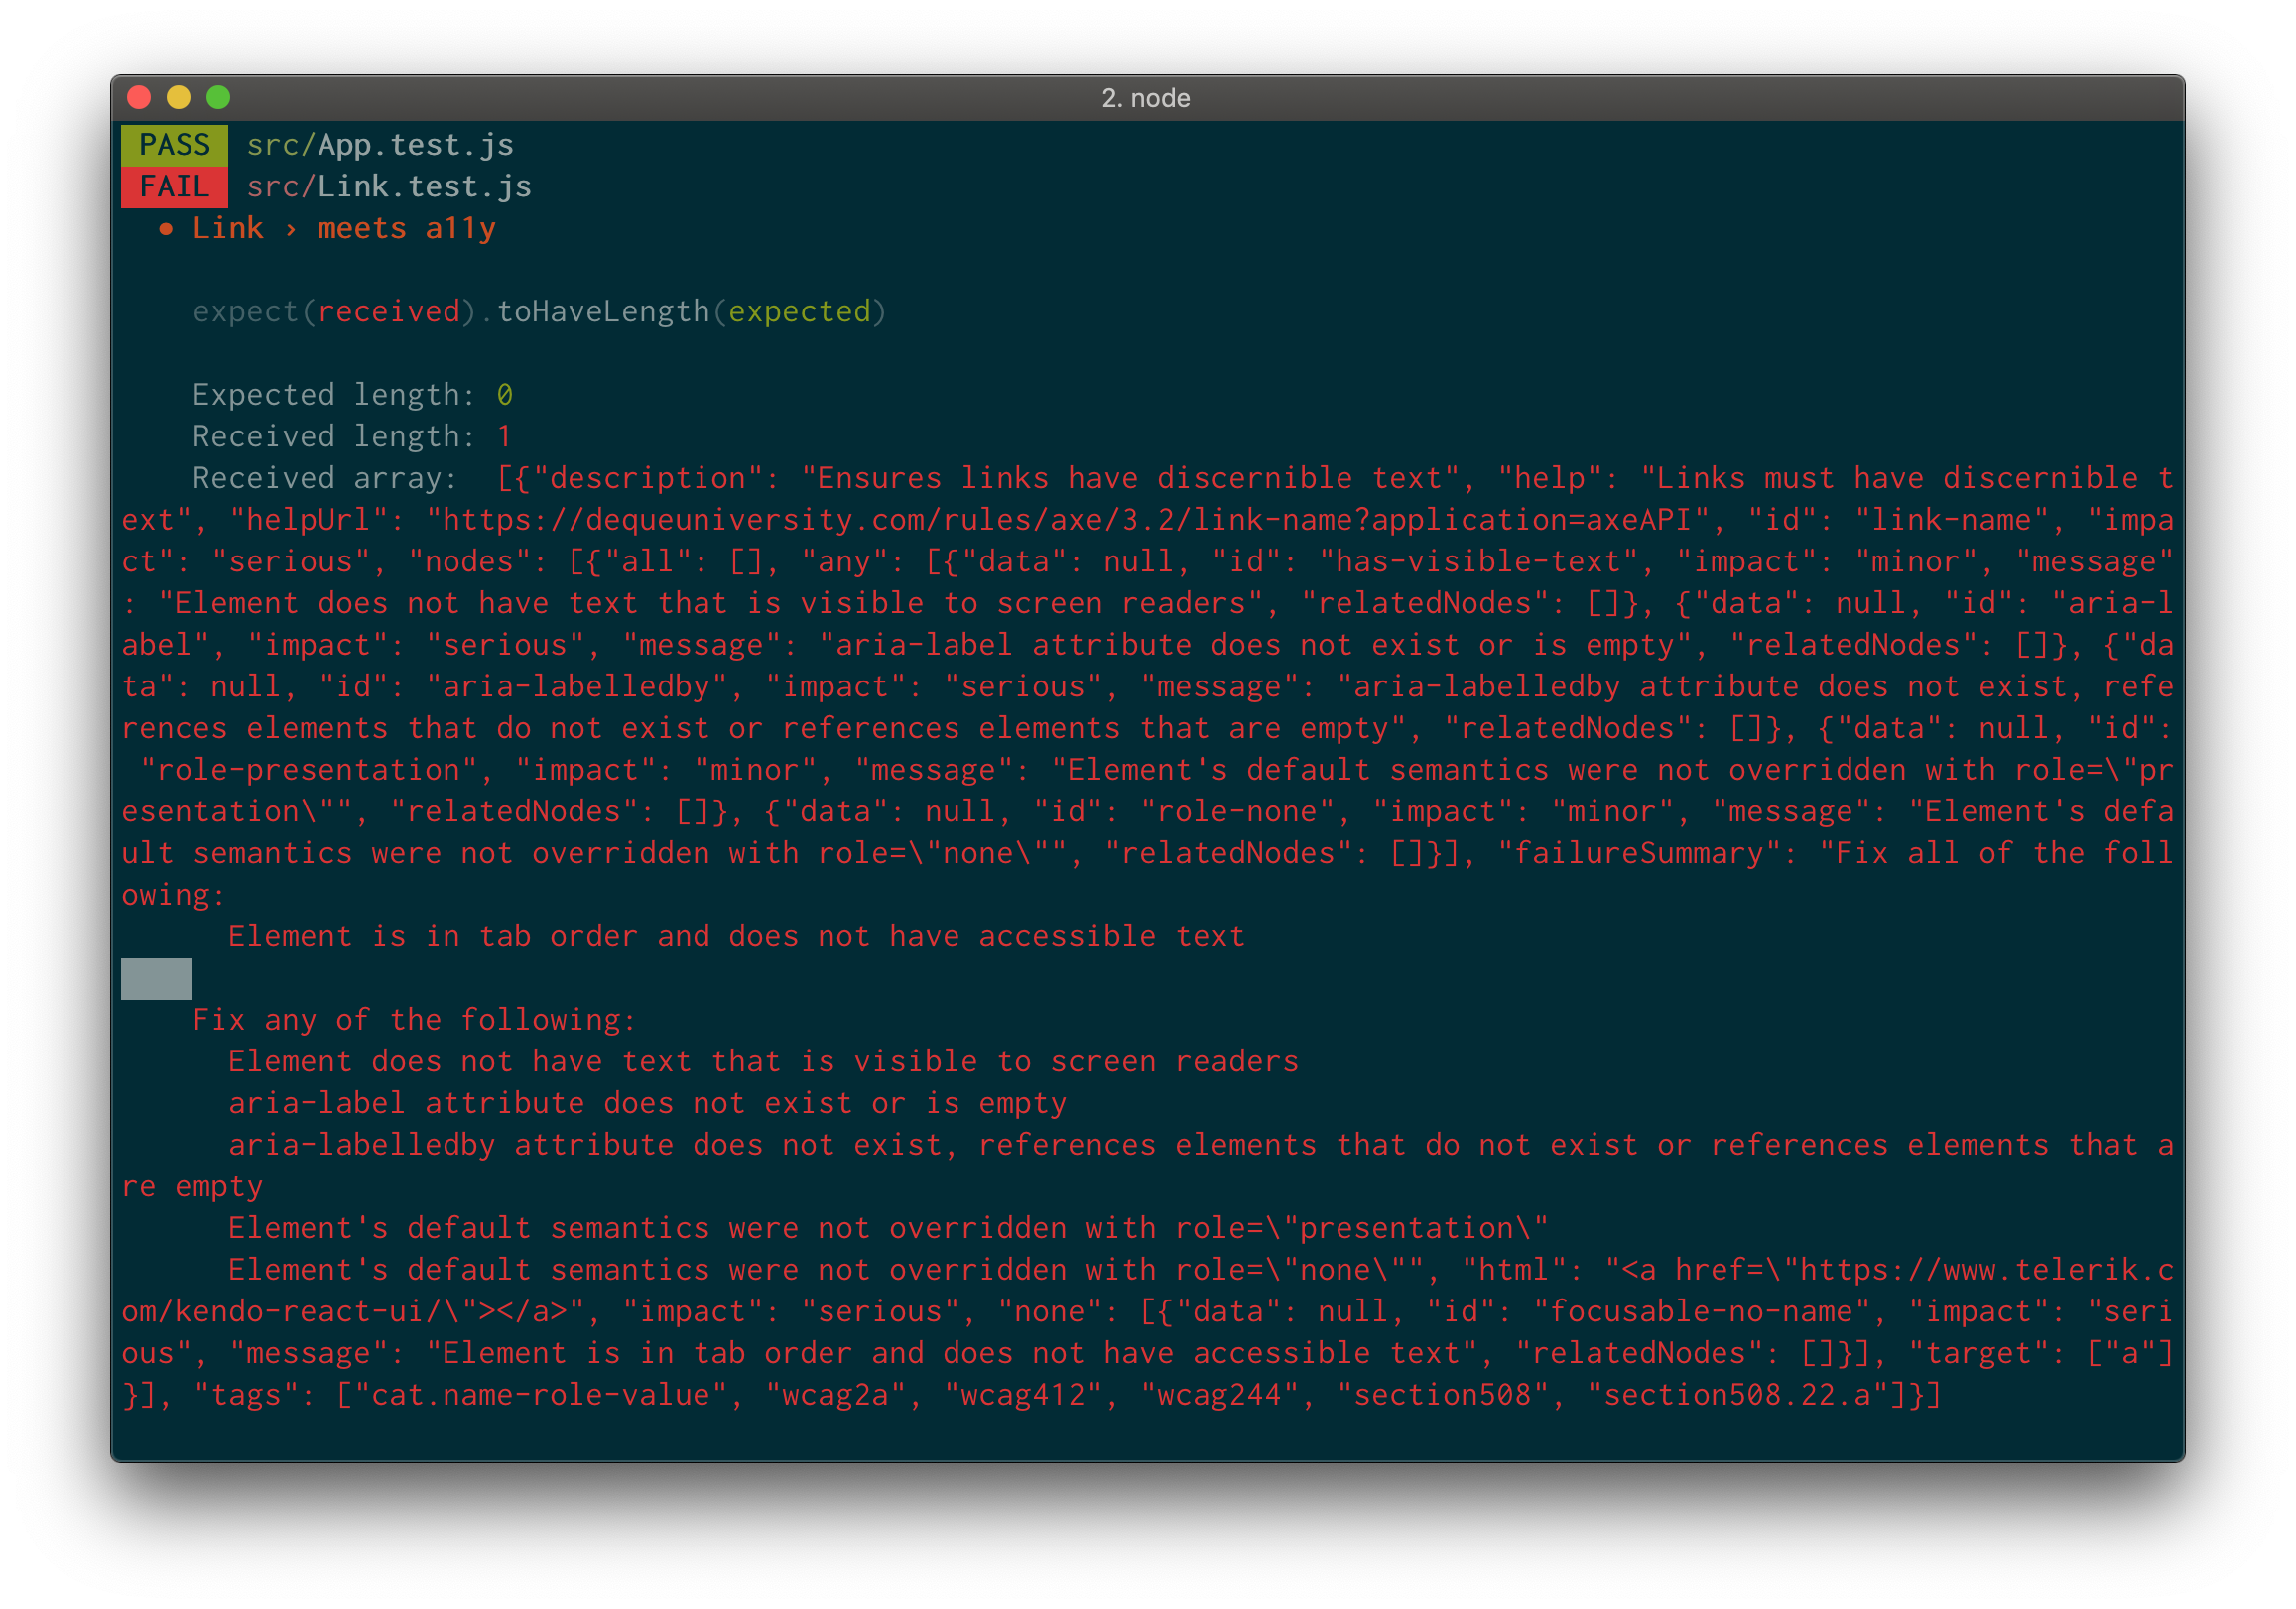
You can format the output to make it more readable with a helper function. In any case, axe allows you to run accessibility checks as part of your normal unit tests, which is very convenient.
Conclusion
Automated accessibility testing is one more tool in your toolbox. It works great in combination with manual quality assurance and user testing, but doesn’t replace those practices. Make sure you get real user feedback!
This post was originally published at https://www.telerik.com/blogs/the-need-for-automated-accessibility-testing.