We are going to continue developing our app following my previous post Building your Node app with Express and Sequelize.
Migrating from Jade to EJS
The default view engine for apps generated with express-generator is jade, but we want to switch to ejs because it looks just like HTML, so it’s easier to read.
To migrate from jade to ejs the first thing we have to do is install the corresponding module as follows:
$ npm install --save ejs
Then, in our app.js file we’ll include the module as our view engine of choice:
// app.js

app.set('view engine', 'ejs');
ejs allows us to write HTML and add bits of JS logic very easily. Let’s change the .jade extension of our views to .ejs, and translate their content to HTML with JS embedded. Our new files will look like these:
<!-- views/layout.ejs -->

<!DOCTYPE html>
<html>
  <head>
    <meta charset="utf-8" />
    <title><%= title %></title>
    <link rel="stylesheet" href="/stylesheets/style.css" />
  </head>
  <body>
    <%- body %>
  </body>
</html>
<!-- views/index.ejs -->

<h1><%= title %></h1>
<p>Welcome to <%= title %></p>
<!-- views/error.ejs -->

<h1><%= message %></h1>
<h2><%= error.status %></h2>
<pre>
  <%= error.stack %>
</pre>
By using a layout, we don’t need to repeat the head of the document, or any other elements that stay the same in all views. That’s why our views/index.ejs and views/error.ejs files look incomplete. Their content will be embedded into the <body> element of our views/layout.ejs.
However, if we try to start the app now, we’ll see that the layout is not applied (we are missing all the styles in our CSS for example):
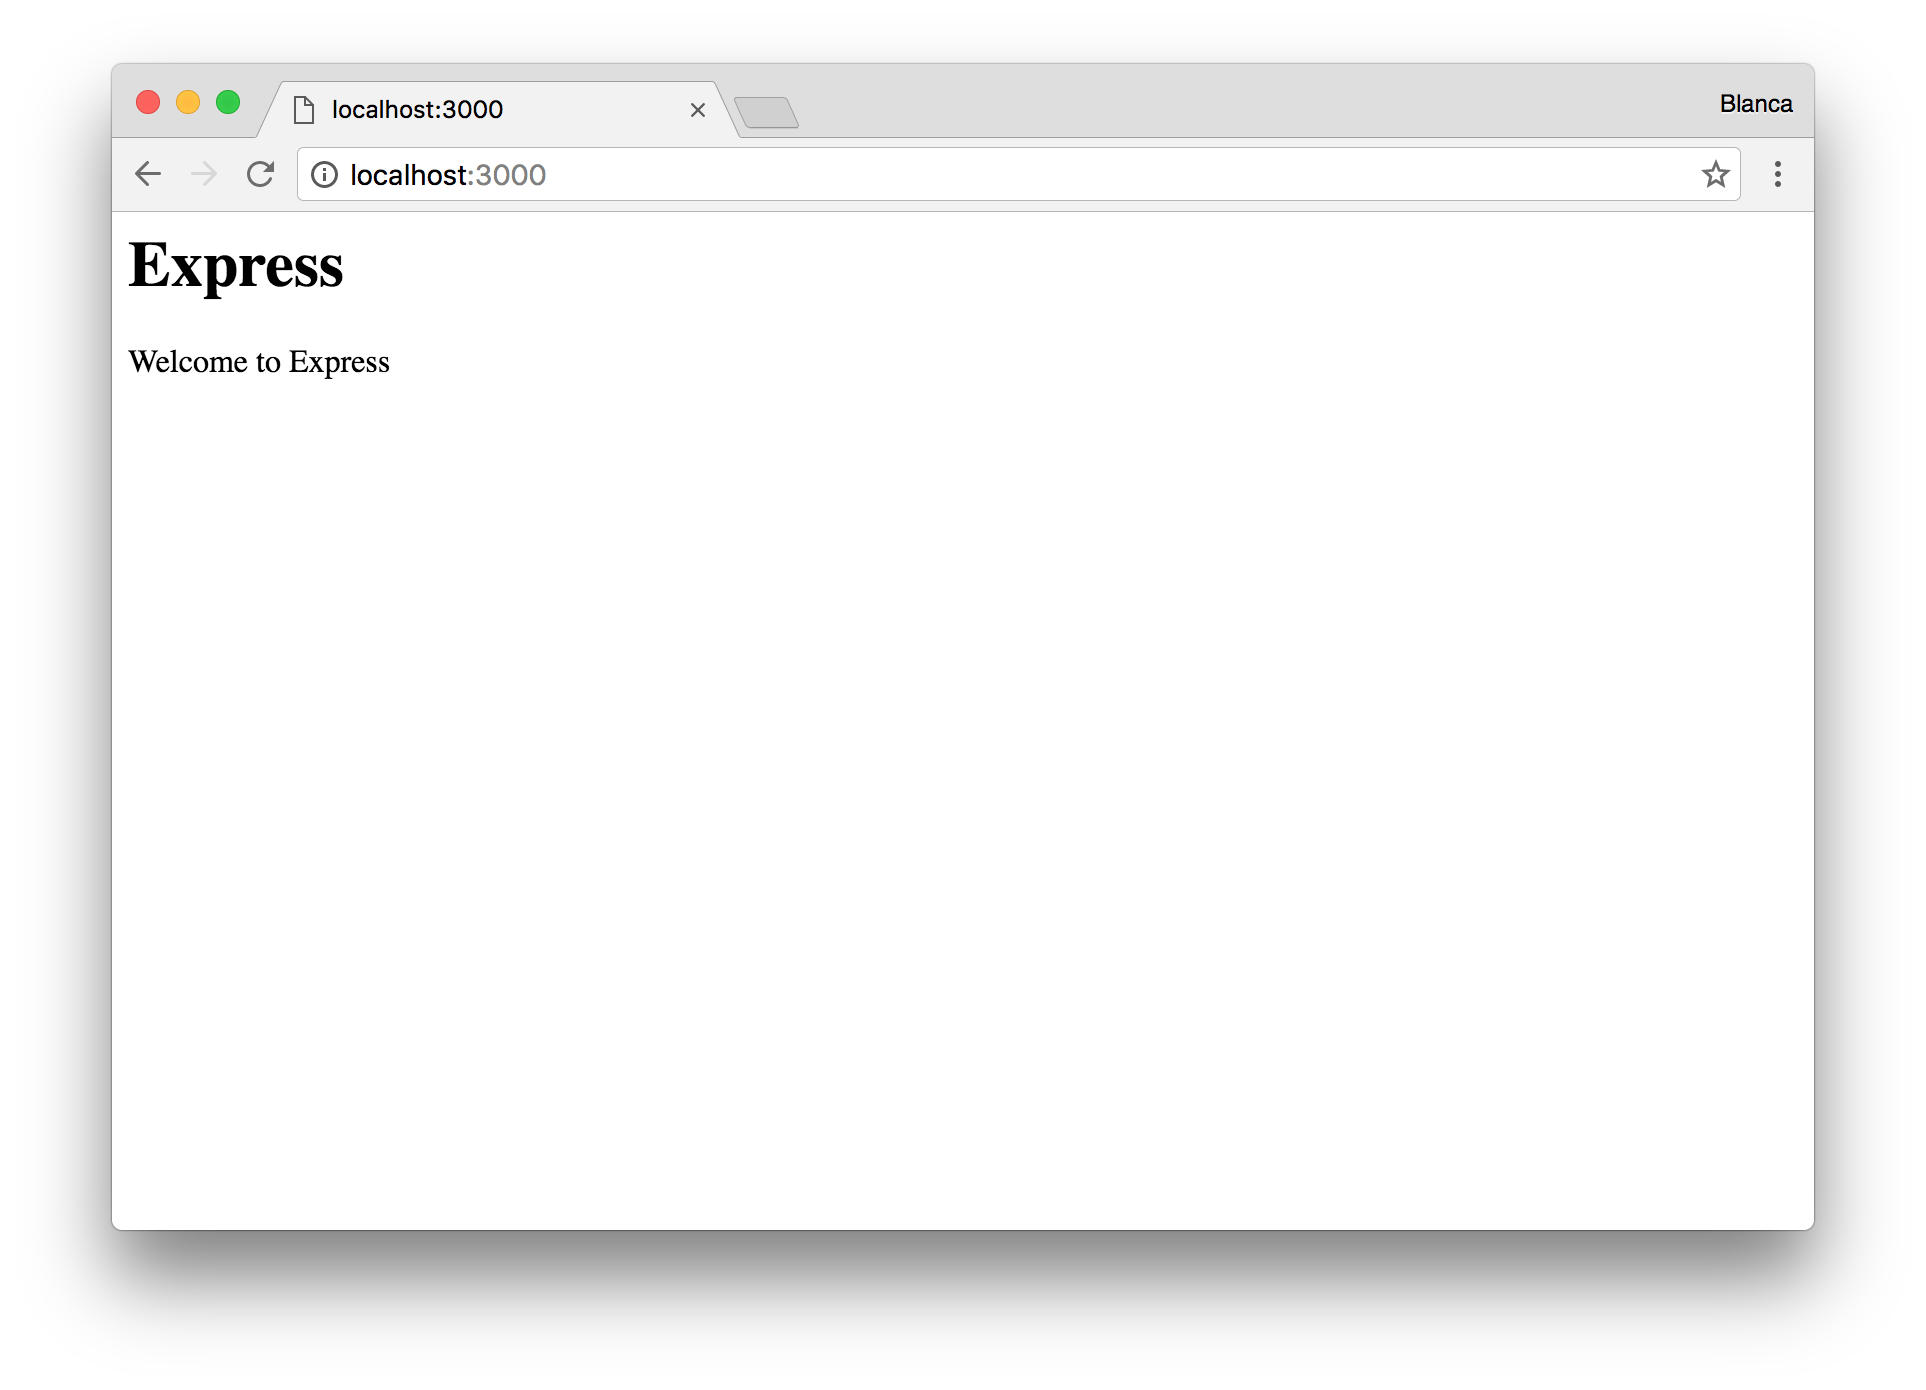
ejs doesn’t support layouts by default, so we will need to install a module to do that for us:
$ npm install --save express-ejs-layouts
After installing it, we have to require it in our app.js and tell express to use it:
var express = require('express');
var expressLayouts = require('express-ejs-layouts');

var app = express();

app.set('view engine', 'ejs');

app.use(expressLayouts);
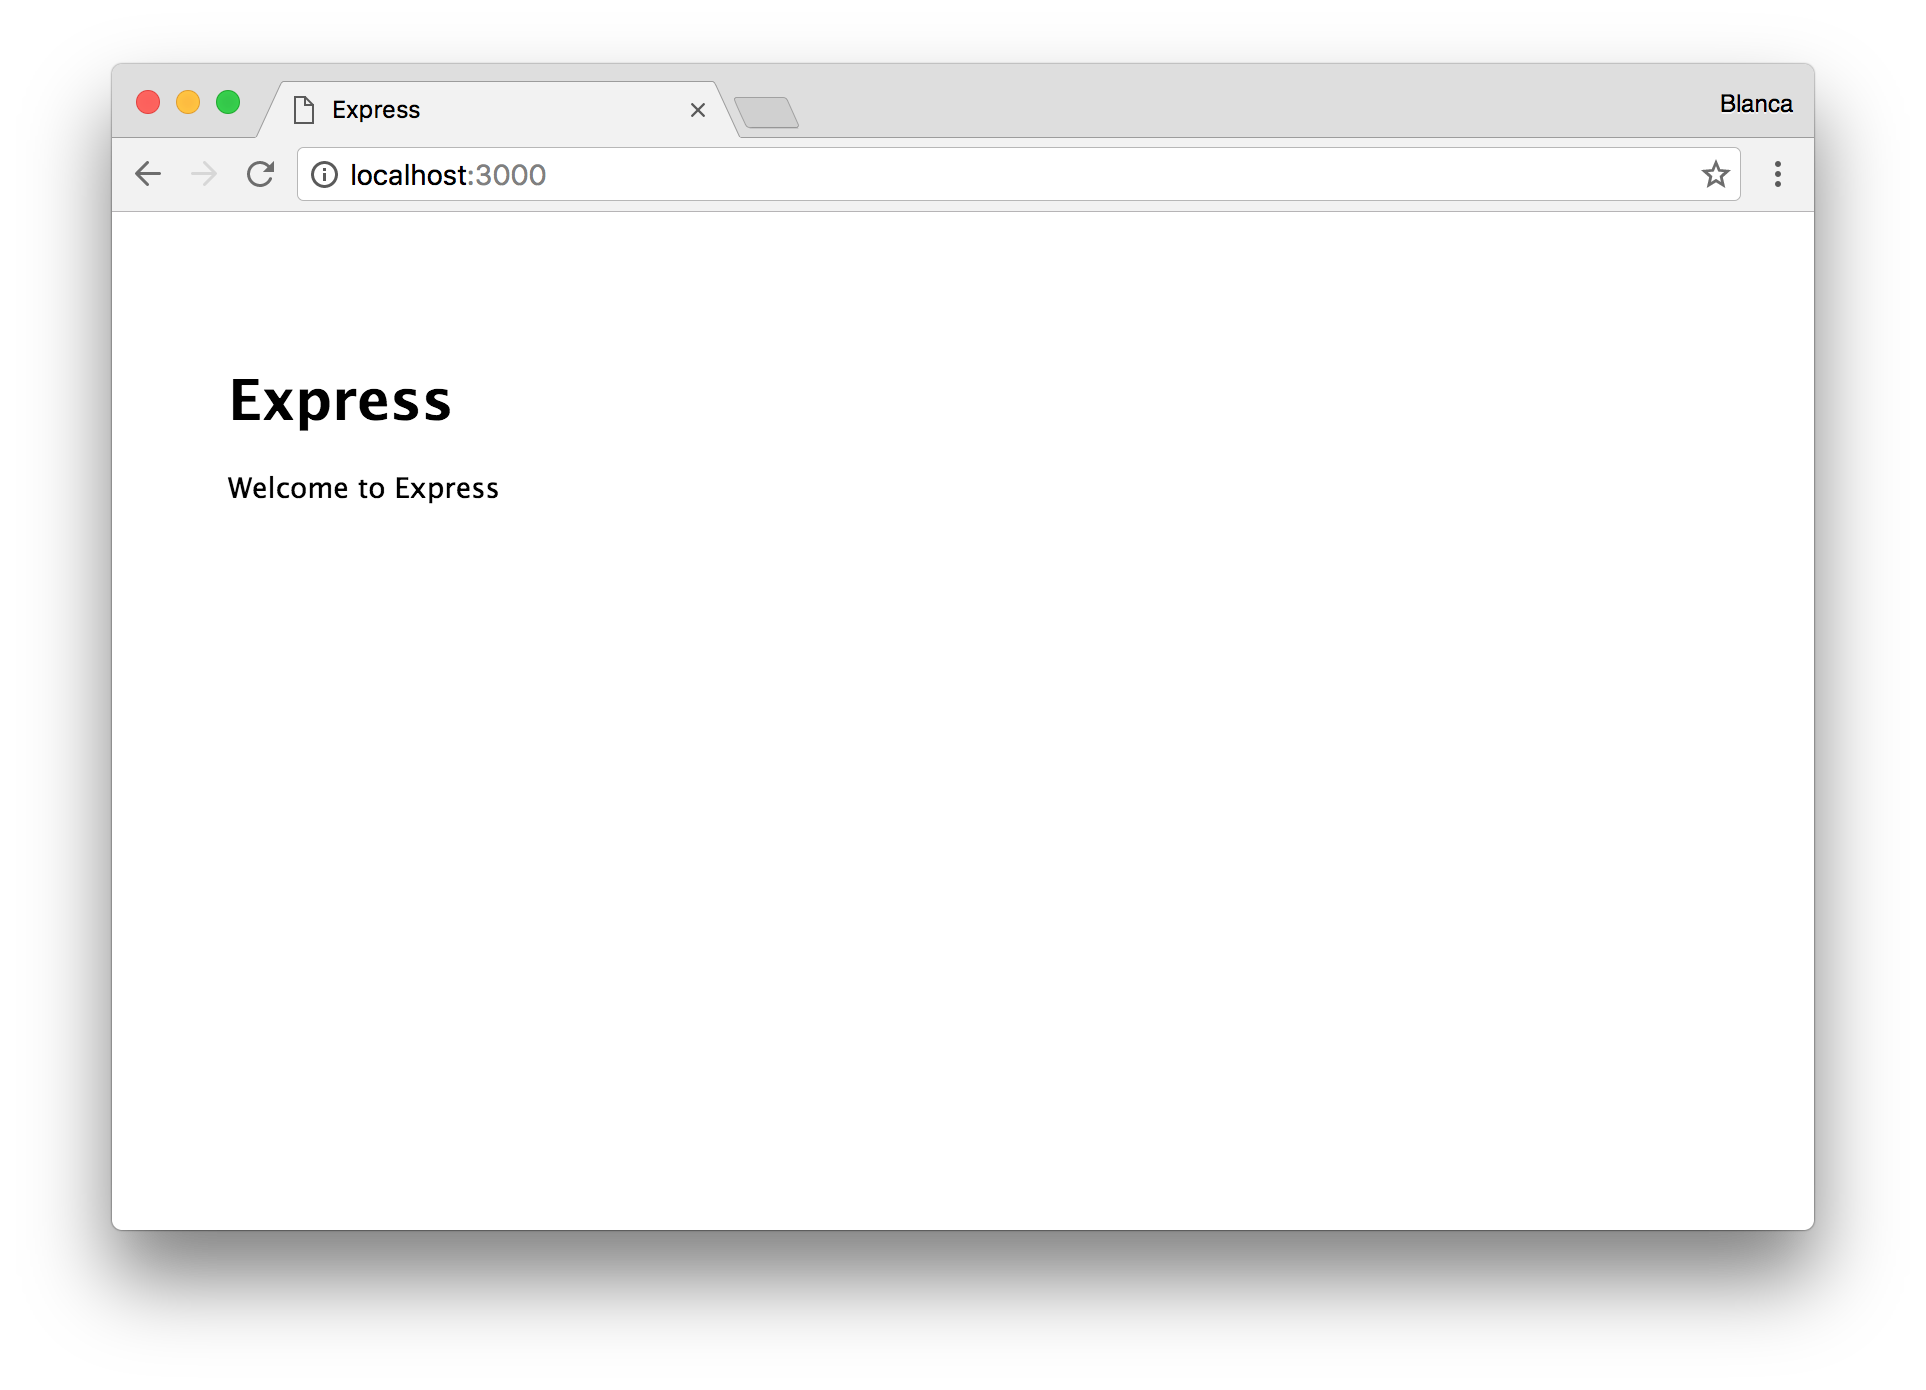
Now we have ejs as our view engine, and we can show a default layout in all our views. Awesome!
Displaying users
In order for us to be able to list the users of our app, we need to get the list of all users, and pass them to the view. In order to get all users, we’ll need to require the folder models and call models.User.findAll:
// routes/index.js

var models = require('../models');

router.get('/', function(req, res, next) {
  models.User.findAll().then(function(users) {
    res.render('index', {
      title: 'MakersBnB',
      users: users
    });
  });
});

module.exports = router;
Note that User.findAll doesn’t return the list of users. It instead returns a promise to return the list of users, so we need to call then on the promise, and pass it a callback (User.findAll().then(function(users) {...})). That way we’ll be notified when Sequelize fetches all users from the database.
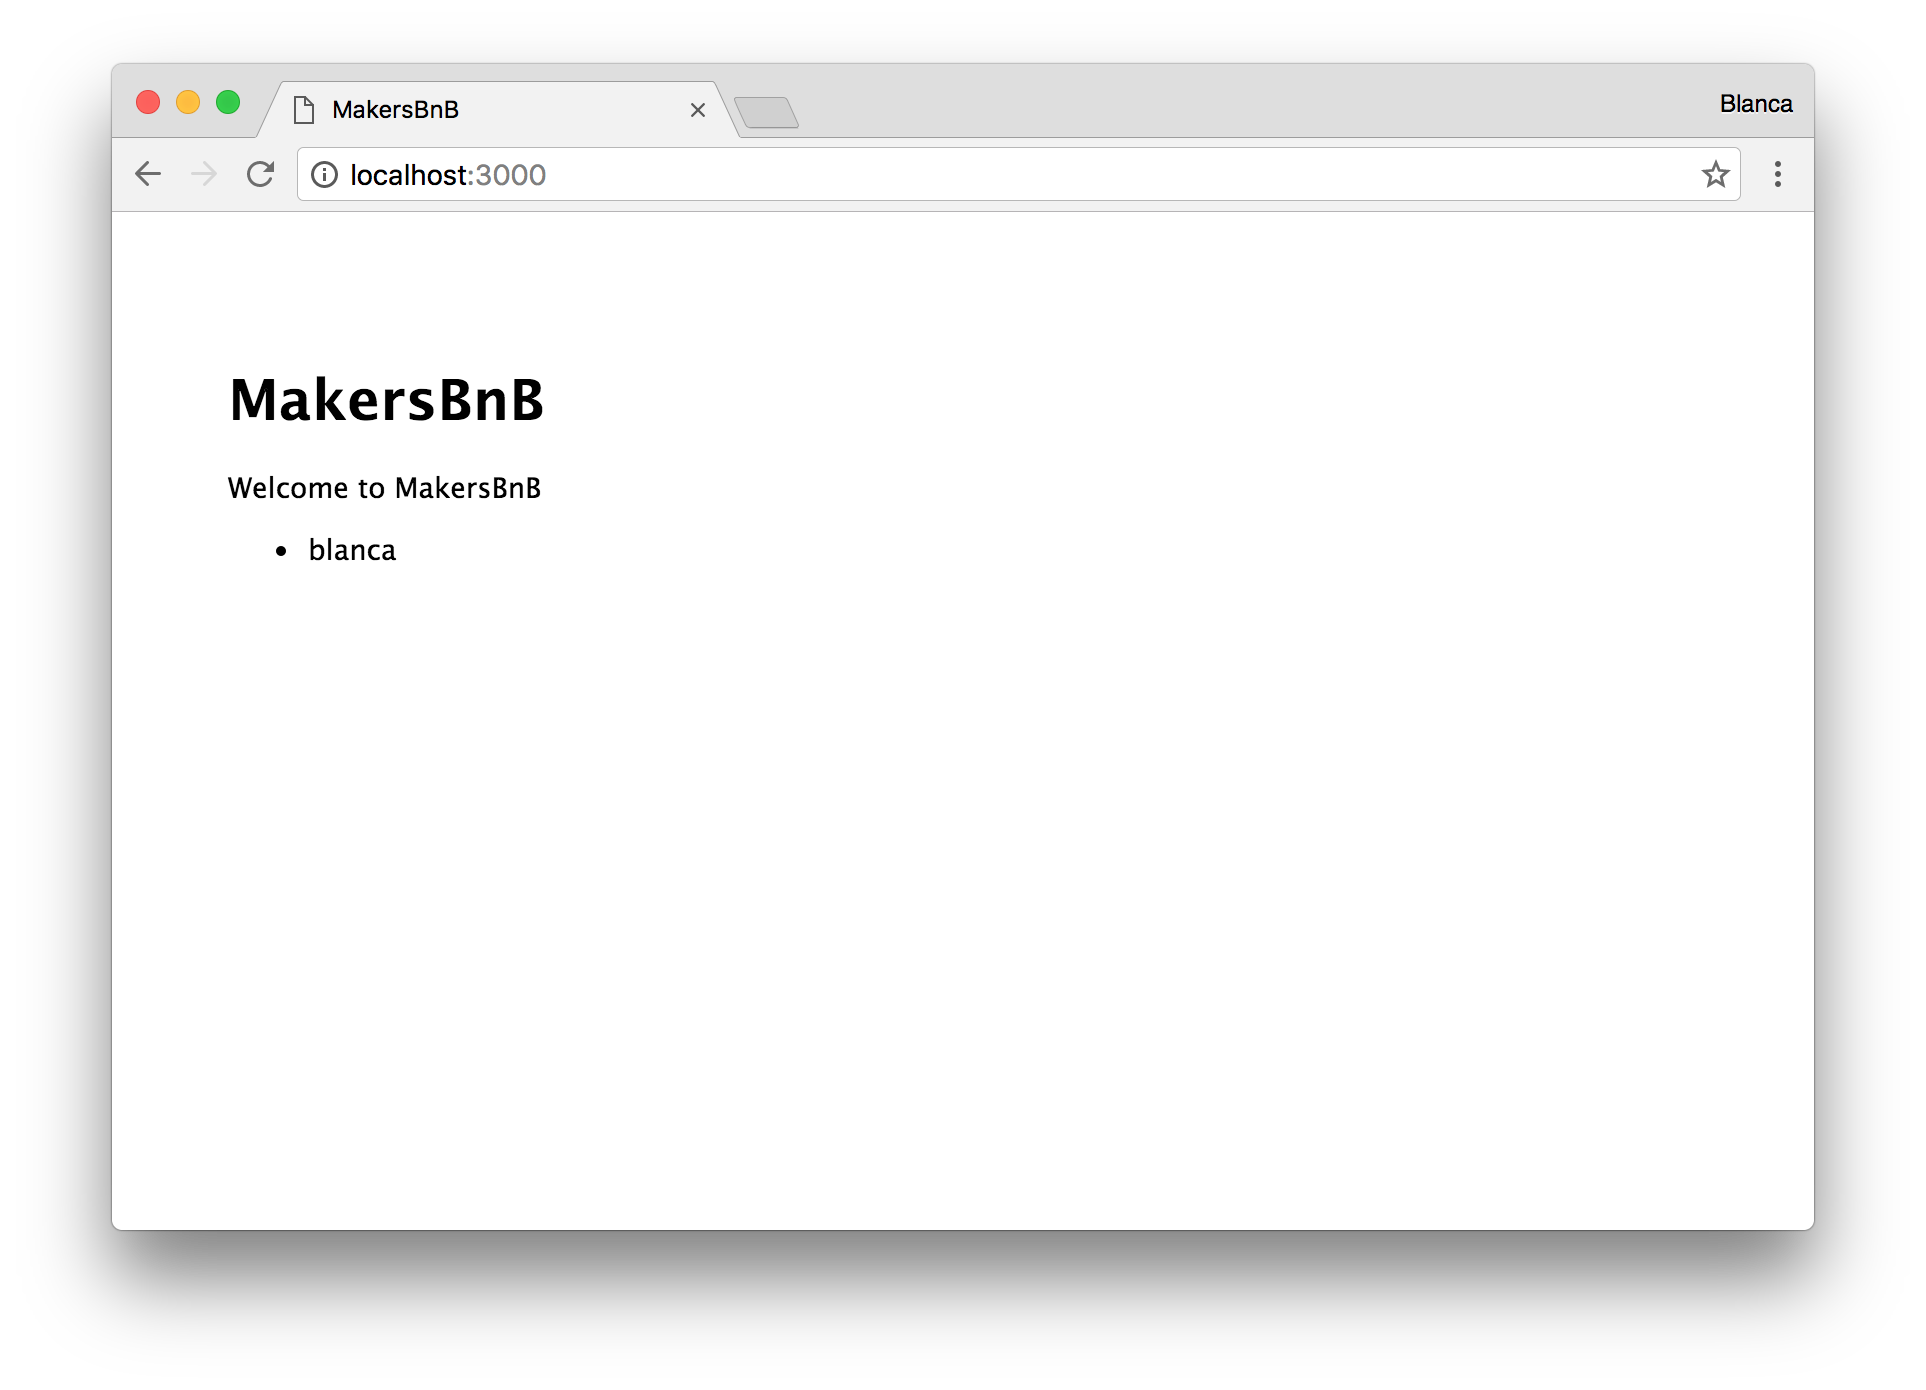
In the view, we can iterate over the array of users and print them in an unordered list:
<!-- views/index.ejs -->

<ul>
  <% users.forEach(function(user) { %>
    <li>
      <%= user.username %>
    </li>
  <% }) %>
</ul>
Nice!
Creating new users
In order to create new users, we will include a <form> in the view views/index.ejs with the username field:
<!-- views/index.ejs -->

<form action="/users" method="post">
  <fieldset>
    <legend>Create a new user</legend>
    <label>
      Username:
      <input type="string" name="username" />
      <input type="submit" value="Create user" />
    </label>
  </fieldset>
</form>
When the user clicks the submit button after entering their username, an HTTP POST request is sent to the /users endpoint of the server. We need to create this endpoint and get the username from the body of the request to create a new user.
Since we have defined in our app.js that every route related to users will start with /users:
// app.js

var users = require('./routes/users');

app.use('/users', users);
We won’t need to specify it again in our POST handler, so the path will just be /:
// routes/users.js

var express = require('express');
var router = express.Router();

/* POST new user. */
router.post('/', function(req, res) {
  // ...
});

module.exports = router;
In order for us to create a user, we need to require models and call models.User.create. After the creation is completed, we will redirect the browser to /, so that the home view of our app is rendered with the new user:
// routes/users.js

var models = require('../models');

/* POST new user. */
router.post('/', function(req, res) {
  models.User.create({ username: req.body.username }).then(function() {
    res.redirect('/');
  });
});
Displaying listings
In order to get the listings for each user, we can pass the include option to findAll, and Sequelize will take care of joining the two tables:
// routes/index.js

/* GET home page. */
router.get('/', function(req, res) {
  models.User.findAll({ include: [ models.Listing ] }).then(function(users) {
    res.render('index', {
      title: 'MakersBnB',
      users: users
    });
  });
});
We’ll display the listings in an unordered list, iterating over the array of listings for each user, and printing their title and description:
<!-- views/index.ejs -->

<ul>
  <% users.forEach(function(user) { %>
    <li>
      <!-- ... -->
      <ul>
        <% user.Listings.forEach(function(listing) { %>
          <li>
            <%= listing.title %>
            <%= listing.description %>
          </li>
        <% }) %>
      </ul>
    </li>
  <% }) %>
</ul>
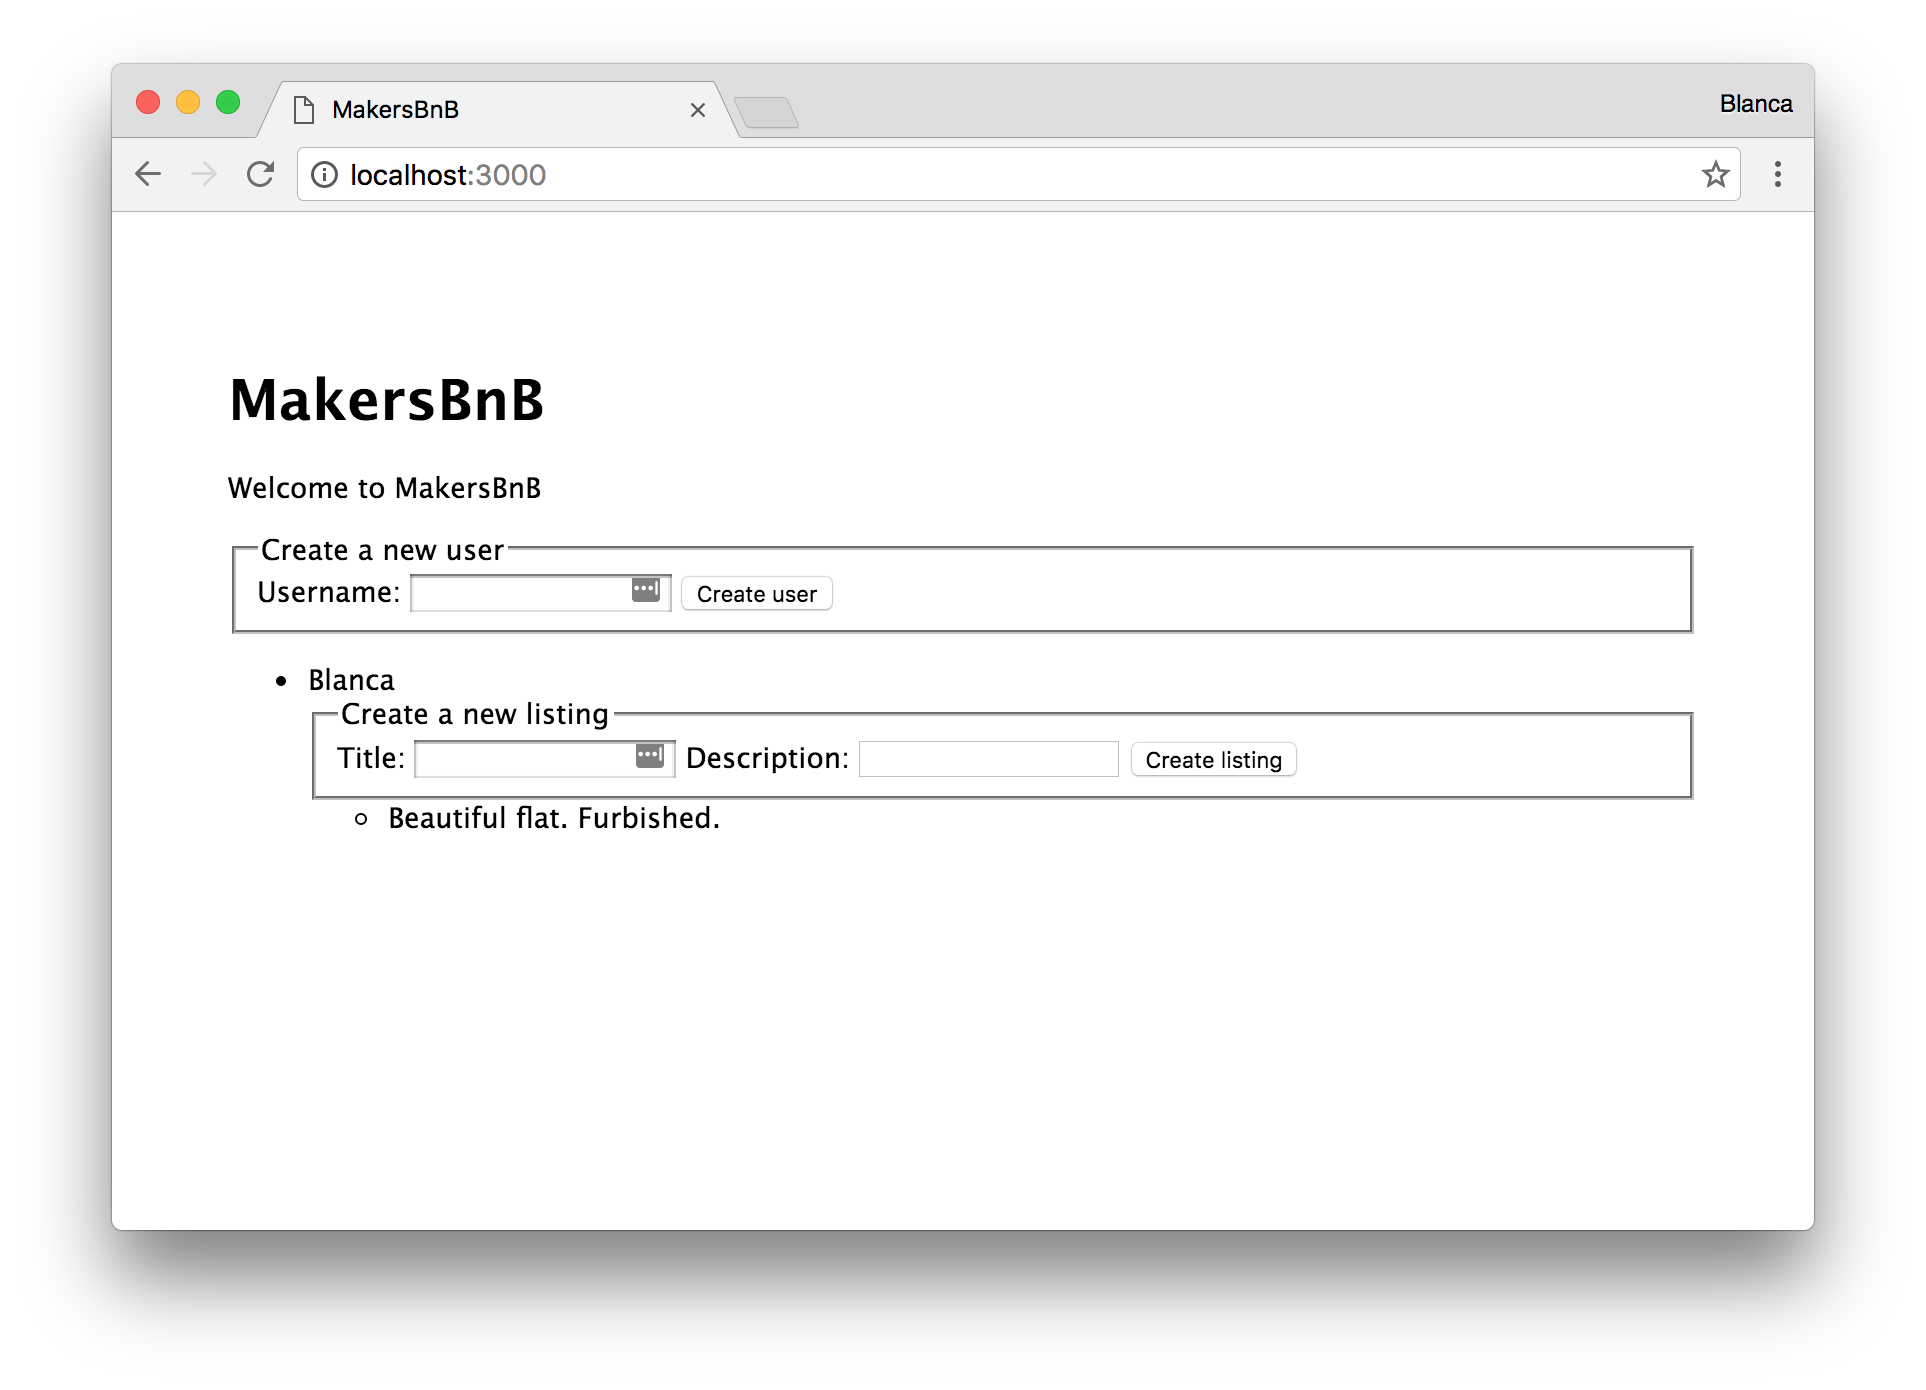
Creating new listings
In order to create new listings, we will include a <form> for each user, so that they can enter the title and description for their new listing:
<!-- views/index.ejs -->

<ul>
  <% users.forEach(function(user) { %>
    <li>
      <!-- ... -->
      <form action="/users/<%= user.id %>/listings" method="post">
        <fieldset>
          <legend>Create a new listing</legend>
          <label>
            Title:
            <input name="title" />
          </label>
          <label>
            Description:
            <input name="description" />
          </label>
          <input type="submit" value="Create listing" />
        </fieldset>
      </form>
      <!-- ... -->
    </li>
  <% }) %>
</ul>
When the user clicks the submit button, an HTTP POST request is sent to the /users/:UserId/listings endpoint of the server. Our endpoint will need to get both the UserId from the URL and the title and description from the body of the request, and use them to create a new listing by calling models.Listing.create. After the creation is completed, we will redirect the browser to /, so that the home view of our app is rendered with the new listing:
// routes/users.js

router.post('/:UserId/listings', function(req, res) {
  models.Listing.create({
    UserId: req.params.UserId,
    title: req.body.title,
    description: req.body.description
  }).then(function() {
    res.redirect('/');
  });
});