If you want to build a web app that needs to connect to a database, Node and Sequelize are a great choice. If you follow these instructions, you’ll have everything running in no time.
Express setup
If you haven’t already installed Node, check out my previous article on setting up my development environment. With that out of the way, let’s create a directory to hold our application, and make it our working directory:
$ mkdir my_app
$ cd my_app
Then, run npm init -y to create a package.json file. This file will list all the dependencies necessary for our project, as well as some other metadata.
Once we have completed this step, it’s time to install Express, a minimalist web framework for Node. We can do so by running:
$ npm install --save express
This command will install the Express package into our node_modules folder, and it will also include it in our package.json file.
Let’s also install the package express-generator globally to help us create a skeleton Express app:
$ npm install -g express-generator
Once express-generator is installed, we can create a sample app by running:
$ express -f
This command will create the following folders and files for us:
.
├── app.js
├── bin
│   └── www
├── package.json
├── public
│   ├── images
│   ├── javascripts
│   └── stylesheets
│       └── style.css
├── routes
│   ├── index.js
│   └── users.js
└── views
    ├── error.jade
    ├── index.jade
    └── layout.jade
It will also add all relevant dependencies to the package.json file. It will look like this:
{
  "name": "my-app",
  "version": "0.0.0",
  "private": true,
  "scripts": {
    "start": "node ./bin/www"
  },
  "dependencies": {
    "body-parser": "^1.15.2",
    "cookie-parser": "^1.4.3",
    "debug": "^2.2.0",
    "express": "^4.14.0",
    "jade": "^1.11.0",
    "morgan": "^1.7.0",
    "serve-favicon": "^2.3.0"
  }
}
We can install all these modules by running:
$ npm install
Now let’s make our app interact with a database!
Sequelize setup
We’ve chosen Sequelize as our ORM, because it seems a pretty popular project. We will also use PostgreSQL as our database engine. If you haven’t already, you can install PostgreSQL by running:
$ brew install postgresql
To install the Sequelize module and its CLI into our project, let’s run:
$ npm install --save sequelize sequelize-cli
After running this command, we will have two more dependencies in our package.json:
{
  "dependencies": {
    "sequelize": "^3.24.7",
    "sequelize-cli": "^2.4.0"
  }
}
Now let’s generate the models for our app. Imagine that it needs to display house listings belonging to different users. We’ll need a User model and a Listing model. We can create them directly from the command line by running the following:
$ node_modules/.bin/sequelize init
$ node_modules/.bin/sequelize model:create --name User --attributes username:string
$ node_modules/.bin/sequelize model:create --name Listing --attributes title:string,description:text
Now we’ll have a few more files in our app:
.
├── config
│   └── config.json
├── migrations
│   ├── 20161104204911-create-user.js
│   └── 20161104205207-create-listing.js
├── models
│   ├── index.js
│   ├── listing.js
│   └── user.js
└── seeders
As we said before, a User has many Listings, and a Listing belongs to a User. In order to associate the models with each other, we will need to edit their respective files in the models folder, so that they look like this:
// models/listing.js

module.exports = function(sequelize, DataTypes) {
  var Listing = sequelize.define('Listing', {
    title: DataTypes.STRING,
    description: DataTypes.TEXT
  }, {
    classMethods: {
      associate: function(models) {
        Listing.belongsTo(models.User);
      }
    }
  });
  return Listing;
};
// models/user.js

module.exports = function(sequelize, DataTypes) {
  var User = sequelize.define('User', {
    username: DataTypes.STRING
  }, {
    classMethods: {
      associate: function(models) {
        User.hasMany(models.Listing);
      }
    }
  });
  return User;
};
The column to associate Listings to Users, UserId, is created automatically when we sync our models with the database schema.
With Sequelize we can automatically sync models and schema every time we start the app. We only have to adjust our bin/www file adding the following require at the top:
// bin/www

var models = require('../models');
And wrapping the server setup in a function as follows:
// bin/www

models.sequelize.sync().then(function() {
  server.listen(port);
  server.on('error', onError);
  server.on('listening', onListening);
});
Since we’re going to be interacting with PostgreSQL we need to install the pg module first:
$ npm install --save pg
We’ll also need to adjust the config/config.json for our environment. We’re using PostgreSQL, so we’ll configure the dialect to "postgres", and set the username and password fields to the appropriate value. The default PostgreSQL installation leaves them blank, so our config.json will look like this:
{
  "development": {
    "username": null,
    "password": null,
    "database": "my_app_development",
    "host": "127.0.0.1",
    "dialect": "postgres"
  },
  "test": {
    "username": null,
    "password": null,
    "database": "my_app_test",
    "host": "127.0.0.1",
    "dialect": "postgres"
  },
  "production": {
    "username": null,
    "password": null,
    "database": "my_app_production",
    "host": "127.0.0.1",
    "dialect": "postgres"
  }
}
Finally we need to create the databases we declared above. We’ll start the PostreSQL CLI by running:
$ psql
And now we’ll enter these commands in the prompt:
CREATE DATABASE my_app_development;
CREATE DATABASE my_app_test;
CREATE DATABASE my_app_production;
We are ready to run the app!
Running the app
If we check our package.json, we’ll find the following section at the top of the file:
{
  "scripts": {
    "start": "node ./bin/www"
  }
}
This means that we can start our app by running this short command:
$ npm run start
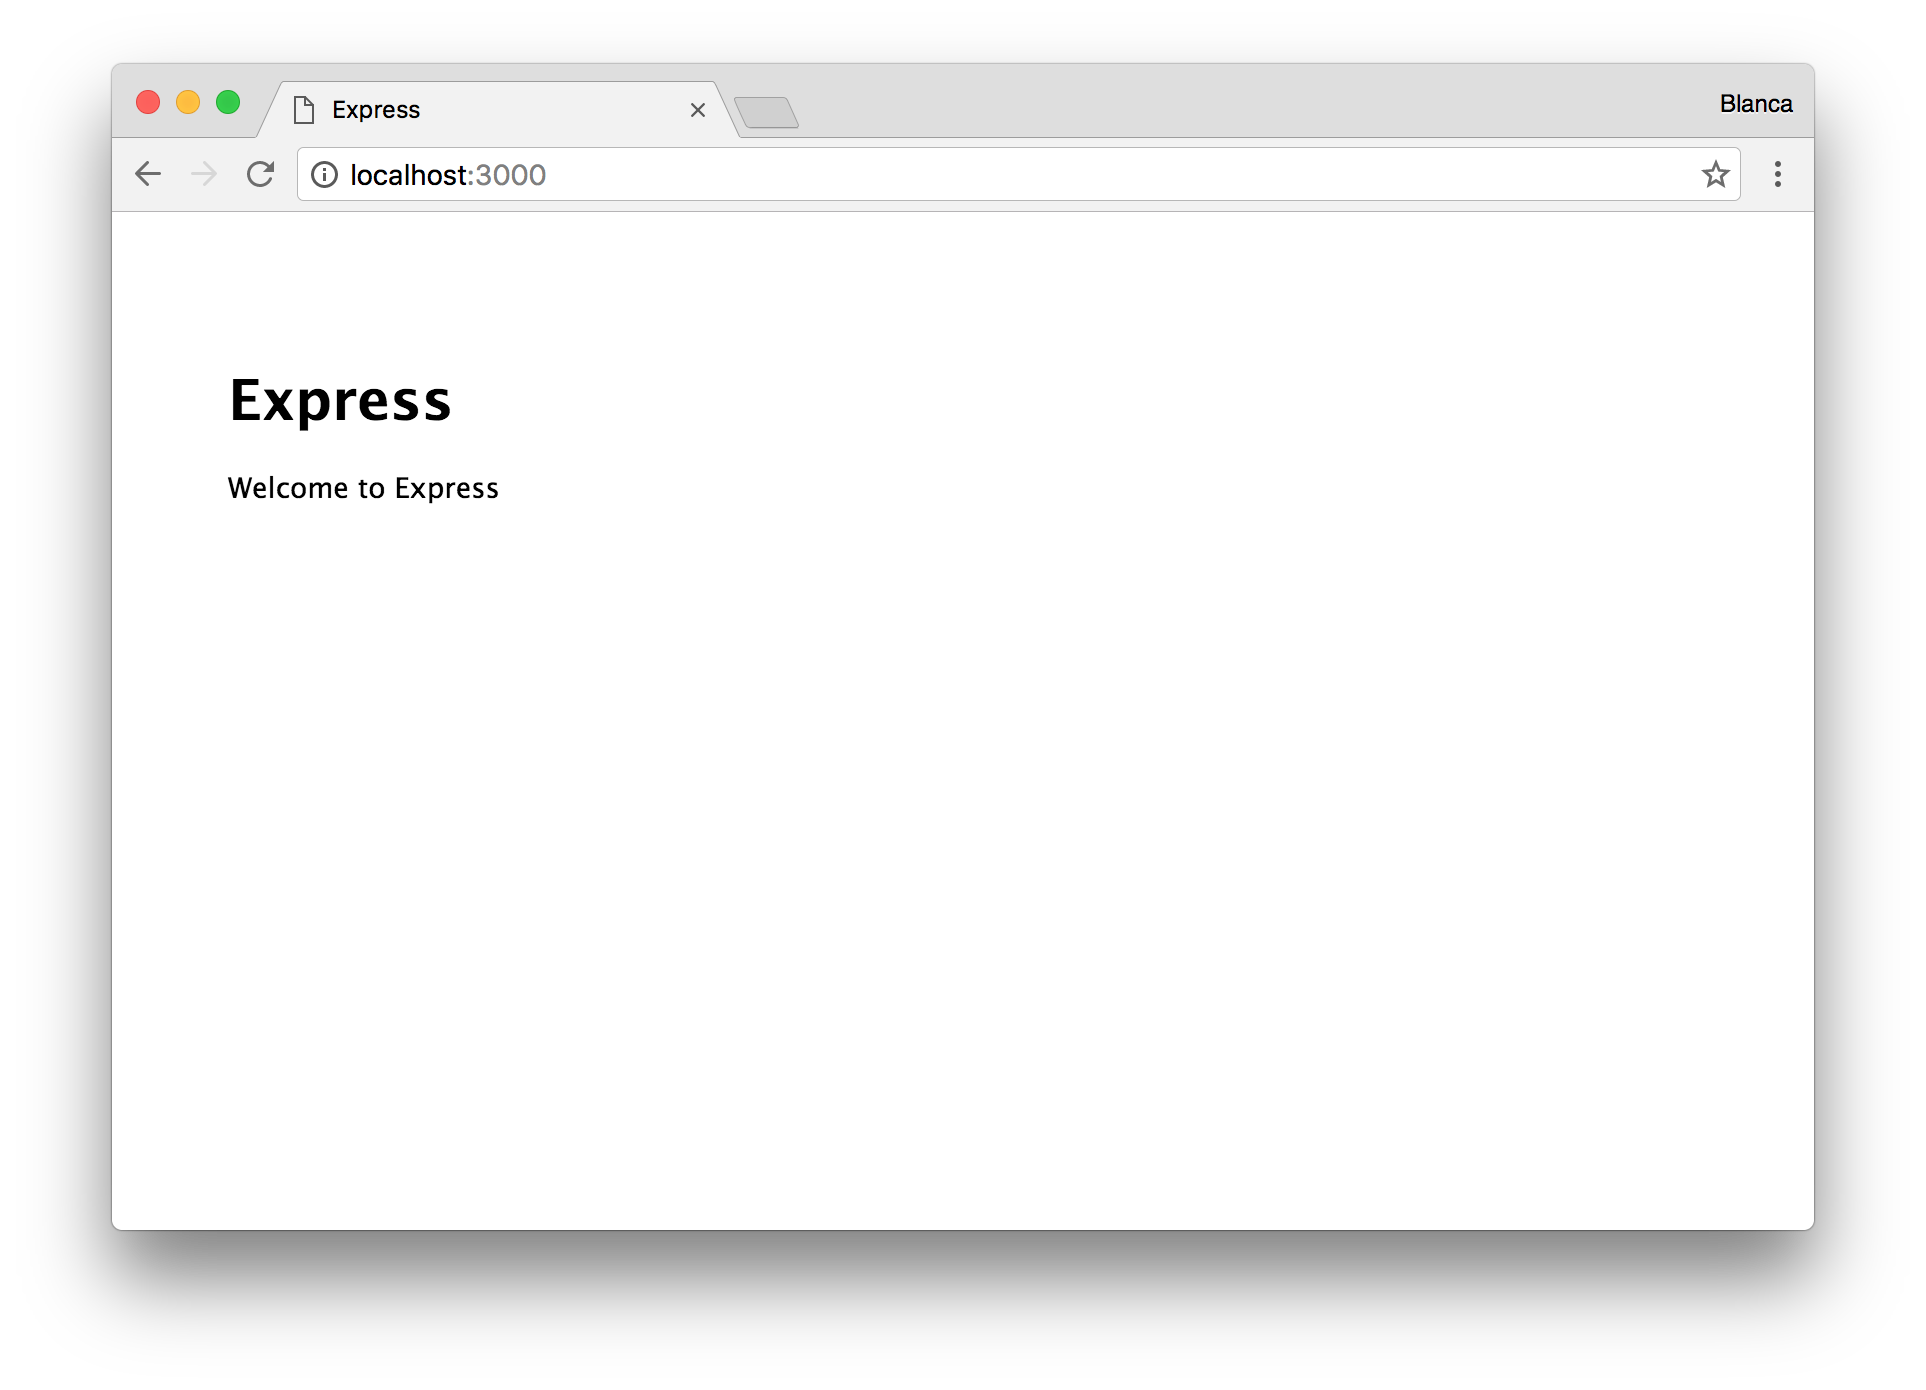
Now we can point our browser to http://localhost:3000. It works!
