A linter is a tool that goes through our code and identifies potential problems before we’ve even had the chance to run it. Linters help us maintain our code quality and ensure that we follow best practices while developing our app. I wrote an article on Atom linters a while back, but it was focused on Ruby.
Recently I have been working on projects using Create React App, and I missed having a linter for my JavaScript and CSS. This post will describe how I solved this issue.
Our app
We’ll start with a newly created app. Our package.json looks like this:
{
  "name": "example-app",
  "version": "0.1.0",
  "private": true,
  "dependencies": {
    "react": "^15.5.4",
    "react-dom": "^15.5.4"
  },
  "devDependencies": {
    "react-scripts": "1.0.7"
  },
  "scripts": {
    "start": "react-scripts start",
    "build": "react-scripts build",
    "test": "react-scripts test --env=jsdom",
    "eject": "react-scripts eject"
  }
}
Let’s start adding linters!
ESLint
ESLint is a linter for JavaScript and JSX. It doesn’t enforce any rules by default, so we’ll adopt Airbnb’s rules, eslint-config-airbnb, since they are very thorough, and quite popular.
In order to install them we’ll run the following command in our project directory:
$ (
  export PKG=eslint-config-airbnb;
  npm info "$PKG@latest" peerDependencies --json | command sed 's/[\{\},]//g ; s/: /@/g' | xargs npm install --save-dev "$PKG@latest"
)
This command will add a bunch of eslint-related modules to our package.json:
{
  "devDependencies": {
    "eslint": "^3.19.0",
    "eslint-config-airbnb": "^15.0.1",
    "eslint-plugin-import": "^2.3.0",
    "eslint-plugin-jsx-a11y": "^5.0.3",
    "eslint-plugin-react": "^7.0.1",
    "react-scripts": "1.0.7"
  }
}
We’ll also have to create a .eslintrc.json file in our project directory, telling eslint to use Airbnb’s configuration:
{
  "extends": "airbnb"
}
If we try to run eslint now, we’ll see a lot of linting errors:
$ node_modules/.bin/eslint .
...
✖ 20 problems (17 errors, 3 warnings)
Environments
Some of these errors are related to the fact that we are using DOM-specific variables (e.g. window, document) because our app will run in a browser. There are also errors related to Jest (e.g. it is not defined). We need to tell eslint about the two environments:
{
  "extends": "airbnb",
  "env": {
    "browser": true,
    "jest": true
  }
}
If we run eslint again, we’ll still have a few errors left:
$ node_modules/.bin/eslint .
...
✖ 11 problems (8 errors, 3 warnings)
Automatically fixing errors
The --fix option automatically fixes some of those problems (like not having parentheses around arrow function arguments) for us:
$ node_modules/.bin/eslint --fix .
...
✖ 8 problems (5 errors, 3 warnings)
Ignoring errors
The src/registerServiceWorker.js file generated by create-react-app uses console and reassigns arguments, which eslint warns us about. Since we are ok with them, we’ll add a line at the top of src/registerServiceWorker.js to let eslint know:
// src/registerServiceWorker.js

/* eslint-disable no-console, no-param-reassign */
export default function register() {
  // ...
}
We’re down to four errors:
$ node_modules/.bin/eslint .
...
✖ 4 problems (4 errors, 0 warnings)
JSX issues
Three of the remaining errors are related to file extensions, and seem very easy to fix. We just need to rename our .js files to .jsx. But be careful not to rename the index.js file, since create-react-app looks for that specific file name when running npm start!
We’ll need to edit index.js to not use the JSX format, so instead of having this:
ReactDOM.render(
  <App />,
  document.getElementById('root')
);
We’ll instantiate App using the createElement function:
ReactDOM.render(
  React.createElement(App),
  document.getElementById('root'),
);
If we run eslint now, we won’t have any messages. It’s because eslint looks for .js files, so we need to let eslint know that it has to look for .jsx files as well.
$ node_modules/.bin/eslint --ext=js --ext=jsx .
...
✖ 1 problem (1 error, 0 warnings)
The last error tells us that, since the App component is stateless, it should be written as a pure function.
So instead of having App extend Component:
import React, { Component } from 'react';
import './App.css';

class App extends Component {
  render() {
    return (
      ...
    );
  }
}

export default App;
It can live as a pure function:
import React from 'react';
import './App.css';

function App() {
  return (
    ...
  );
}

export default App;
If we run eslint again everything will pass:
$ node_modules/.bin/eslint --ext=js --ext=jsx .
StyleLint
StyleLint is a linter for CSS. Like ESLint, it doesn’t enforce any rules by default, so we’ll adopt stylelint-config-standard, a set of rules that has been curated by the team behind stylelint.
In order to install them we’ll run the following command in our project directory:
$ npm install stylelint stylelint-config-standard --save-dev
Which will modify the package.json of our project:
{
  "devDependencies": {
    "stylelint": "^7.10.1",
    "stylelint-config-standard": "^16.0.0"
  }
}
We’ll also need to create a .stylelintrc.json file in our project directory, telling stylelint to use our configuration:
{
  "extends": "stylelint-config-standard"
}
We can run stylelint with the following command:
$ node_modules/.bin/stylelint "**/*.css"
But we won’t see any errors, because all of our CSS is compliant.
Automatically fixing errors
We can introduce an error intentionally, just to check that everything is working. Let’s use uppercase colors:
.App-header {
  background-color: #EEE;
}
If we run stylelint again we’ll see the error:
$ node_modules/.bin/stylelint "**/*.css"

src/App.css
 11:21  ✖  Expected "#EEE" to be "#eee"   color-hex-case
Like eslint, stylelint can also fix errors for us with the --fix flag:
$ node_modules/.bin/stylelint --fix "**/*.css"
Nice!
One task to run them all
The commands we’ve been using to run our linters (node_modules/.bin/eslint, node_modules/.bin/stylelint) are pretty inconvenient because of how much typing we have to do. Also, we’d like to run linters as part of our npm test. Let’s move them to our scripts section in our package.json!
Scripts
We’ll have one entry for eslint and one for stylelint in our scripts section:
{
  "scripts": {
    "start": "react-scripts start",
    "build": "react-scripts build",
    "test:lint:js": "eslint --ext=js --ext=jsx .",
    "test:lint:css": "stylelint \"**/*.css\"",
    "test": "react-scripts test --env=jsdom",
    "eject": "react-scripts eject"
  }
}
Notice that we don’t have to specify node_modules/.bin/ because npm already looks in that folder when running our commands.
So now we can run both eslint and stylelint through npm:
$ npm run test:lint:js

> example-app@0.1.0 test:lint:js /private/tmp/example-app
> eslint --ext=js --ext=jsx .

$ npm run test:lint:css

> example-app@0.1.0 test:lint:css /private/tmp/example-app
> stylelint "**/*.css"
Running linters and tests
In order to run our linting tasks before our tests, we could rename test to test:unit, and have test run all three tasks, one after another:
{
  "scripts": {
    "start": "react-scripts start",
    "build": "react-scripts build",
    "test:lint:js": "eslint --ext=js --ext=jsx .",
    "test:lint:css": "stylelint \"**/*.css\"",
    "test:unit": "react-scripts test --env=jsdom",
    "test": "npm run test:lint:js && npm run test:lint:css && npm run test:unit",
    "eject": "react-scripts eject"
  }
}
$ npm test

> example-app@0.1.0 test /private/tmp/example-app
> npm run test:lint:js && npm run test:lint:css && npm run test:unit


> example-app@0.1.0 test:lint:js /private/tmp/example-app
> eslint --ext=js --ext=jsx .


> example-app@0.1.0 test:lint:css /private/tmp/example-app
> stylelint "**/*.css"


> example-app@0.1.0 test:unit /private/tmp/example-app
> react-scripts test --env=jsdom
npm-run-all
However, concatenating the three tasks with && looks clunky, and won’t work on Windows. A better solution is to use npm-run-all:
$ npm install npm-run-all --save-dev
It will allow us to use run-s to run tasks sequentially, and run-p to run them in parallel. It even allows us to use wildcards!
So now we can have test run all tasks starting with test: sequentially by doing:
{
  "scripts": {
    "start": "react-scripts start",
    "build": "react-scripts build",
    "test:lint:js": "eslint --ext=js --ext=jsx .",
    "test:lint:css": "stylelint \"**/*.css\"",
    "test:unit": "react-scripts test --env=jsdom",
    "test": "run-s test:**",
    "eject": "react-scripts eject"
  }
}
Let’s try it:
$ npm test

> example-app@0.1.0 test /private/tmp/example-app
> run-s test:**


> example-app@0.1.0 test:lint:js /private/tmp/example-app
> eslint --ext=js --ext=jsx .


> example-app@0.1.0 test:lint:css /private/tmp/example-app
> stylelint "**/*.css"


> example-app@0.1.0 test:unit /private/tmp/example-app
> react-scripts test --env=jsdom
Boom!
Atom integration
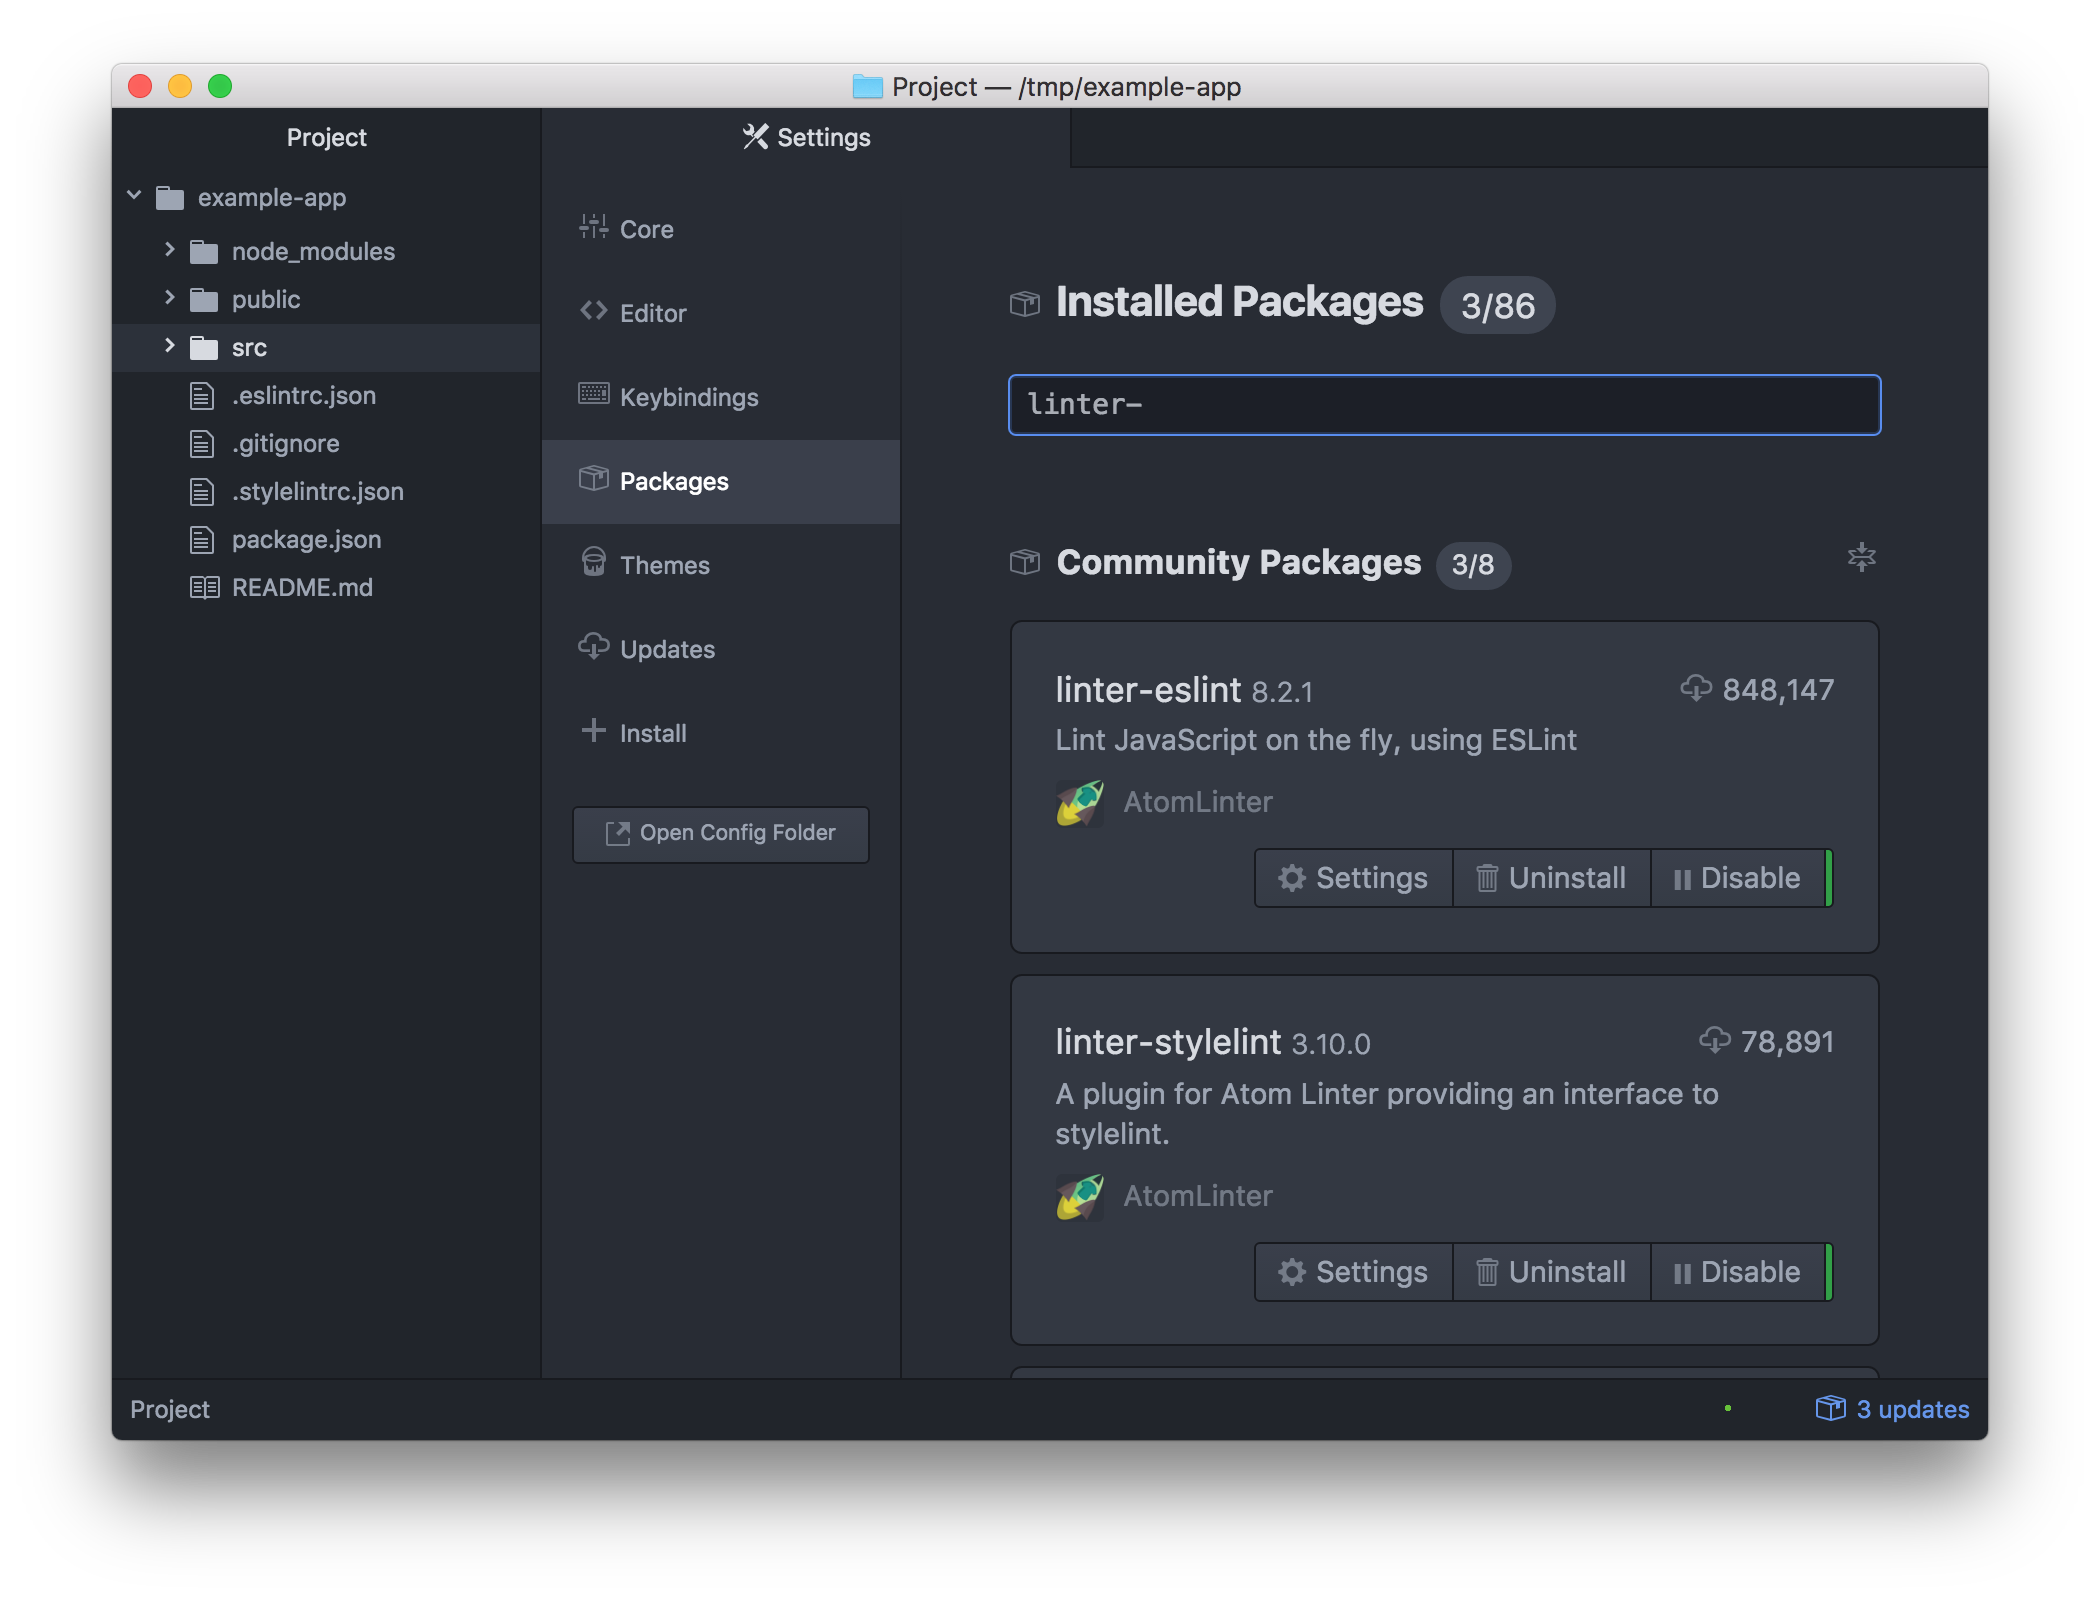
It’d be great to have this feedback in real time as we’re typing, instead of having to run tasks manually all the time… Luckily, most editor have plugins for both eslint and stylelint. We just need to install them, and they’ll pick up our configuration:
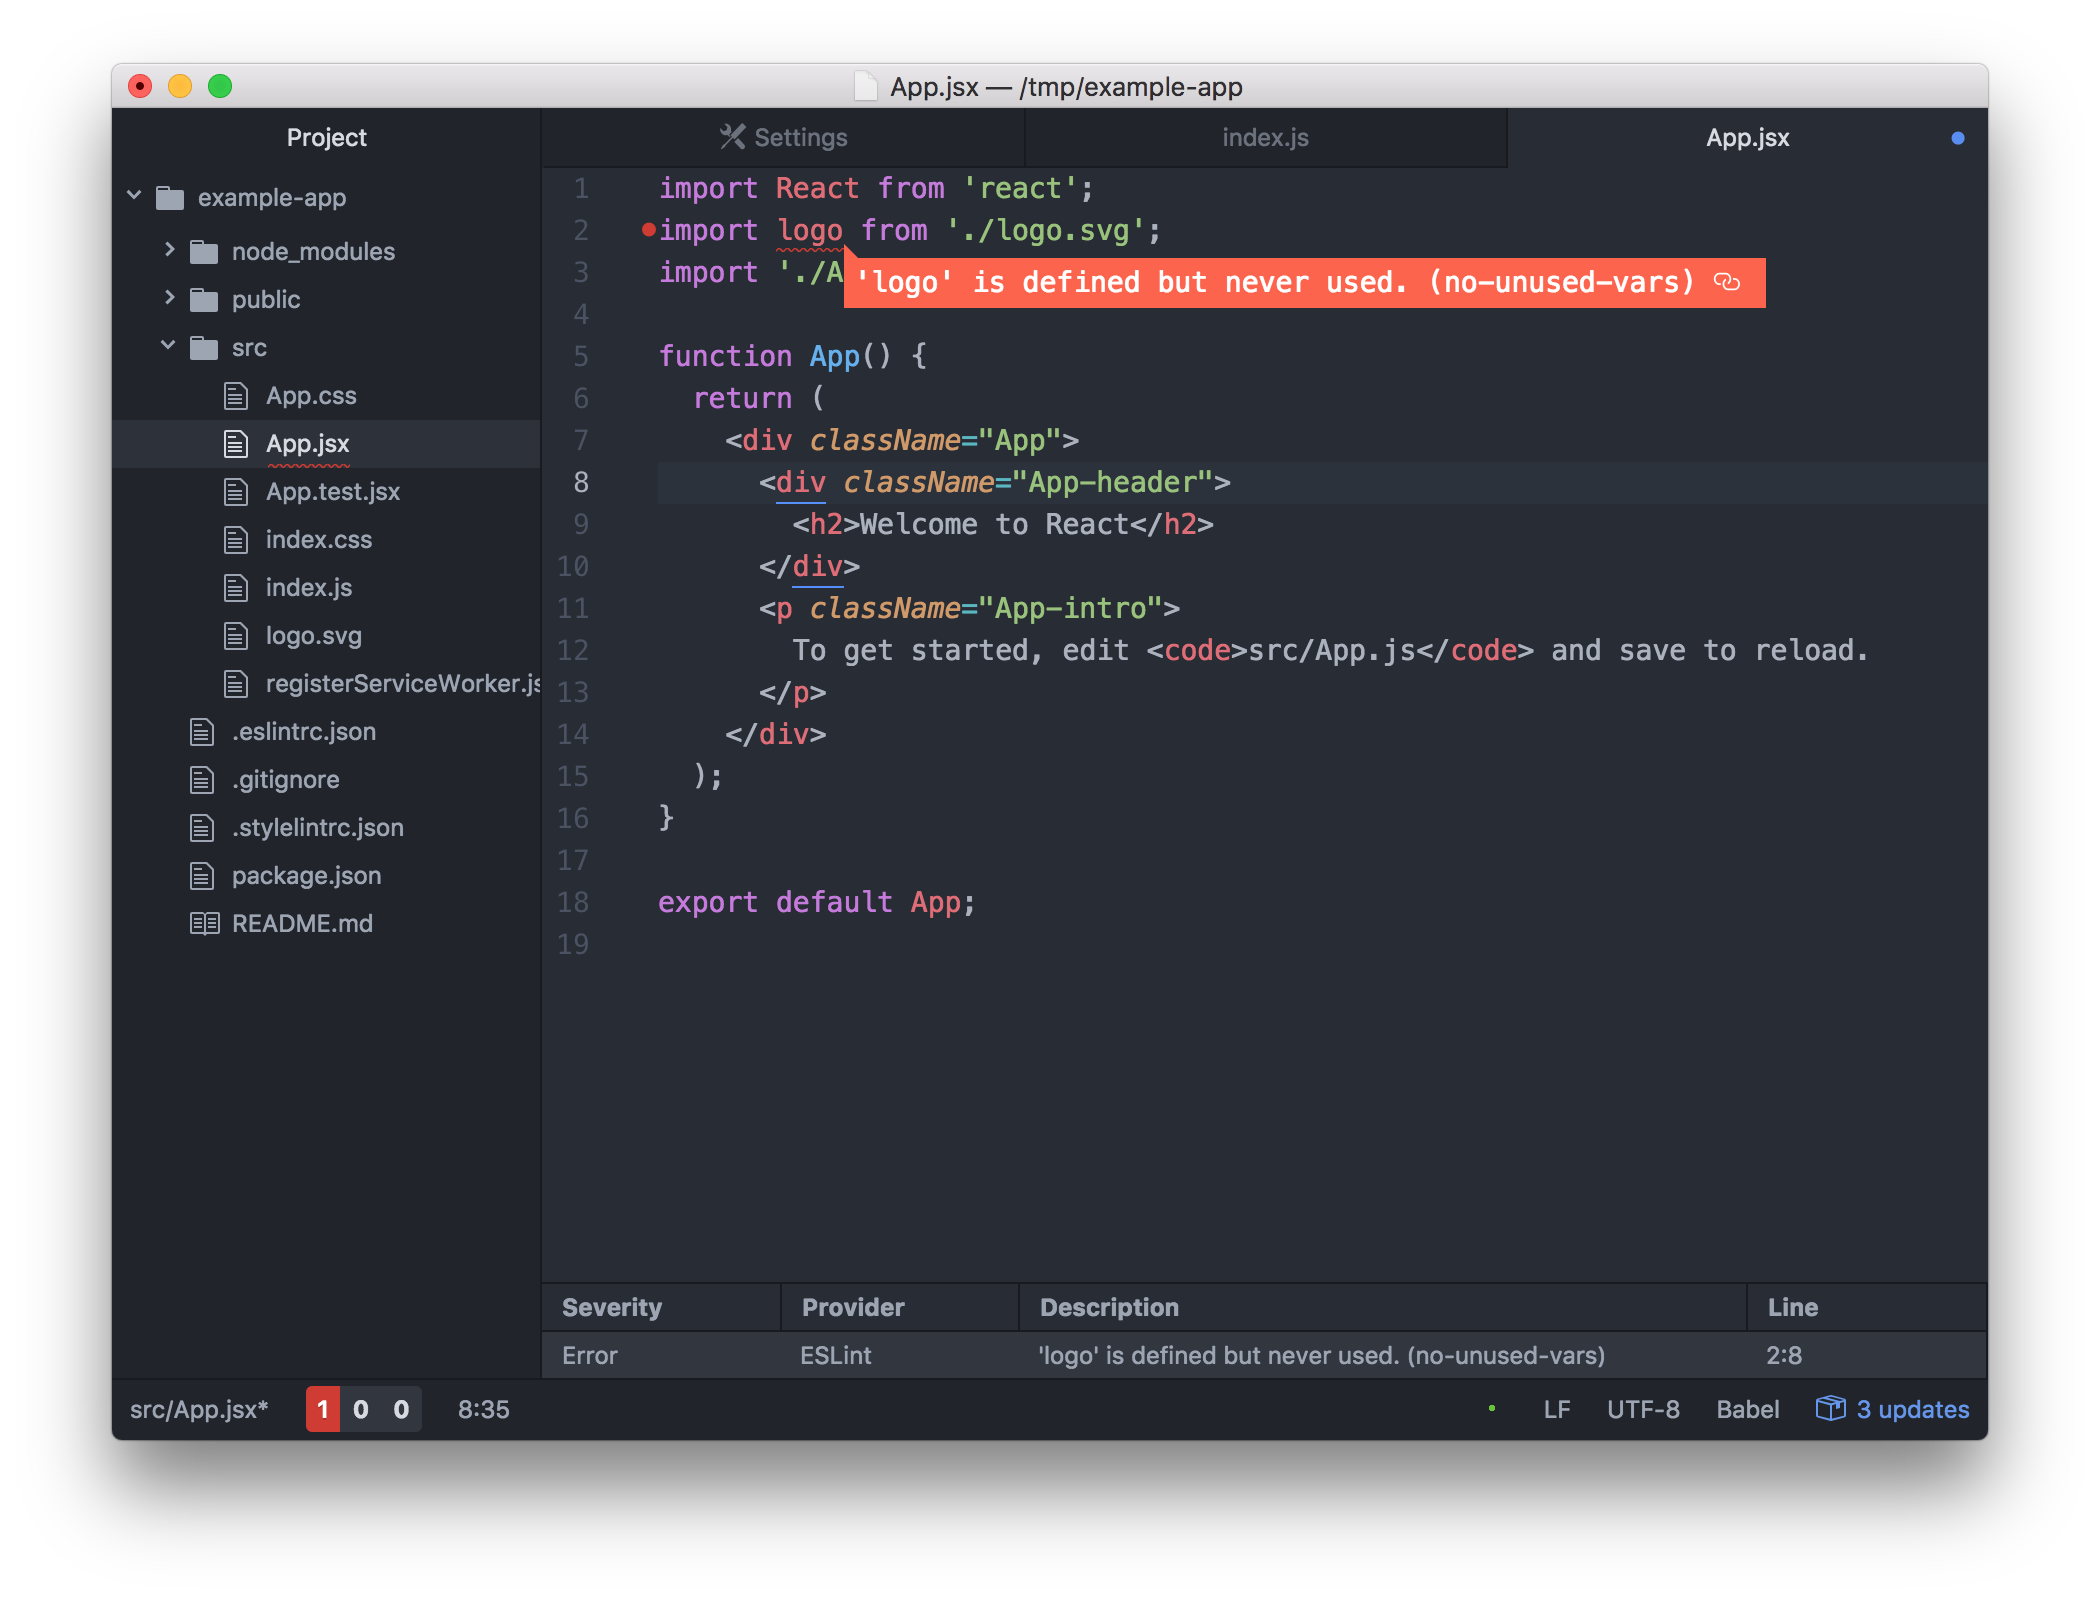
We’ll start getting errors as we type:
Now my workflow is much better having linters in my editor and in my tests. I totally recommend giving them a try! 🤹