This is the second post of a series of four where I’ll show the main steps I followed to build Flashcards, a single page app that will help users study and learn any subject they want through spaced repetition.
- Part 1 - The back-end
- Part 2 - User authentication
- Part 3 - The front-end
- Part 4 - Deploying to Heroku and GitHub Pages
The back-end is a Rails app that will store the information provided by the users. The front-end is built with React, a JavaScript library for user interfaces.
User login through GitHub
We have decided to deal with authentication through GitHub, so that users don’t have to create a new account, nor remember a password, in order to access our app. It’ll make life easier for them, and also for us, since we won’t have to deal with storing sensitive data. In the following diagram we show the flow of information between the user’s browser, our server app, and GitHub:

Everything starts when the user clicks the Login button in our app:
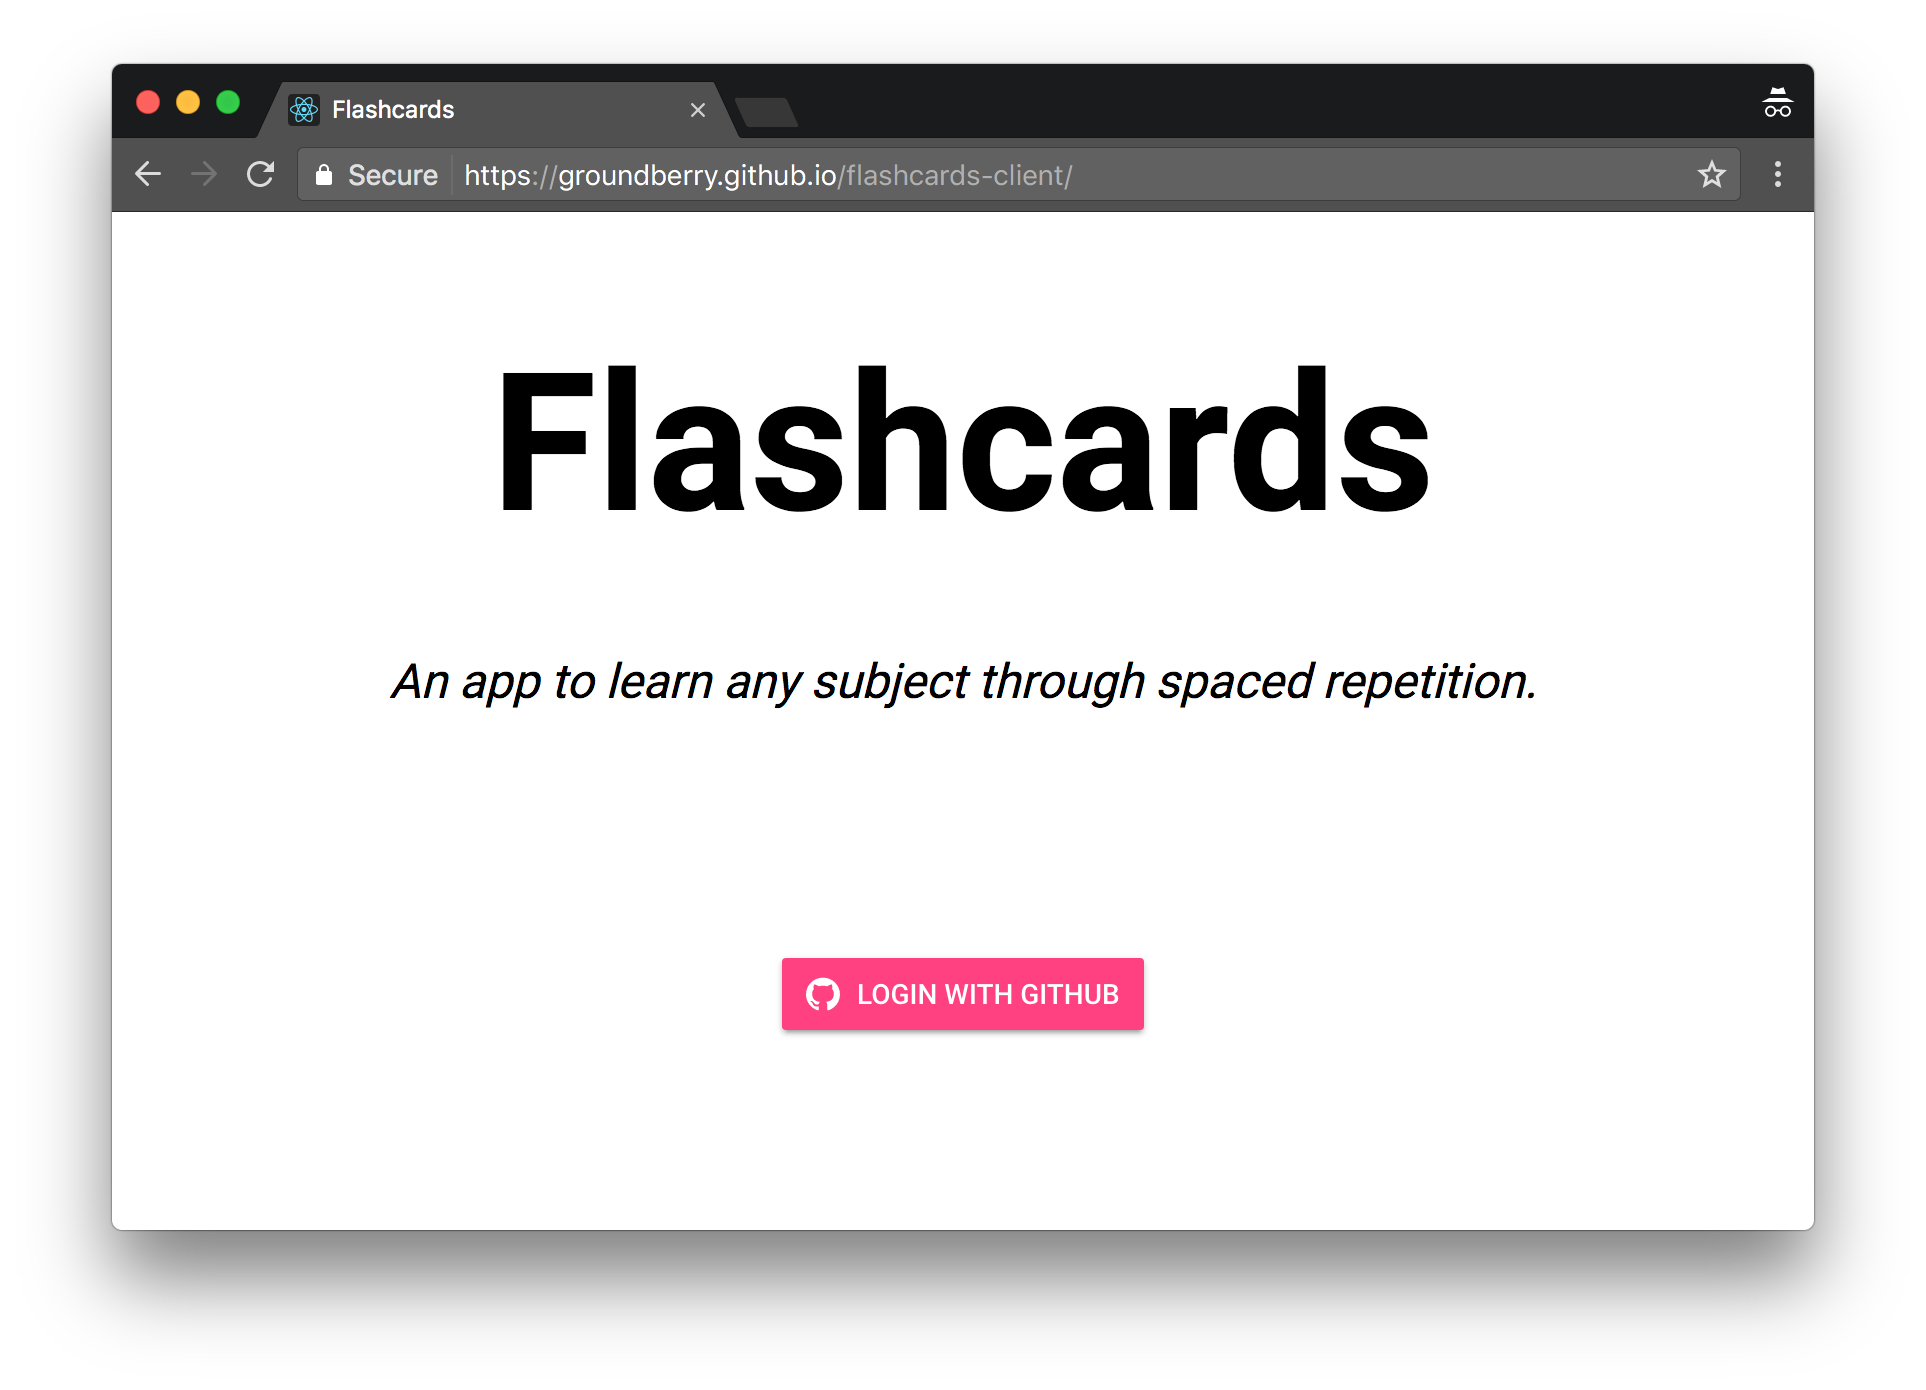
A GET request is sent to GitHub, and GitHub renders some HTML asking the user to authorise logging into our app using their credentials.
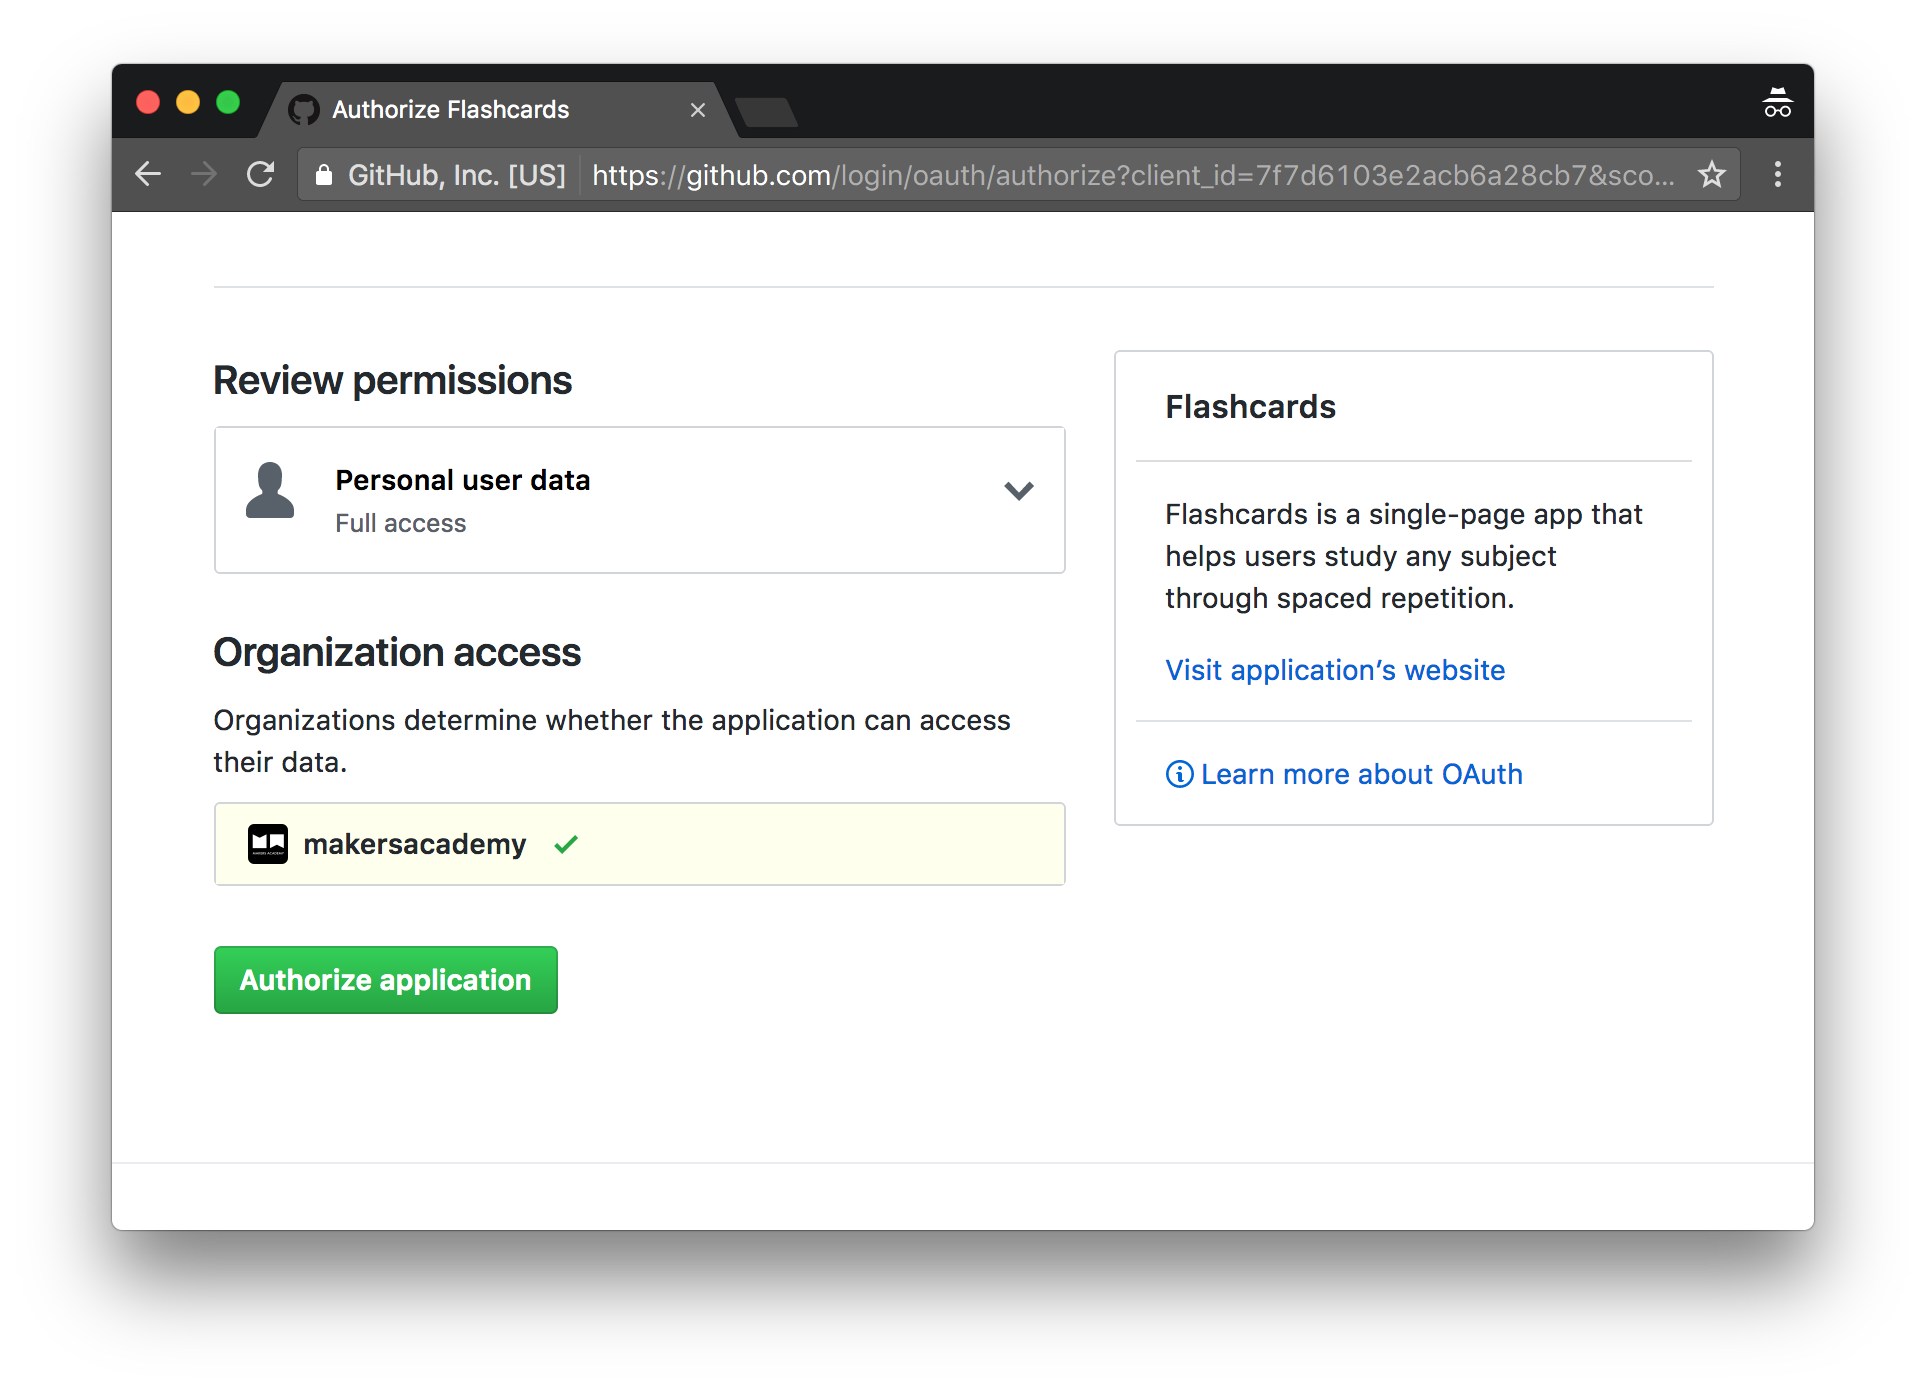
The user clicks the Authorize application button and the process continues. A GET request with a temporary code is sent from GitHub to the /auth/github endpoint in our server app, since that’s the endpoint we entered when we registered our app with GitHub:

We need to exchange this temporary code for an access token by making a POST request from our server app to GitHub’s /login/oauth/access_token endpoint.
With this token we’ll be able to ask GitHub for the user’s information. We’ll send a GET request to GitHub’s /user endpoint, asking for the user’s name, login, and avatar, so that we can authenticate the user, and also show this information in our app.
When GitHub responds with the user’s information, we’ll create a new User instance with it and store it in our database.
Once that’s done, the user’s login is encoded in a JSON Web Token, and we redirect the request to our client app with said token in the URL. Now the client app can make requests to our API, and we’ll be able to authenticate those requests and associate them to that user by decoding the token. The user can start learning!
This authentication process seems long and complicated, but it only takes a second to complete. Let’s jump into breaking this mysterious process into small chunks.
Getting the user info
GitHub’s login flow follows the OAuth standard. You can learn more about it on their OAuth page. The main thing we have to do is exchange a temporary code that GitHub sends us for an access token. Then, using that access token, we fetch the user’s information.
We decided to encapsulate this logic in an Authenticator class, which uses the faraday gem to make requests to GitHub. We’ll add faraday to our Gemfile:
source 'https://rubygems.org'

# Bundle edge Rails instead: gem 'rails', github: 'rails/rails'
gem 'rails', '~> 5.0.0', '>= 5.0.0.1'
# ...
# Use Faraday as HTTP client
gem 'faraday', '~> 0.11'
And then create the Authenticator class under app/lib/, so that Rails autoloads it:
# app/lib/authenticator.rb

class Authenticator
  def initialize(connection = Faraday.new)
    @connection = connection
  end

  def github(code)
    access_token_resp = fetch_github_access_token(code)
    access_token = access_token_resp['access_token']
    user_info_resp = fetch_github_user_info(access_token)

    {
      issuer: ENV['FLASHCARDS_CLIENT_URL'],
      login: user_info_resp['login'],
      name: user_info_resp['name'],
      avatar_url: user_info_resp['avatar_url']
    }
  end

  private

  def fetch_github_access_token(code)
    resp = @connection.post ENV['GITHUB_ACCESS_TOKEN_URL'], {
      code:          code,
      client_id:     ENV['CLIENT_ID'],
      client_secret: ENV['CLIENT_SECRET']
    }
    raise IOError, 'FETCH_ACCESS_TOKEN' unless resp.success?
    URI.decode_www_form(resp.body).to_h
  end

  def fetch_github_user_info(access_token)
    resp = @connection.get ENV['GITHUB_USER_INFO_URL'], {
      access_token: access_token
    }
    raise IOError, 'FETCH_USER_INFO' unless resp.success?
    JSON.parse(resp.body)
  end
end
The class has one public method, github, which receives a temporary code and returns user information. It relies on two private methods to do the hard work:
fetch_github_access_token, which receives a temporary code, and exchanges it for an access token by making aPOSTrequest to GitHub.fetch_github_user_info, which receives an access token, and makes aGETrequest to GitHub’s API to retrieve the user’s info.
You can see that, instead of hardcoding URLs and secrets, we are retrieving them from environment variables (e.g. GITHUB_ACCESS_TOKEN_URL, CLIENT_ID, CLIENT_SECRET), so that we don’t commit them to our repo, as everything there is public! 🕵 Also, it makes things easy to configure later.
In production, we’ll set those environment variables manually, e.g. using heroku config:set if you are on Heroku.
In development, we can store those environment variables in a .env file, and load them using the dotenv-rails gem. We can add it to our Gemfile under the development and test groups:
source 'https://rubygems.org'

#...
group :development, :test do
  gem 'dotenv-rails'
  gem 'byebug', platform: :mri
end
When testing, we need those environment variables too, so we’ll create a .env.sample file with dummy values:
CLIENT_ID="XXXXXXXXXXXXXXXXXXXX"
CLIENT_SECRET="YYYYYYYYYYYYYYYYYYYYYYYYYYYYYYYYYYYYYYYY"
JWT_SECRET="ZZZZZZZZZZZZZZZZZZZZZZZZZZZZZZZZZZZZZZZZ"

GITHUB_ACCESS_TOKEN_URL="https://github.com/login/oauth/access_token"
GITHUB_USER_INFO_URL="https://api.github.com/user"

FLASHCARDS_CLIENT_URL="https://groundberry.github.io/flashcards-client/"
And we’ll load it from our test_helper, so that those environment variables are available to every test:
# test/test_helper.rb

# Load sample environment.
require 'dotenv'
Dotenv.load('.env.sample')
The important thing to remember is not to publish the real .env file anywhere, and to keep it safe in you local machine. You can add it to your .gitignore so that you don’t commit it by accident:
# Ignore bundler config.
/.bundle

# Ignore the default SQLite database.
/db/*.sqlite3
/db/*.sqlite3-journal

# Ignore all logfiles and tempfiles.
/log/*
/tmp/*
!/log/.keep
!/tmp/.keep

# Ignore Byebug command history file.
.byebug_history

# Ignore environment variables.
.env
Encoding the user login
Once we have the user’s info, we’ll want to pass some of it to our client, so that it can make requests to our server, and the server will know which user is making the requests.
We’ll use JSON Web Tokens to encode the information that we’ll pass to the client. We need to include the jwt gem in our Gemfile:
source 'https://rubygems.org'

# Bundle edge Rails instead: gem 'rails', github: 'rails/rails'
gem 'rails', '~> 5.0.0', '>= 5.0.0.1'
# ...
# Use Faraday as HTTP client
gem 'faraday', '~> 0.11'
# Encode JWT tokens
gem 'jwt', '~> 1.5'
We’ll encapsulate the logic for encoding and decoding information in a TokiToki module under app/lib/:
# app/lib/toki_toki.rb

module TokiToki
  def self.encode(sub)
    payload = {
      iss: ENV['FLASHCARDS_CLIENT_URL'],
      sub: sub,
      exp: 4.hours.from_now.to_i,
      iat: Time.now.to_i
    }
    JWT.encode payload, ENV['JWT_SECRET'], 'HS256'
  end

  def self.decode(token)
    options = {
      iss: ENV['FLASHCARDS_CLIENT_URL'],
      verify_iss: true,
      verify_iat: true,
      leeway: 30,
      algorithm: 'HS256'
    }
    JWT.decode token, ENV['JWT_SECRET'], true, options
  end
end
The encode function receives a user login, and returns the encoded JWT. The decode function receives a JWT, and returns the decoded information.
Creating the authentication endpoint
As we said above, GitHub will send a temporary code to the endpoint we configured for our app. In order to create said endpoint, we’ll add a new controller AuthenticationController with a github method:
# app/controllers/authentication_controller.rb

class AuthenticationController < ApplicationController
  def github
    authenticator = Authenticator.new
    user_info = authenticator.github(params[:code])

    login = user_info[:login]
    name = user_info[:name]
    avatar_url = user_info[:avatar_url]

    # Generate token...
    token = TokiToki.encode(login)
    # ... create user if it doesn't exist...
    User.where(login: login).first_or_create!(
      name: name,
      avatar_url: avatar_url
    )
    # ... and redirect to client app.
    redirect_to "#{issuer}?token=#{token}"
  rescue StandardError => error
    redirect_to "#{issuer}?error=#{error.message}"
  end

  private

  def issuer
    ENV['FLASHCARDS_CLIENT_URL']
  end
end
It uses our Authenticator class to get the user’s info, stores it in our database, and redirects to the client app with some of that info encoded in a JWT by our TokiToki module.
And now we’ll create a new endpoint in our routes.rb file that points to the github method in the AuthenticationController:
# config/routes.rb

Rails.application.routes.draw do
  get '/auth/github', to: 'authentication#github', format: false

  # ...
end
We specified format: false since we don’t need our endpoint to have a format (it just redirects).
If we have a look at our routes by running rake routes we’ll see the new route:
$ rake routes
        Prefix Verb   URI Pattern    Controller#Action
   auth_github GET    /auth/github   authentication#github
   ...
Authenticating users
For each request we receive in our endpoints, we’ll want to know which user made it, so that we can return just the information associated to that user. For example, if we receive a GET request to our /tags endpoint, we’ll need to return the list of tags for the user that made the request. But how do we know which user made it? Through the JWT token!
Every request must contain the JWT token as a parameter, so that we can extract the user’s login from it, and retrieve the requested information from the database. This will need to happen for all endpoints, so we want to create a bunch of methods shared across all controllers. ApplicationController is the base class for all controllers, so that’s the place where we’re going to add them:
# app/controllers/application_controller.rb

class ApplicationController < ActionController::API
  def current_user
    token = params[:token]
    payload = TokiToki.decode(token)
    @current_user ||= User.find_by_login(payload[0]['sub'])
  end

  def logged_in?
    current_user != nil
  end

  def authenticate_user!
    head :unauthorized unless logged_in?
  end
end
The current_user method decodes the JWT token, extracts the user’s login from it, tries to find a user in our database with that login, and stores it in the @current_user instance variable.
The logged_in? method returns whether we were able to find a user in our database.
The authenticate_user! method generates a response with a 401 Unauthorized error if we could not find a user.
We’ll invoke the authenticate_user! method before processing any request in our controllers, by making use of the before_action hook:
# app/controllers/flashcards_controller.rb

class FlashcardsController < ApplicationController
  before_action :authenticate_user!

  # ...
end
# app/controllers/tags_controller.rb

class TagsController < ApplicationController
  before_action :authenticate_user!

  # ...
end
Now we’ll make use of the @current_user instance variable generated by authenticate_user!, to fetch the requested information in each method of our FlashcardsController:
# app/controllers/flashcards_controller.rb

class FlashcardsController < ApplicationController
  # ...

  # GET /flashcards
  def index
    @flashcards = @current_user.flashcards

    render json: @flashcards
  end

  # GET /flashcards/1
  def show
    render json: @flashcard, include: :tags
  end

  # ...

  private

  def set_flashcard
    @flashcard = @current_user.flashcards.find(params[:id])
  end
end
And do the same for the TagsController:
class TagsController < ApplicationController
  # ...

  # GET /tags
  def index
    @tags = @current_user.tags

    render json: @tags
  end

  # GET /tags/1
  def show
    render json: @tag
  end

  private

  def set_tag
    @tag = @current_user.tags.find(params[:id])
  end
end
Updating our tests
We’ll need to update our integration tests too, as they weren’t prepared to deal with our authentication requirements.
In the setup block of our FlashcardsControllerTest we’ll instantiate a @user, encode its login as a JWT token into @token, and fetch a flashcard from that user into @flashcard. We’ll use this information in the tests themselves:
# test/controllers/flashcards_controller_test.rb

class FlashcardsControllerTest < ActionDispatch::IntegrationTest
  setup do
    @user = users(:one)
    @token = TokiToki.encode(@user.login)
    @flashcard = @user.flashcards.first
  end

  # ...

  test 'should create flashcard' do
    assert_difference('Flashcard.count') do
      post flashcards_url, params: {
        token: @token,
        flashcard: {
          answer: @flashcard.answer,
          question: @flashcard.question,
          user_id: @flashcard.user_id
        }
      }, as: :json
    end

    assert_response 201
  end

  test 'should show flashcard' do
    get flashcard_url(@flashcard), params: {
      token: @token
    }
    assert_response :success
  end

  # ...
end
Notice that we when we use get, we don’t specify as: :json, since it’ll try to send the params in the body of the request, which will throw an error since GET requests don’t have a body.
We’ll do the same thing for our integration tests in TagsControllerTest:
# test/controllers/tags_controller_test.rb

class TagsControllerTest < ActionDispatch::IntegrationTest
  setup do
    @user = users(:one)
    @token = TokiToki.encode(@user.login)
    @tag = @user.tags.first
  end

  # ...

  test 'should create tag' do
    assert_difference('Tag.count') do
      post tags_url, params: {
        token: @token,
        tag: {
          name: 'Some Tag'
        }
      }, as: :json
    end

    assert_response 201
  end

  test 'should show tag' do
    get tag_url(@tag), params: {
      token: @token
    }
    assert_response :success
  end

  # ...
end
After all our tests are fixed, we’re ready to ship this! 🛳 Let’s move on to the front-end of our app.