React is a very powerful open-source JavaScript library originally built by Facebook. It makes it very easy to create interactive user interfaces (UI). The main advantage of using React to build our front-end is that every element of our UI is a component that is isolated from all others, and can communicate with them through a well defined interface. Some components can hold state. Every time this state varies, the component and its children are re-rendered.
Getting started with React is hard, not because of React itself, but because of its complex ecosystem. People use a bunch of technologies to build their React apps, such as Webpack, a module bundler to help manage dependencies; Jest, a modern JavaScript testing framework; and Babel, a compiler that translates JavaScript into JavaScript. Why would anyone want to translate one language into itself? 🤔 What Babel does is translate next-generation JavaScript, with modern syntax such as arrow functions, into a JavaScript that is supported by most browsers. It also converts JSX syntax. Clever!
Learning all these technologies can be overwhelming when we are getting started and just want to build a basic app using React. To solve this, the fine folks at Facebook developed create-react-app, a tool that allows us to create apps with no build configuration. It comes with Webpack, Babel, and Jest all configured and ready to go, and makes our life a lot easier.
Creating our first app with React
The first thing we’re going to do is install the create-react-app tool globally:
$ npm install -g create-react-app
Once it’s installed, we can create our app and start it up:
$ create-react-app react-pets
$ cd react-pets
$ npm start
create-react-app will generate all the files and folders necessary for our app:
react-pets
├── README.md
├── package.json
├── public
│   ├── favicon.ico
│   └── index.html
└── src
    ├── App.css
    ├── App.js
    ├── App.test.js
    ├── index.css
    ├── index.js
    └── logo.svg
It’ll also install all the dependencies in our package.json:
{
  "name": "react-pets",
  "version": "0.1.0",
  "private": true,
  "devDependencies": {
    "react-scripts": "0.8.4"
  },
  "dependencies": {
    "react": "^15.4.1",
    "react-dom": "^15.4.1"
  },
  "scripts": {
    "start": "react-scripts start",
    "build": "react-scripts build",
    "test": "react-scripts test --env=jsdom",
    "eject": "react-scripts eject"
  }
}
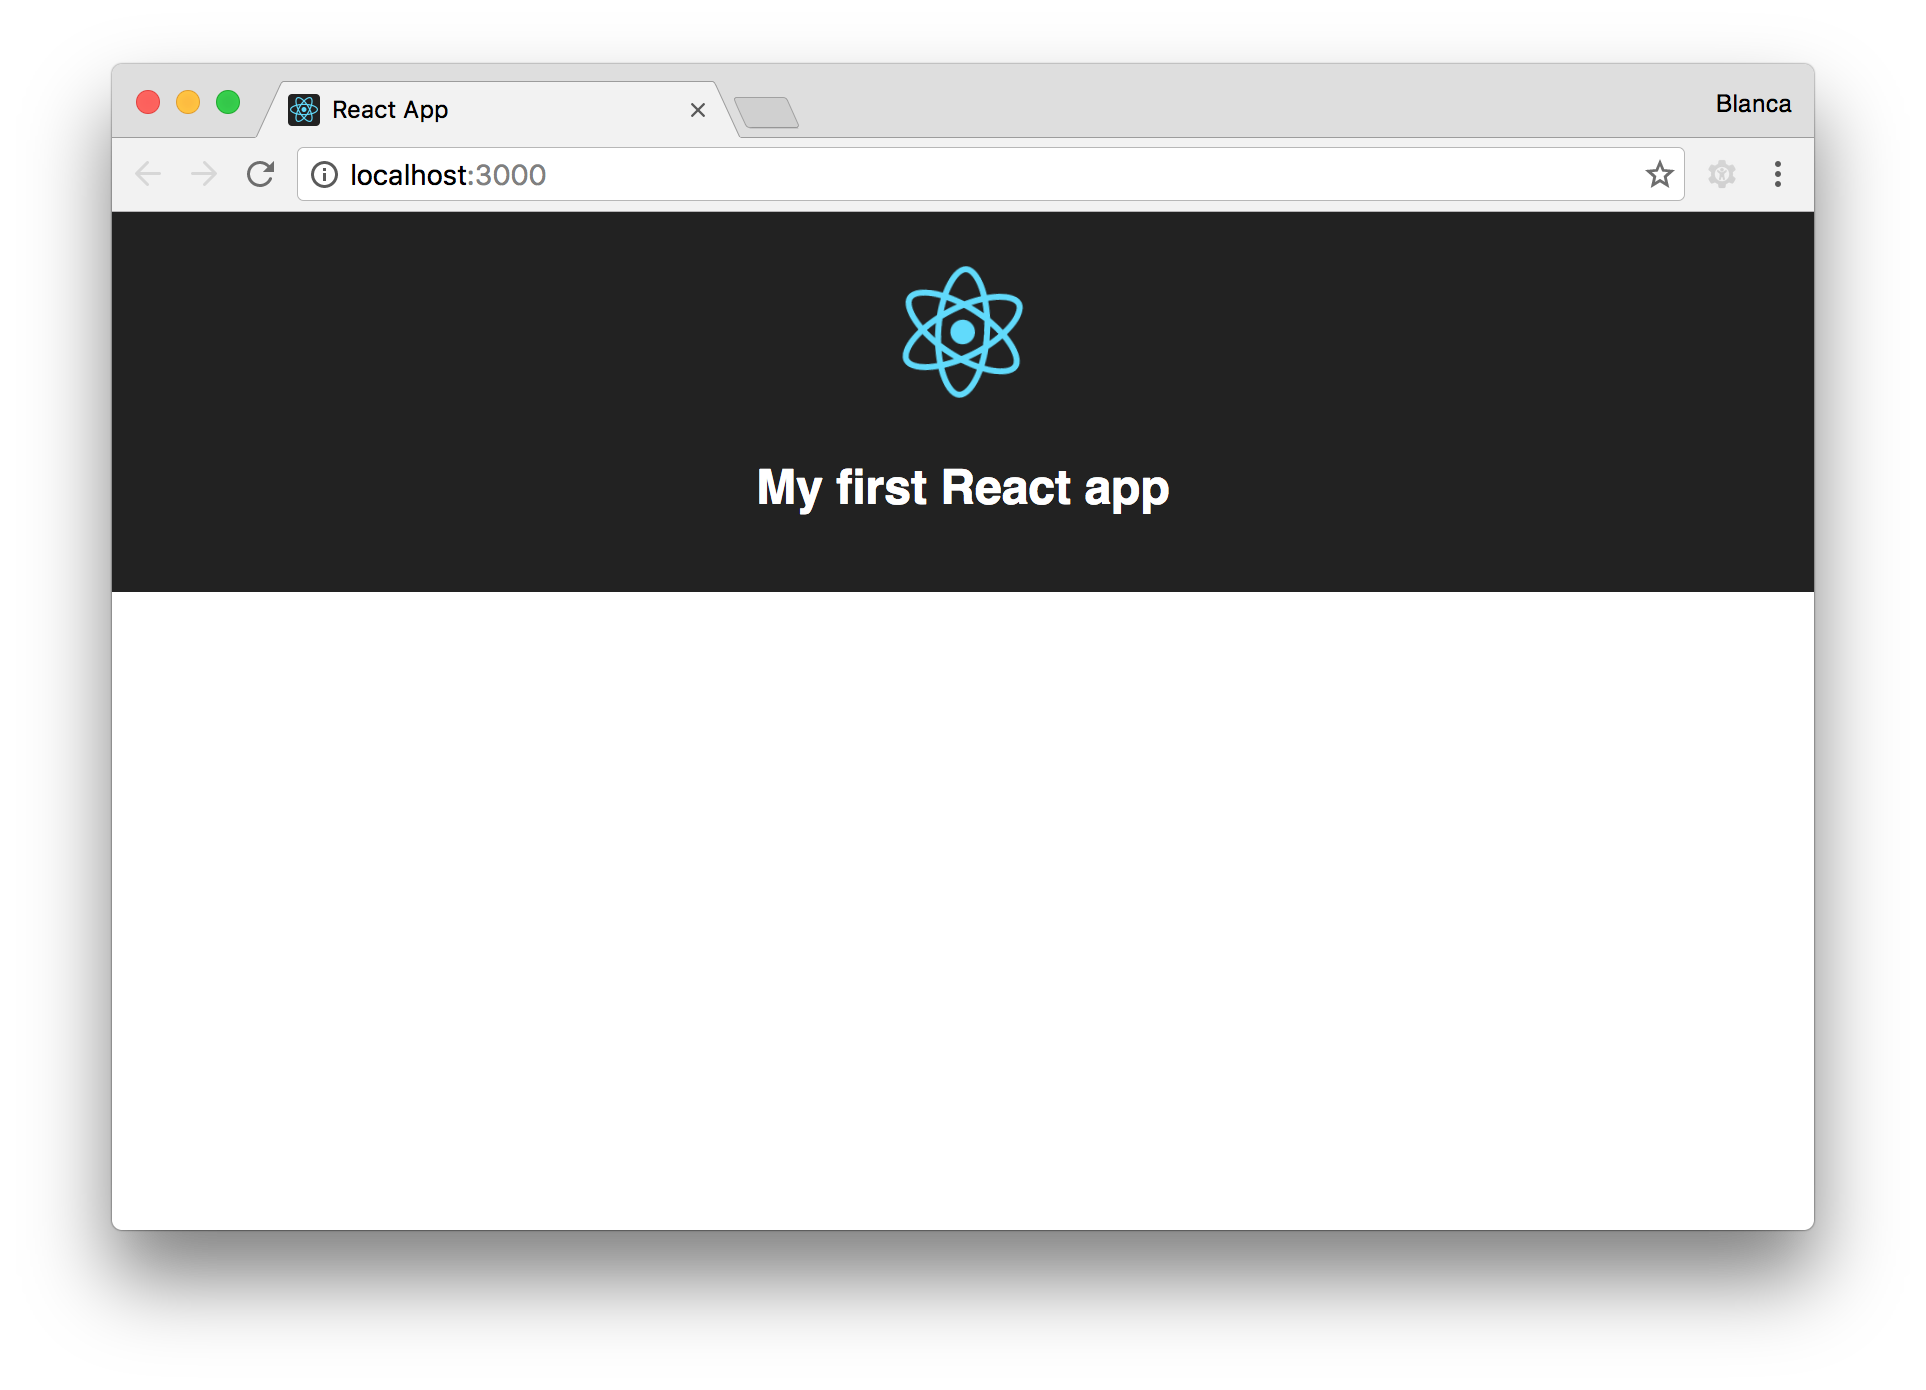
We can see our app running by going to http://localhost:3000:
Modifying the default app
We are going to build a small app that displays a list with all our pets. We’ll be able to add more pets by clicking on buttons.
First we’ll create a constructor that sets the initial state of the app as an empty array of pets:
class App extends Component {
  constructor() {
    super();
    this.state = {
      pets: []
    };
  }
}
We’ll render the list of pets by mapping each element in the array to an HTML element. We’ll use an arrow function from the new ES2015 syntax, because it makes the code easier to read:
class App extends Component {
  // ...
  render() {
    return (
      <div className="App">
        <h2>My first React app</h2>
        <ul className="App--animals">
          {this.state.pets.map((pet, index) =>
            <li className="App--animal" key={index}>
              {pet}
            </li>
          )}
        </ul>
      </div>
    );
  }
}
Notice that we’re passing a key prop to the <li> elements we’re generating inside the loop. We are using the index of the element as value for the prop, because we don’t have anything better, but be sure to read React’s documentation on keys.
Our app works, but we can’t do anything with it yet… We need to create the buttons so that it is interactive and fun! Let’s add them to our render method:
class App extends Component {
  // ...
  render() {
    return (
      <div className="App">
        // ...
        <button>🐶</button>
        <button>🐱</button>
        // ...
      </div>
    )
  }
}
Now we can see the buttons, but nothing happens when we click them. We need to write the functions that will be run when the user interacts with them.
Let’s create a method called addPet that will update the state of our app adding a new pet to the array of pets:
class App extends Component {
  // ...
  addPet(pet) {
    this.setState({pets: this.state.pets.concat(pet)});
  }
}
Notice that we don’t use push, as it would modify the original array, and state should be treated as immutable. What we want to do is generate a new array with all previous elements plus the new one, which is what concat does.
Now we’ll create separate methods that add the different types of pets by calling addPet:
class App extends Component {
  // ...
  addDog() {
    this.addPet('🐶');
  }

  addCat() {
    this.addPet('🐱');
  }
}
We need to tell the buttons to run these methods when they are clicked:
class App extends Component {
  // ...
  render() {
    return (
      <div className="App">
        // ...
        <button onClick={this.addDog}>🐶</button>
        <button onClick={this.addCat}>🐱</button>
        // ...
      </div>
    )
  }
}
Notice that we don’t invoke the method immediately (onClick={this.addDog()}), since we don’t want it to run as soon as the component is rendered. We just pass the method as a callback (onClick={this.addDog}), so that it’s run when the button is clicked.
If we try to click the buttons now, we’ll get an error like the following:
Uncaught TypeError: Cannot read property 'addPet' of null
This is because our callback methods are being executed with the wrong context. We need to bind the correct context of this for our three methods:
class App extends Component {
  constructor() {
    // ...
    this.addPet = this.addPet.bind(this);
    this.addDog = this.addDog.bind(this);
    this.addCat = this.addCat.bind(this);
  }
  // ...
}
Now everything will work fine. 🙌🏽
Refactoring our code
Given that the addDog and addCat methods just invoke addPet, we can get rid of them by making use of the extra arguments in the bind function. Everything we pass to bind after the first argument (the this context) will be considered a fixed argument:
class App extends Component {
  // ...
  constructor() {
    // ...
    this.addPet = this.addPet.bind(this);
    this.addDog = this.addPet.bind(this, '🐶');
    this.addCat = this.addPet.bind(this, '🐱');
  }
  // ...
}
So now, when we call this.addDog(), what we are doing is calling this.addPet with the correct context, and '🐶' as the first argument.
Final touches
Let’s give the app some style:
/// App.css

.App {
  text-align: center;
}

.App--animals {
  list-style: none;
  padding: 0;
}

.App--animal {
  display: inline-block;
  font-size: 2em;
}

.App--button {
  border-radius: 5px;
  font-size: 2em;
  margin-left: 5px;
  padding: 5px 10px;
}
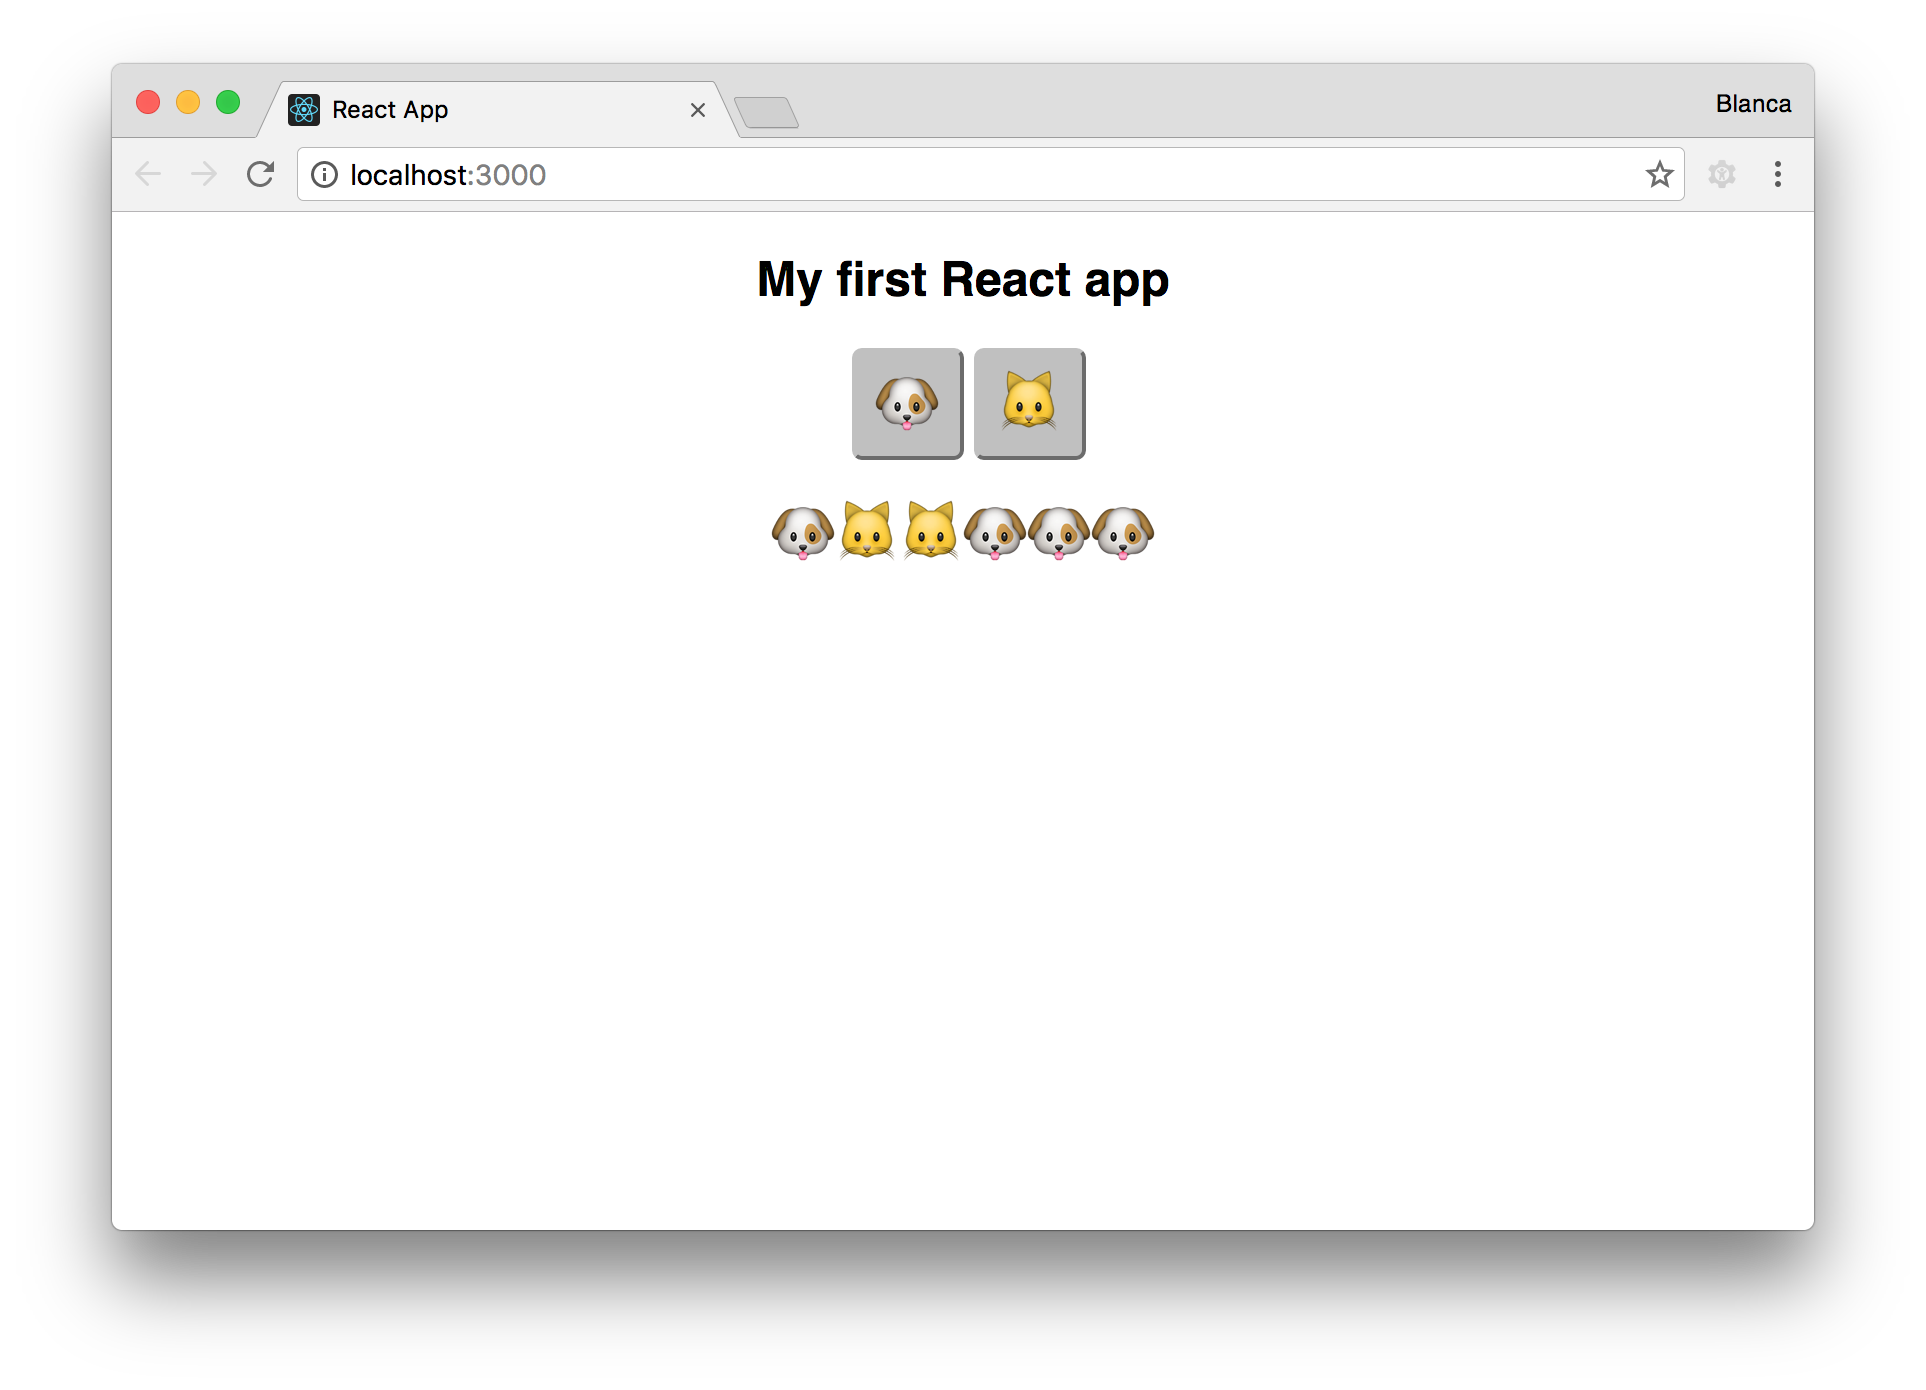
Now we have our app rendering dogs and cats beautifully!
Deploying to GitHub Pages
We can show our app to friends and family by deploying it to GitHub Pages. If we run npm run build in our project, it’ll suggest we specify the homepage of our app in our package.json.
If we run npm run build again, we’ll be asked to install gh-pages:
$ npm install --save-dev gh-pages
Finally, we’ll add a deploy task to our package.json.
{
  "name": "react-pets",
  "version": "0.1.0",
  "private": true,
  "homepage": "https://groundberry.github.io/react-pets",
  "devDependencies": {
    "gh-pages": "^0.12.0",
    "react-scripts": "0.8.4"
  },
  "dependencies": {
    "react": "^15.4.1",
    "react-dom": "^15.4.1"
  },
  "scripts": {
    "start": "react-scripts start",
    "build": "react-scripts build",
    "deploy": "npm run build && gh-pages -d build",
    "test": "react-scripts test --env=jsdom",
    "eject": "react-scripts eject"
  }
}
Now we can deploy our app by running:
$ npm run deploy
If we access https://groundberry.github.io/react-pets we’ll see the app in all its glory!