This is the third post of a series of four where I’ll show the main steps I followed to build Flashcards, a single page app that will help users study and learn any subject they want through spaced repetition.
- Part 1 - The back-end
- Part 2 - User authentication
- Part 3 - The front-end
- Part 4 - Deploying to Heroku and GitHub Pages
The back-end is a Rails app that will store the information provided by the users. The front-end is built with React, a JavaScript library for user interfaces.
Getting started with React
To get started with the front-end of our app we’ll need to install create-react-app, a tool that generates a skeleton React app:
$ npm install -g create-react-app
Then we’ll use it to create our app:
$ create-react-app flashcards-client
$ cd flashcards-client
Using React Toolbox for our UI
We’ll use react-toolbox to build our UI, as it provides a set of reusable components that follow Google’s Material Design guidelines, which means our app will look great without much hassle:
$ npm install --save react-toolbox
We’ll also install react-toolbox-themr, because react-toolbox makes assumptions around CSS and the build pipeline, but create-react-app breaks those assumptions. So react-toolbox-themr will allow us to build all CSS for react-toolbox statically, and forget about the issue.
$ npm install --save-dev react-toolbox-themr
Now we’ll run react-toolbox-themr to build the CSS:
$ node_modules/.bin/react-toolbox-themr
This will create a src/toolbox folder containing the compiled styles. Now we need to tweak a couple of things so that our app starts using those styles. Let’s modify our index.js to wrap the App component in react-toolbox’s ThemeProvider:
// src/index.js

import React from 'react';
import ReactDOM from 'react-dom';
import ThemeProvider from 'react-toolbox/lib/ThemeProvider';
import theme from './toolbox/theme';
import App from './App';
import './index.css';

ReactDOM.render(
  <ThemeProvider theme={theme}>
    <App />
  </ThemeProvider>,
  document.getElementById('root')
);
We also need to import the CSS styles generated by react-toolbox-themr. We’ll modify our index.css like this:
/* src/index.css */

@import "./toolbox/theme.css";

body {
  margin: 0;
  padding: 0;
  font-family: sans-serif;
}
Now we can start using react-toolbox’s components, like Button. However, we need to be careful and only import the components without the bundled CSS. So instead of doing:
import { Button } from 'react-toolbox/lib/button';
We’ll do:
import Button from 'react-toolbox/lib/button/Button';
Let’s change our root component, App, and add a button to it:
// src/App.js

import React, { Component } from 'react';
import Button from 'react-toolbox/lib/button/Button';
import './App.css';

class App extends Component {
  render() {
    return (
      <div className="App">
        <Button raised primary>
          Hi!
        </Button>
      </div>
    );
  }
}

export default App;
Awesome!
Dealing with authenticated users
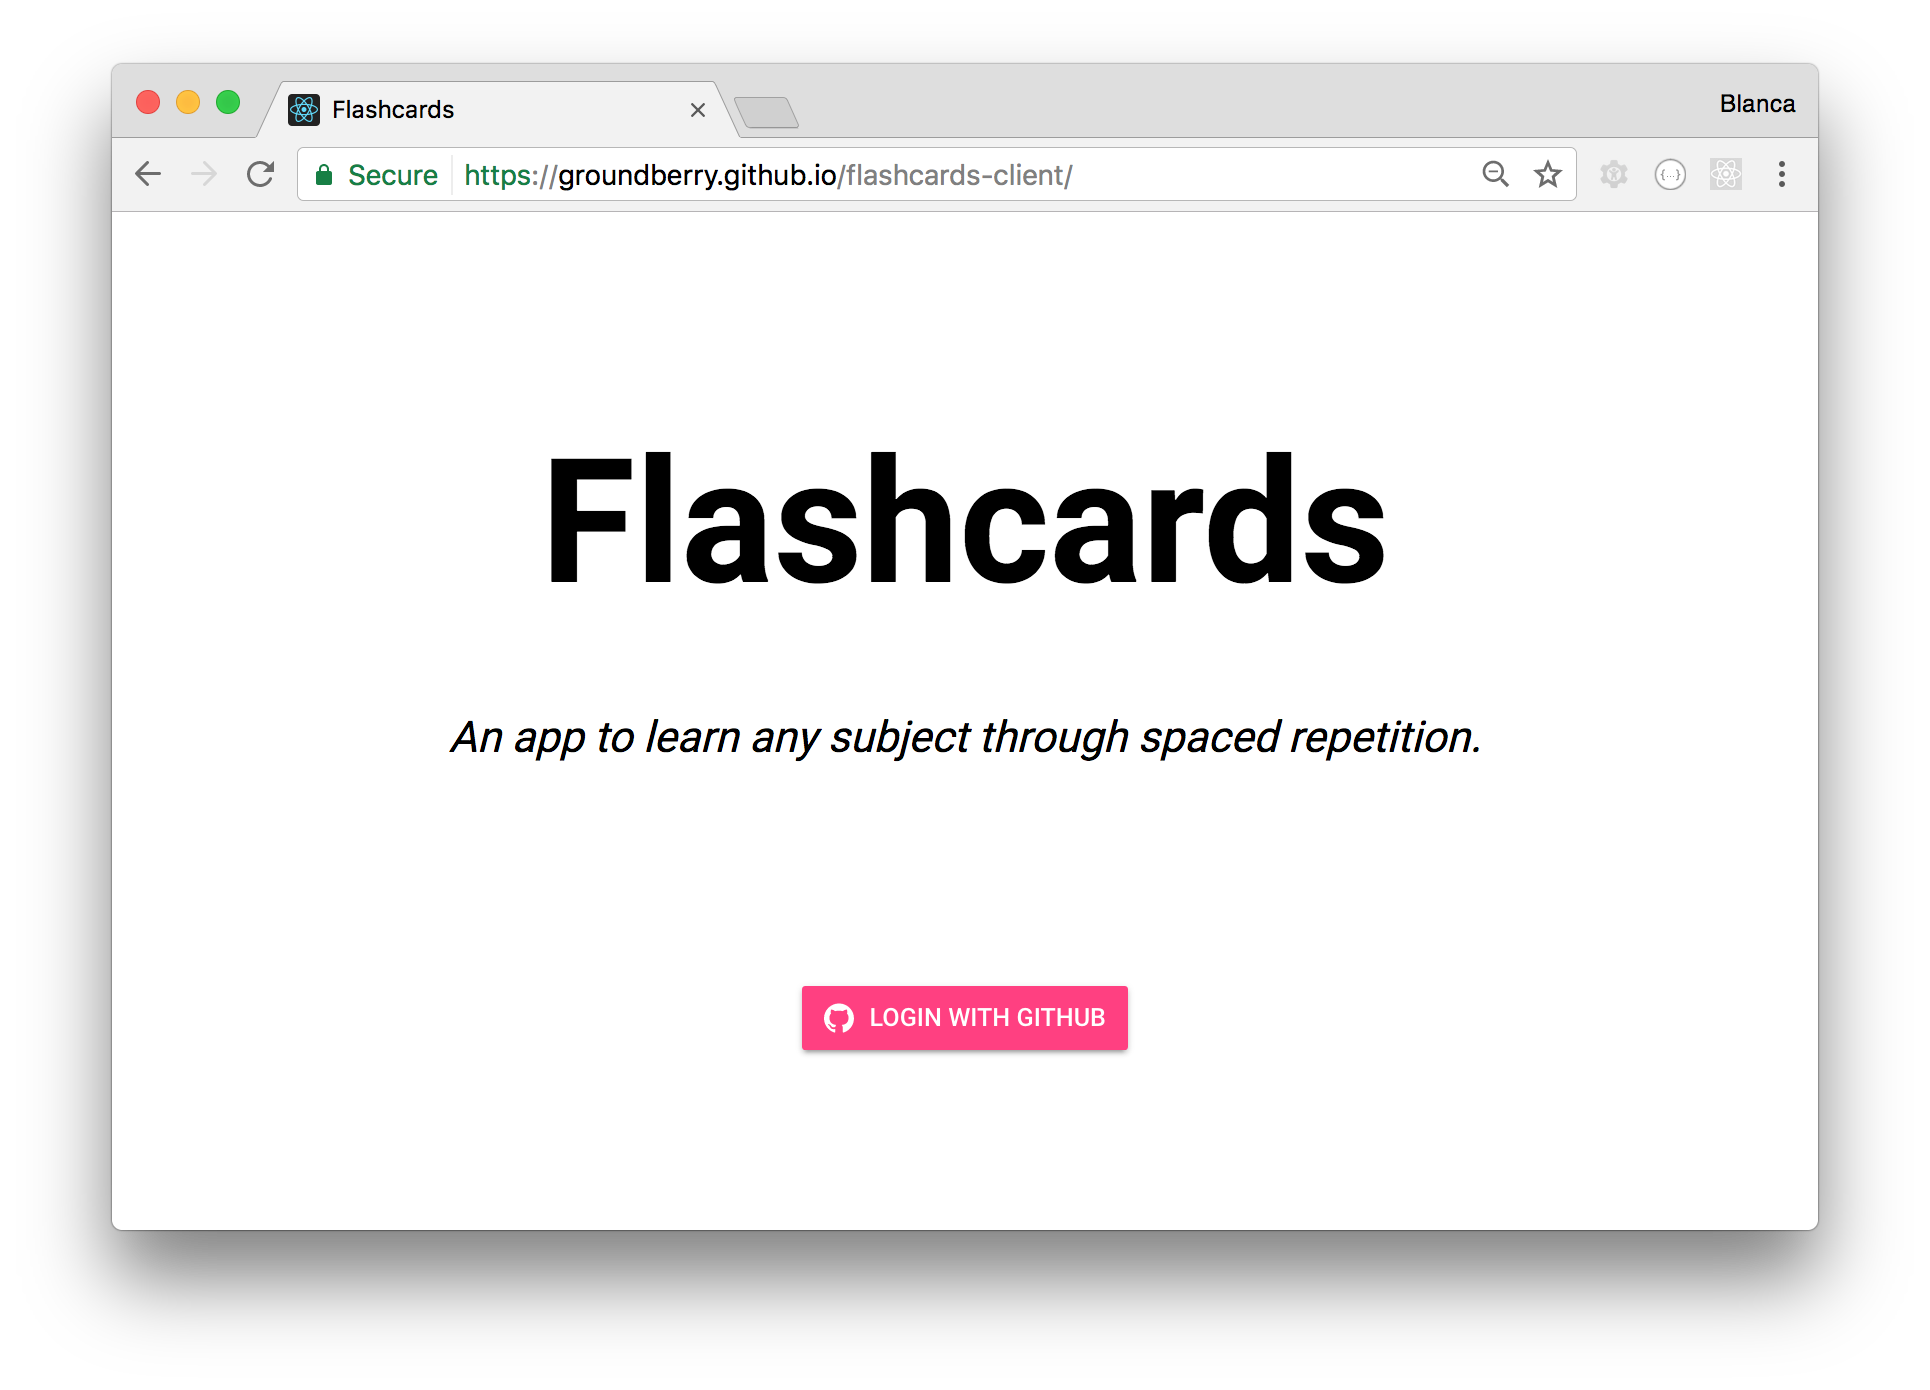
Our app has two pages. One is the login page, shown to users that are not logged in yet:
The other one is the main page, shown to users that have gone through the login flow:
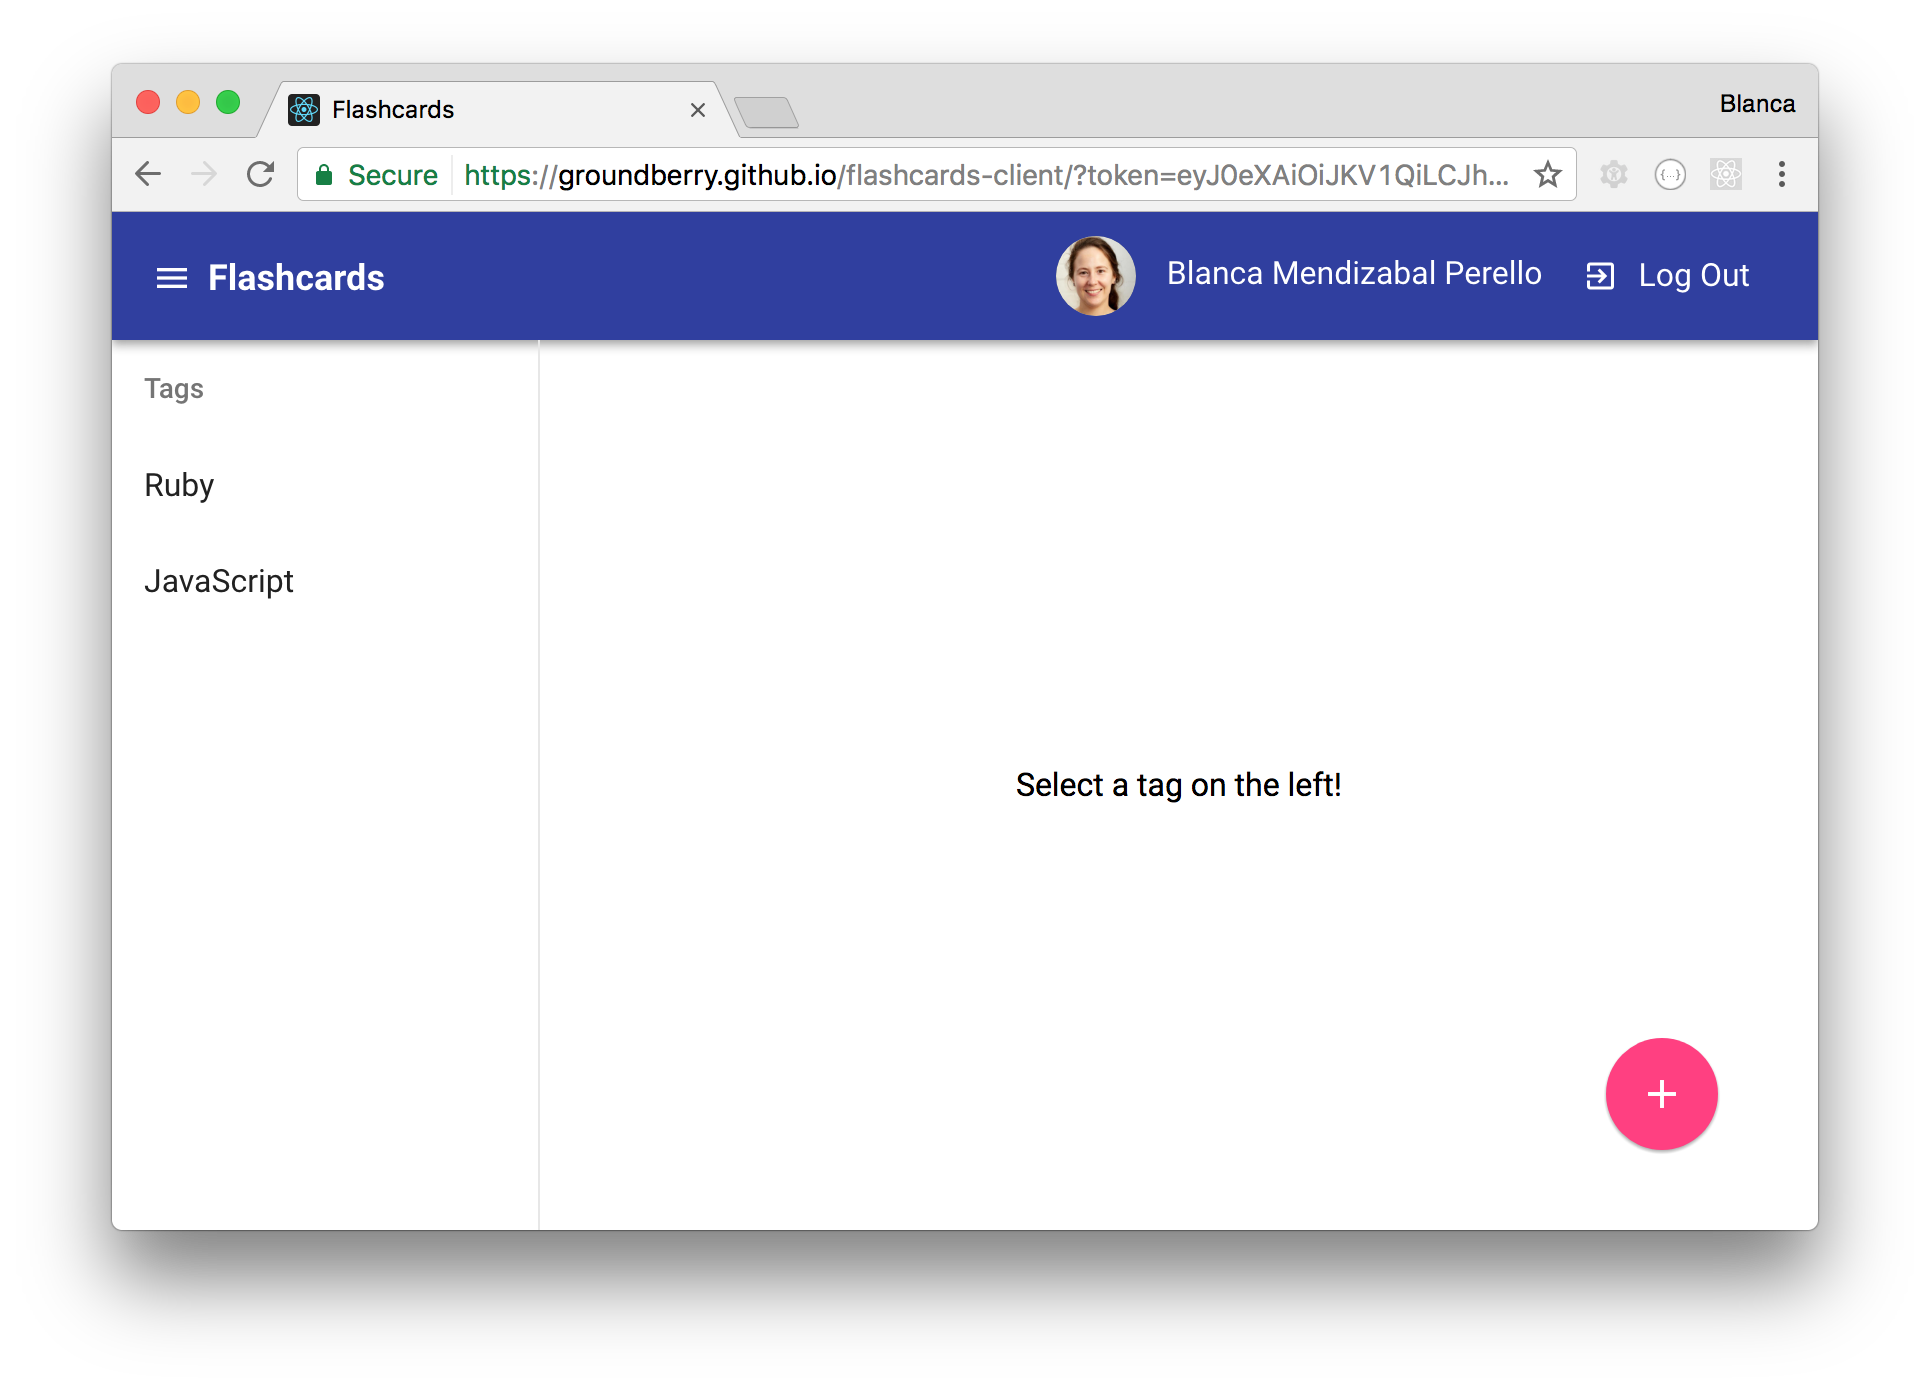
The App component is the one that will be responsible for showing one or the other. It will decide based on the query parameters contained in the URL. If there’s a token parameter, we’ll assume the user is logged in.
// src/App.js

import React, { Component } from 'react';
import { getQueryParams } from './utils';
import Login from './Login';
import Main from './Main';
import './App.css';

class App extends Component {
  constructor() {
    super();

    const params = getQueryParams();
    this.state = { token: params.token };
  }

  isLoggedIn() {
    return !!this.state.token;
  }

  render() {
    return (
      <div className='App'>
        {this.isLoggedIn()
          ? <Main token={this.state.token} />
          : <Login />
        }
      </div>
    );
  }
}

export default App;
The function getQueryParams has been extracted to a utils.js file containing helper functions. It takes the query from the current URL, and converts it to key-value pairs for easier manipulation.
// scr/utils.js

export function getQueryParams() {
  const query = window.location.search.substring(1);
  const pairs = query.split('&').map((str) => str.split('='));
  return pairs.reduce((memo, pair) => {
    memo[pair[0]] = pair[1];
    return memo;
  }, {});
}
If you want to know more about how this token has been created yo can read my previous post on user authentication.
The App component will pass this token as props to the Main component, which will fetch all the necessary info from our APIs, and show the whole content of the app to the user.
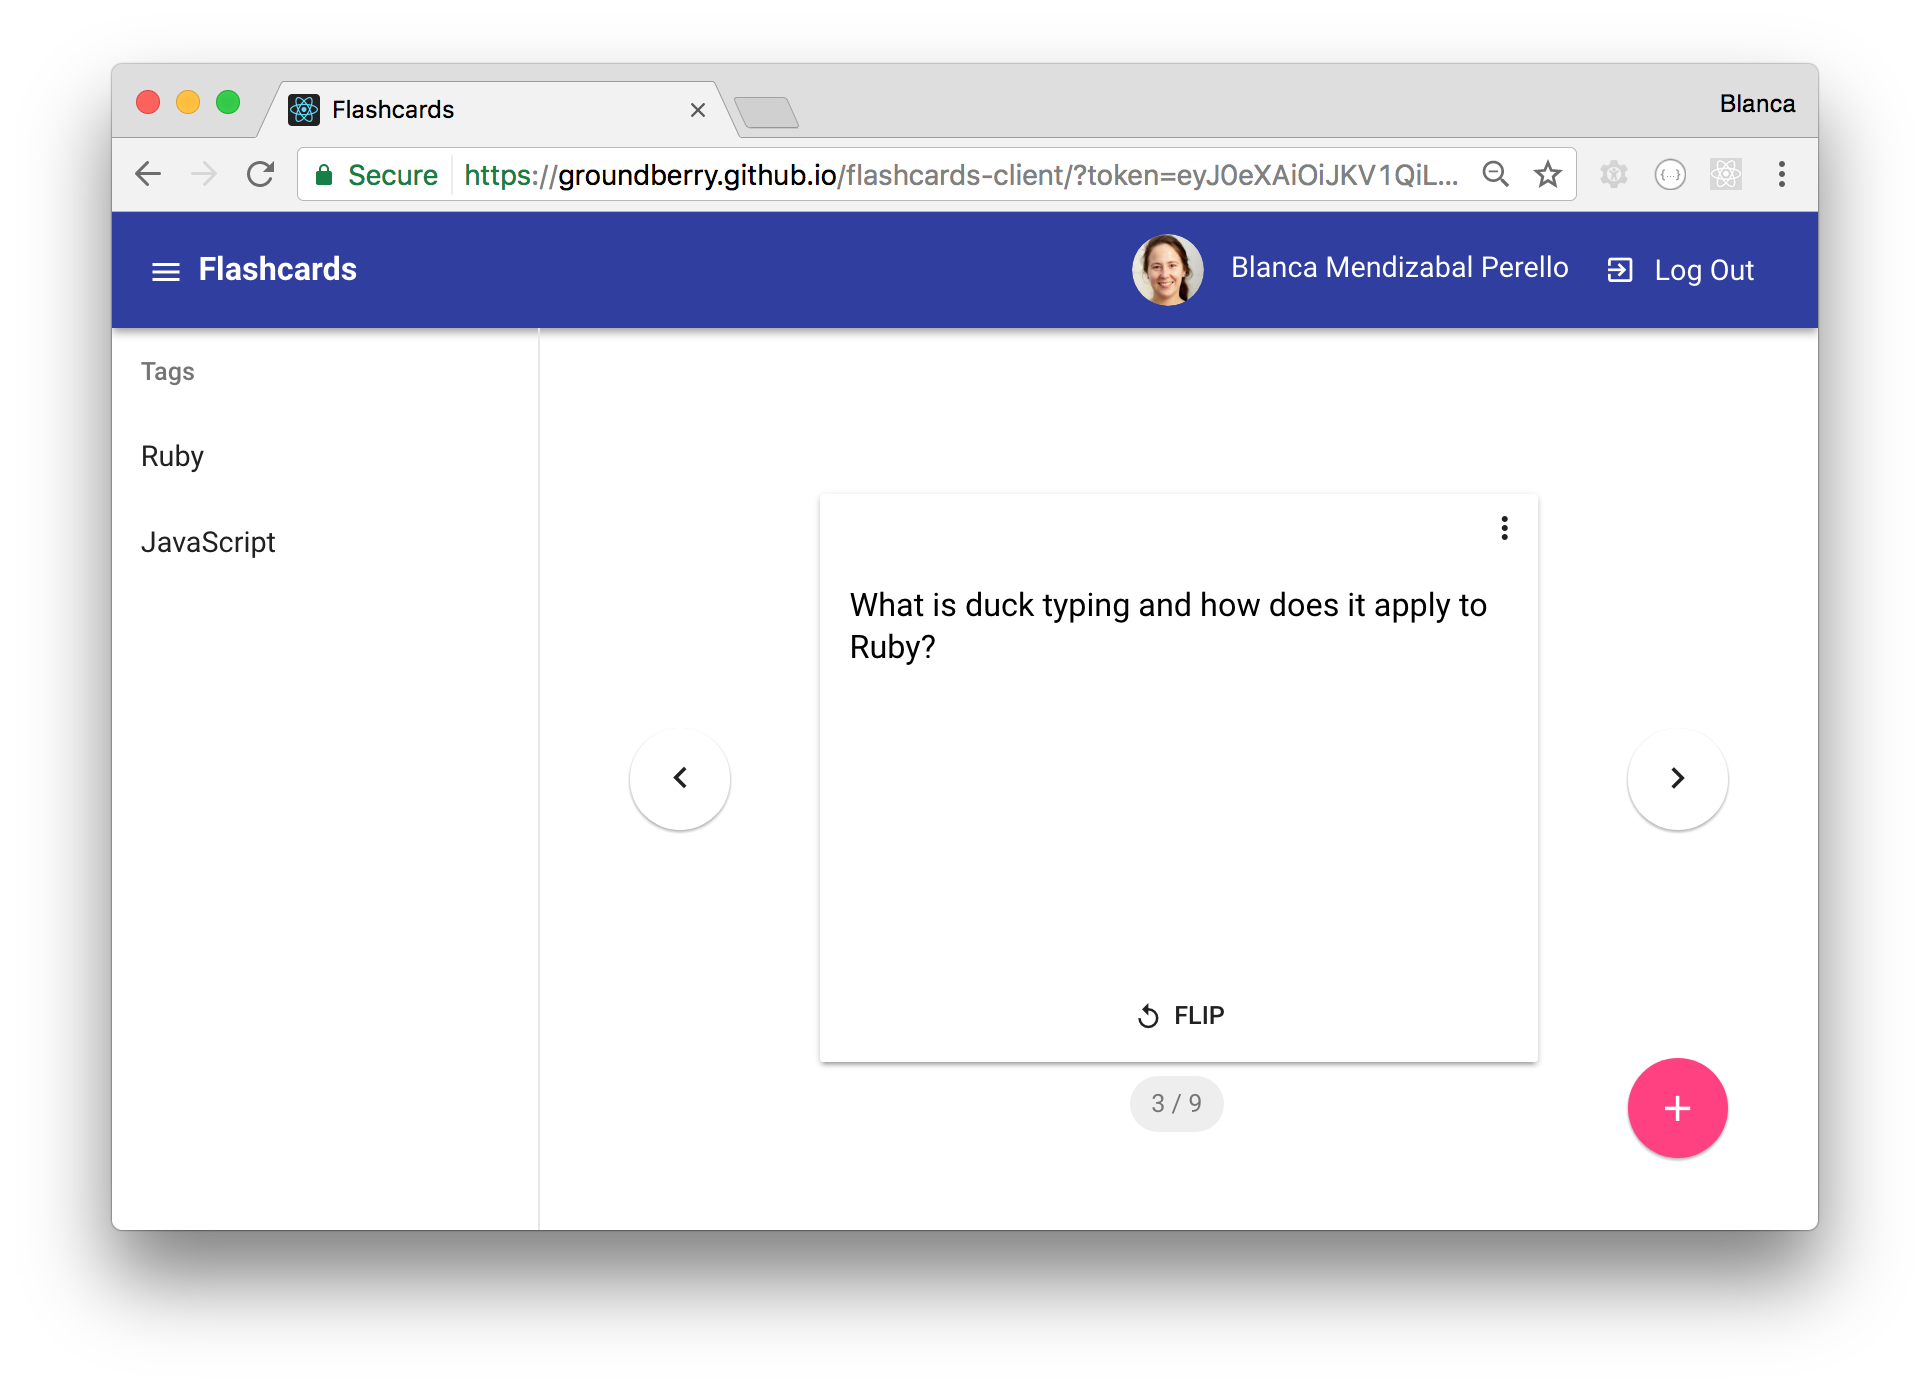
The Main component is pretty complex, with children components such as Header, Sidebar, Flashcards, FlashcardDialog, etc. They are the ones that allow the user to log out, view all their tags, view the flashcards for a specific tag, and create, edit and delete flashcards.

We won’t go into detail for all those components, but you can check out the repo to see how we did it.
Unit-testing with Jest and Enzyme
One mistake I made during this project was not to start testing earlier. I know it’s not an excuse, but I wanted to see things working on the screen. 😬 I created more and more components, until I got to a point where I had a big ball of code, and I had trouble following the flow of information and debugging. 😣
It can be challenging to start writing tests first if we don’t know what we are creating, but it will force us to advance in small steps and never lose control of the project. Start small, create a test for your simplest scenario, see it fail, write the code necessary to make it pass, and improve the code if you think you can do it better. This is what’s known as the red-green-refactor cycle.
Luckily, create-react-app comes with a testing framework (jest) already configured, and a sample test for the root component, so we can start there:
$ npm test
The sample test is only checking whether the component can be rendered:
// src/App.test.js

import React from 'react';
import ReactDOM from 'react-dom';
import App from './App';

it('renders without crashing', () => {
  const div = document.createElement('div');
  ReactDOM.render(<App />, div);
});
Let’s write a test to check that the app is rendering different views depending on whether the user is logged in. We’ll use enzyme on top of jest, as it provides a bunch of functions that make it easier to test React components. enzyme requires us to install react-test-renderer too.
$ npm install --save-dev react-test-renderer enzyme
The test will have two scenarios, one where there is no token in the state, and another one where there is. We’ll render just the App component, not its children, using enzyme’s shallow rendering. If you needed to render the whole tree for some reason, you’d use mount rendering instead, but beware that it’s slower.
Here’s how an initial version of the test would look:
// src/App.test.js

import React from 'react';
import { shallow } from 'enzyme';
import App from './App';
import Login from './Login';
import Main from './Main';

describe('App', () => {
  describe('without a token param', () => {
    it('renders a Login view', () => {
      const wrapper = shallow(<App />);
      expect(wrapper.find(Login)).toHaveLength(1);
    });
  });

  describe('with a token param', () => {
    it('renders a Main view', () => {
      const wrapper = shallow(<App />);
      wrapper.setState({token: 'foobar'});
      expect(wrapper.find(Main)).toHaveLength(1);
    });
  });
});
We can make a couple of improvements, like extracting the test setup into a beforeEach block, and adding a few more expectations:
// src/App.test.js

import React from 'react';
import { shallow } from 'enzyme';
import App from './App';
import Login from './Login';
import Main from './Main';

describe('App', () => {
  let wrapper;

  describe('without a token param', () => {
    beforeEach(() => {
      wrapper = shallow(<App />);
    });

    it('renders a Login view', () => {
      expect(wrapper.find(Login)).toHaveLength(1);
    });

    it('does not render a Main view', () => {
      expect(wrapper.find(Main)).toHaveLength(0);
    });
  });

  describe('with a token param', () => {
    beforeEach(() => {
      wrapper = shallow(<App />);
      wrapper.setState({token: 'foobar'});
    });

    it('does not render a Login view', () => {
      expect(wrapper.find(Login)).toHaveLength(0);
    });

    it('renders a Main view', () => {
      expect(wrapper.find(Main)).toHaveLength(1);
    });
  });
});
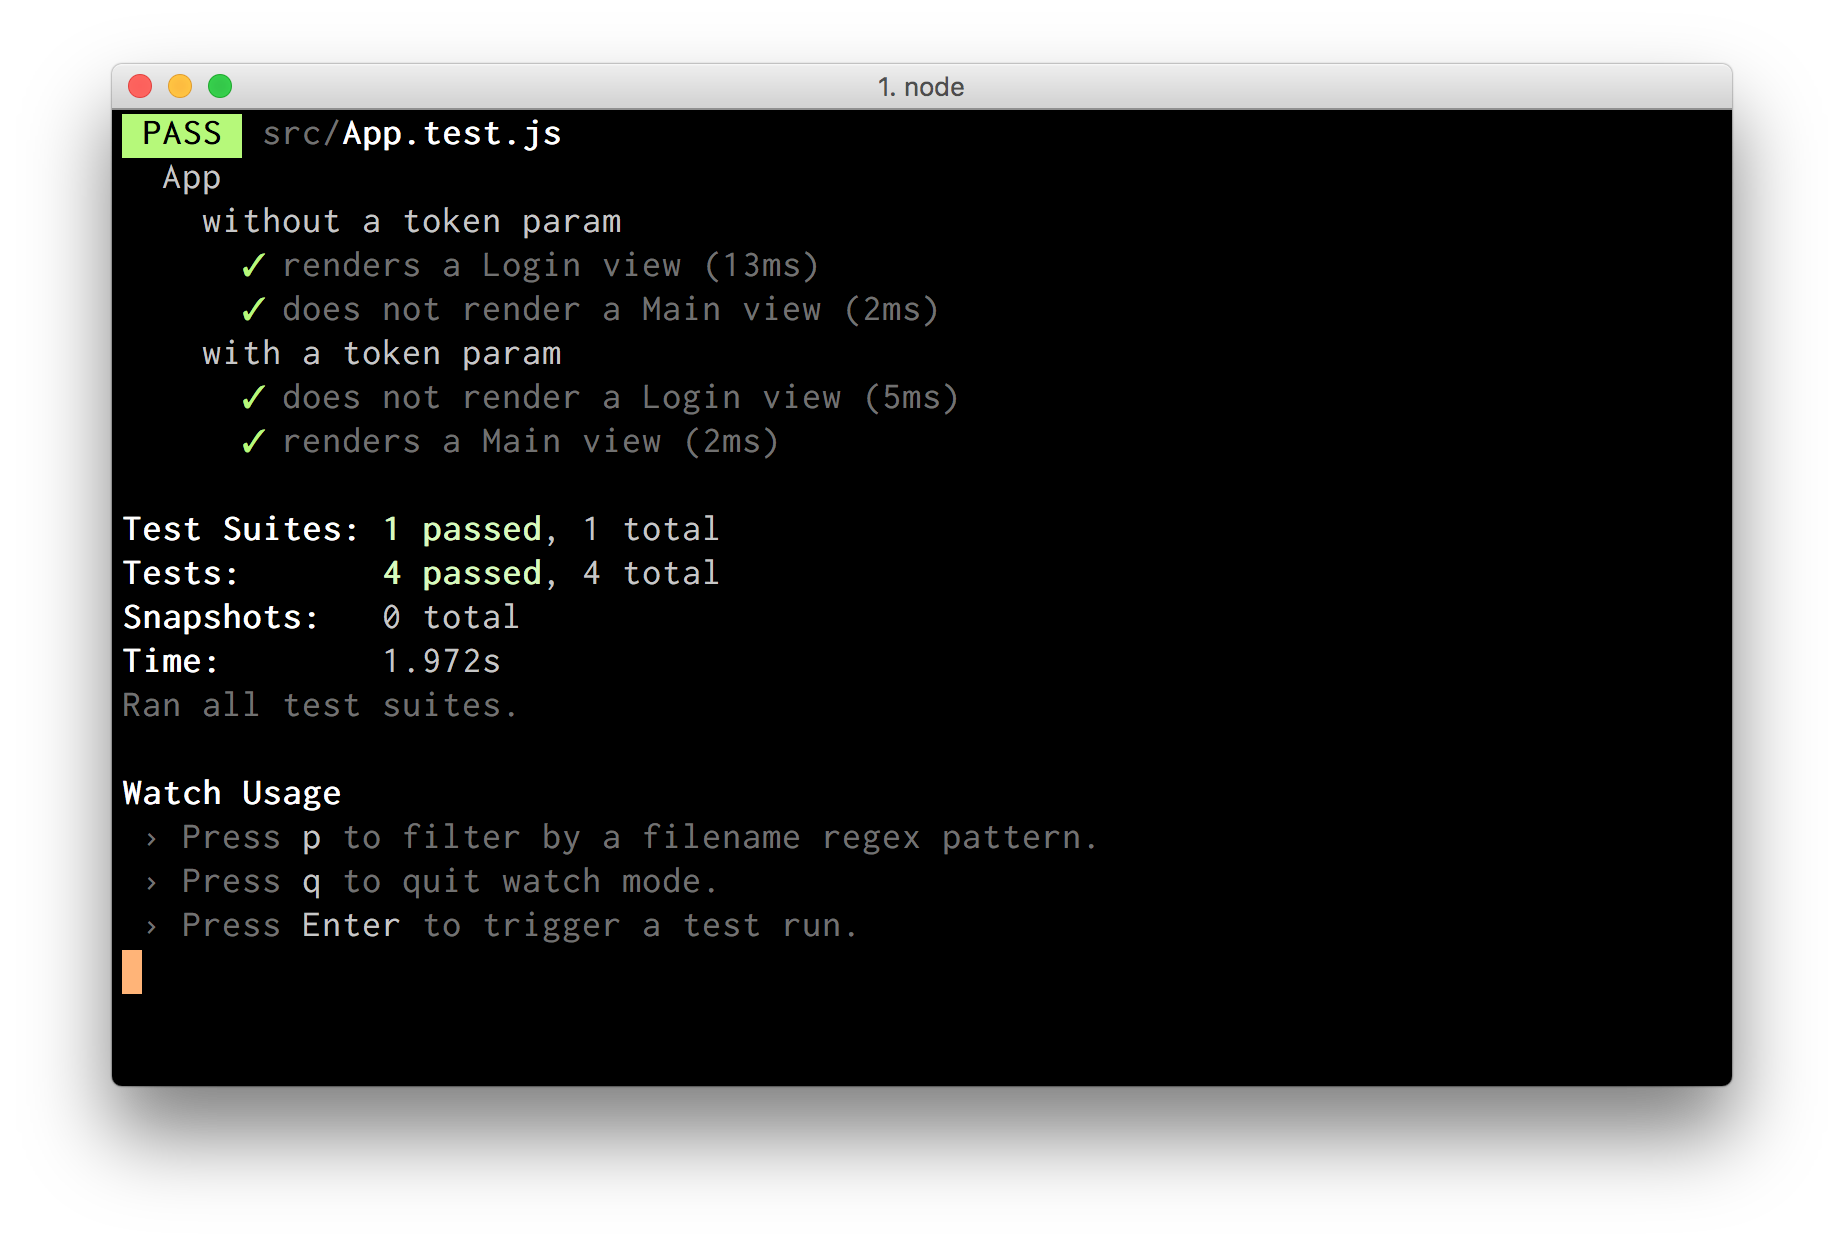
If we run npm test, jest will watch our files and execute our tests every time we make a change, without us needing to manually run it again.
Anyways, you get the idea. Remember that it’s never too late to start testing your components properly! 😁